Sculpting Mix FAQ
What is Winterstone Sculpting Mix?
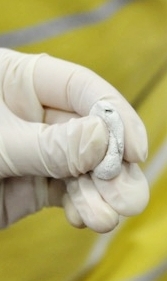
- Sculpting Mix is a white, dry powder mix which when mixed with water produces a clay-like consistency. Initially it can be modelled easily like clay. As it starts to harden it can be carved with soft carving tools. After 24 hours it can be carved with hard carving tools (i.e., Dremel).
How is Sculpting Mix used to create a one-of-a-kind sculpture?
- Sculpting Mix is built up by applying successive layers over an armature (see "instructions" tab for complete details.
Can I add any fillers to Sculpting Mix?
- Other than pigments, no other additional fillers (i.e., metallic powders) are required or recommended. If metallic powders are desired, they should be used with Winterstone Ultra Mix only.
How thick should Sculpting Mix be applied?
- Sculpting Mix should be applied in 1/8" to 1/4" layers up to a final outer "shell" thickness of 3/8" for small pieces, 1/2 to 3/4" for life size and 3/4" to 1" thick for monumental pieces.
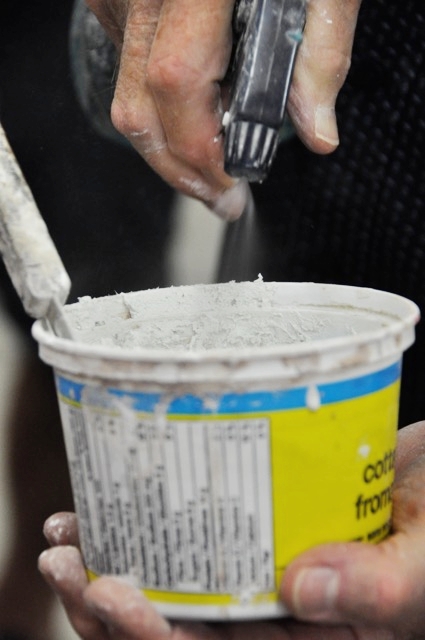
What do I do if the Sculpting Mix starts to dry up in the container before I'm done?
- Like any cement-type product it hardens if left still and it stays more workable if agitated. Regularly mixing the batch in the container will keep it more workable longer. Avoid using additional mix water to maintain a workable consistency. This principle applies to all 3 Winterstone products. It is best to mix small batches to avoid waste.
Do I have to keep Sculpting Mix moist between layers?
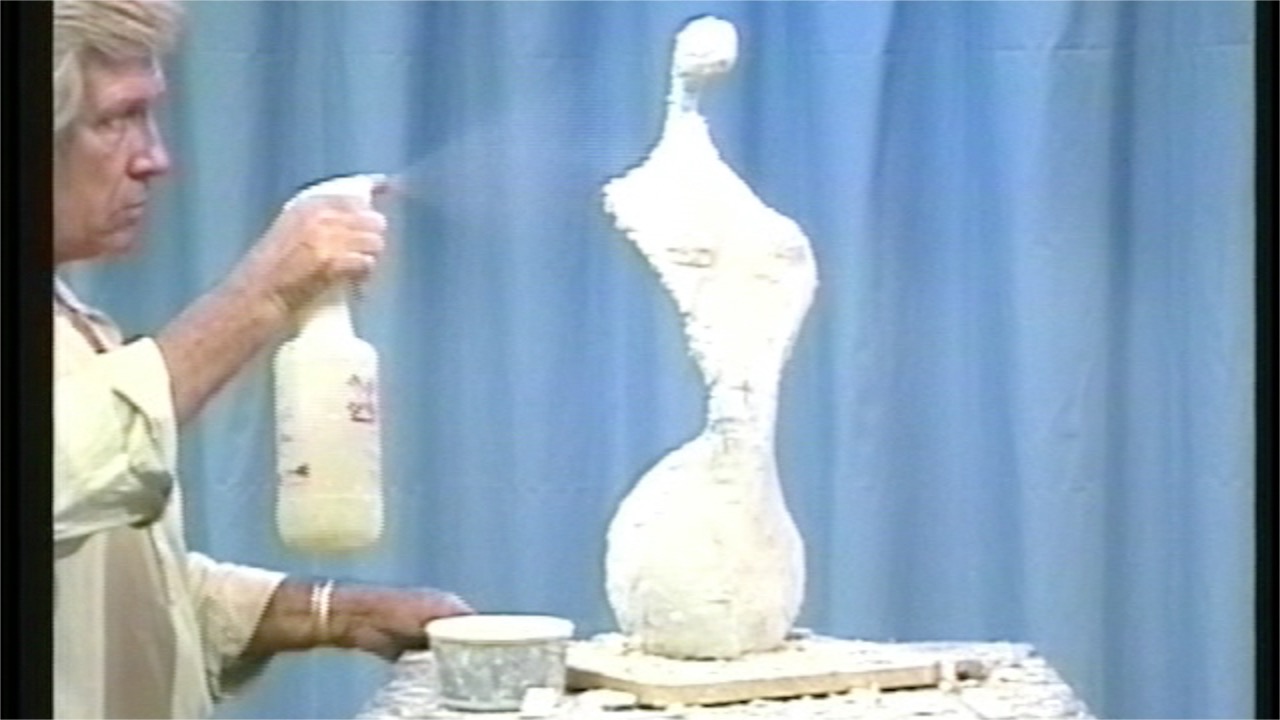
- Unlike clay, you can leave your sculpture for days, (weeks, months, years even!) between layers. It should be dampened with a light spray before applying any fresh layers.
What is the yield of Sculpting Mix?
- One pound of dry mix produces approx. 19 cu. in. of hardened end product.
How much water do I use to make a batch of Sculpting Mix?
- Generally you mix 4 parts mix to 1 part water. (Technically 22-25 parts water to 100 parts Sculpting Mix by weight or volume). After a short while, you will be able to mix batches intuitively to create the exact consistency you want.
- The strongest and most durable end product results from using as little mixing water as possible.
Why use reinforcing techniques with Sculpting Mix?
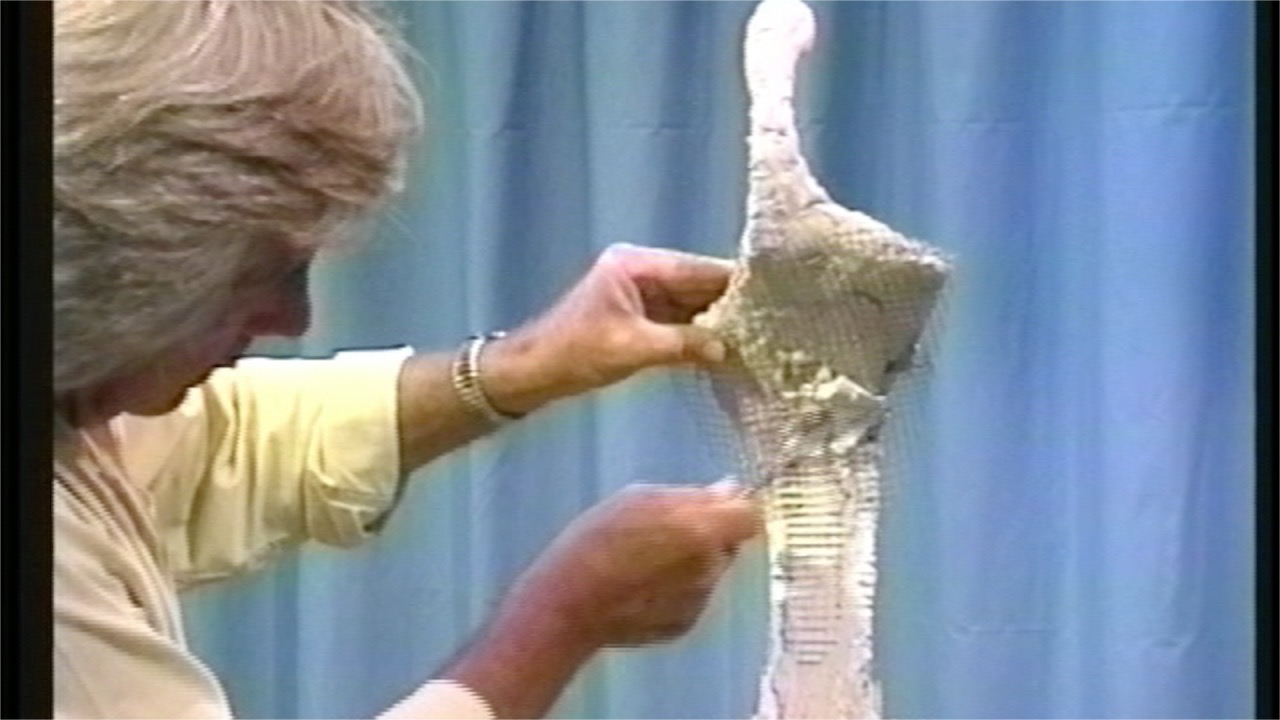
- Reinforcing techniques complement the inherent strength of Sculpting Mix so your sculpture withstands stresses and abuse. This is especially important for outdoor sculptures which are subject to weather stress and public abuse. The minimum recommended reinforcing for the outer "shell" thickness should be 1 layer of fiberglass mesh ARG (Alkaline Resistant Glass) per 1/4" thickness of "shell" or 1.5% of ARG chopped strand (by weight of dry mix).
How much Sculpting Mix should I make at any one time?
- Open working time is 40-50 minutes, so only mix as much as you can use within that time.
What tools do I need to work with Sculpting Mix?
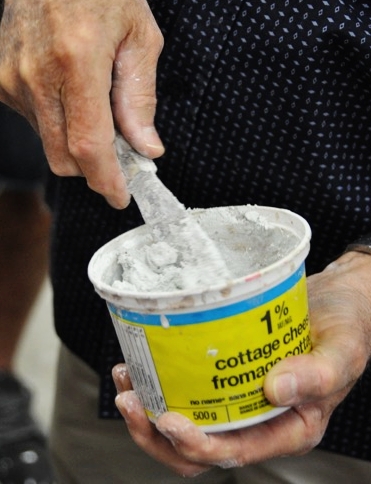
- Plastic mixing container (i.e, yogurt, sour cream)
- Spray bottle
- Mixing tool (like a kitchen angled spatula or sandwich spreader)
- Application tool (small kitchen angled spatula or other tool depending on size of work)
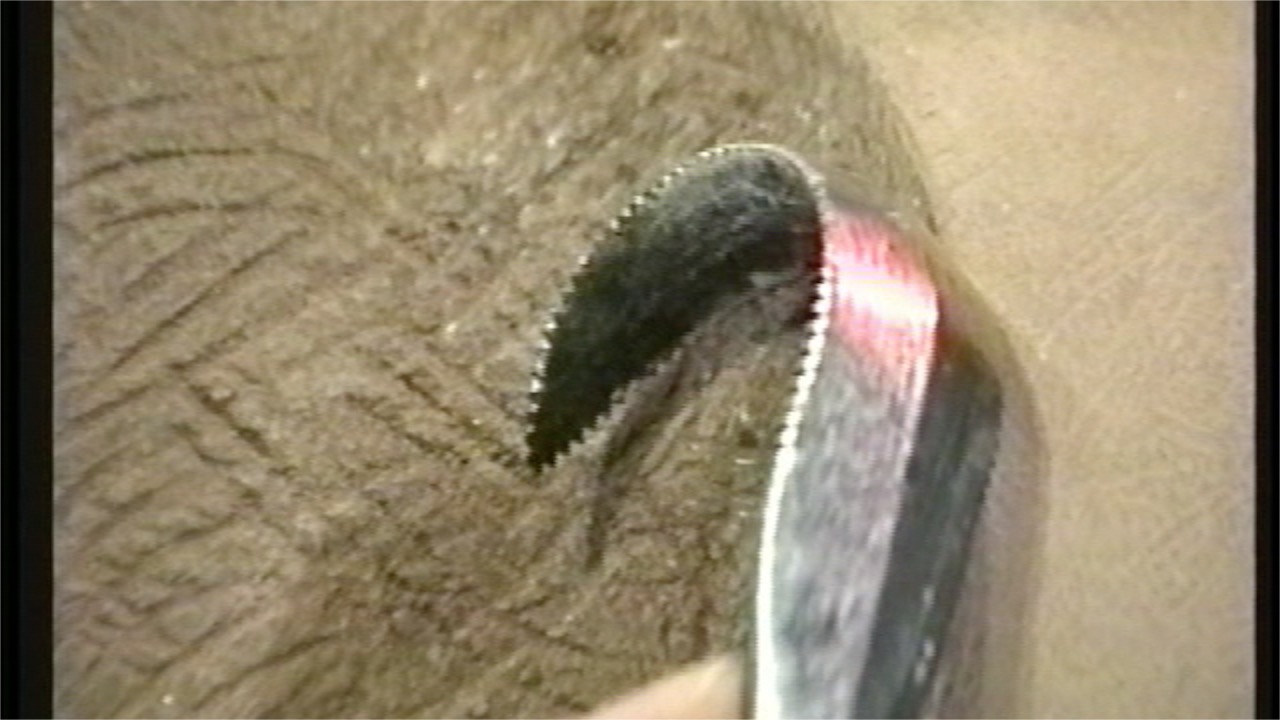
- Levelling/serrating tool (flexible serrated "kidney" shape thin metal tool)
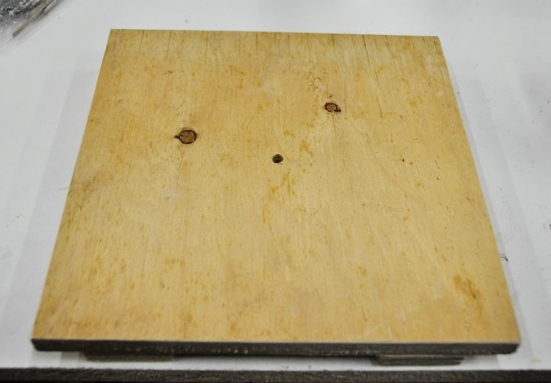
- Wooden working base for temporary anchoring of sculpture
- Rubber pad for "damp smoothing" final layer
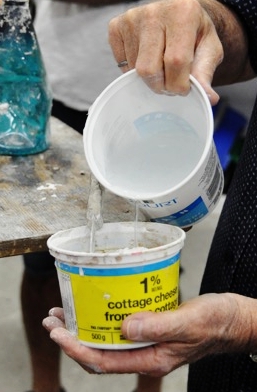
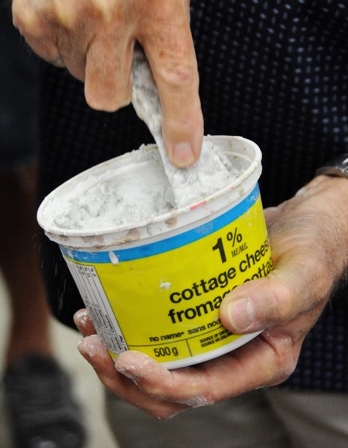
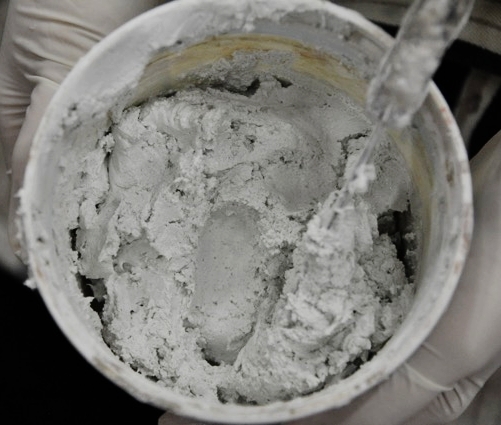
How to Mix a batch of Sculpting Mix
- Place the measured amount of dry mix into a mixing container. Smaller amounts can be mixed by hand with a spatula in a plastic container. Larger sculptures may require a 2 gallon pail and an electric mixing tool.
- Add a small quantity of chopped fiberglass strand for reinforcement. Mix the dry mix and strand together thoroughly.
- Add the water to the powder/strand and start to mix. You can always add a bit more water if the mixture is too dry or a bit more dry mix if the mixture's too wet. (Do not exceed maximum ratio of 1 part water to 4 parts Sculpting Mix to maintain maximum strength and durability.)
- Mix for 1 to 1.5 minutes, then let the mixture rest for a minute, then remix for another 1 to 1.5 minutes. It is recommended to regularly remix contents to maintain a workable consistency.
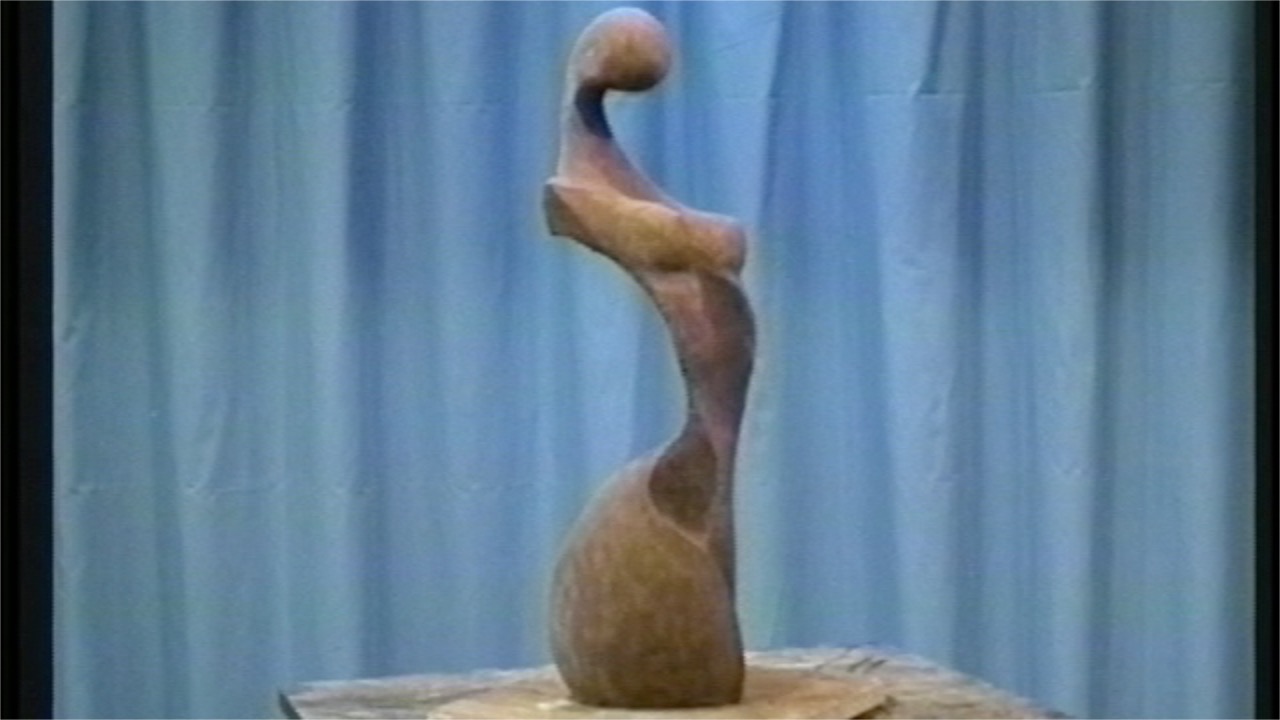
Making a Built-Up Sculpting Mix sculpture - Step by Step instructions
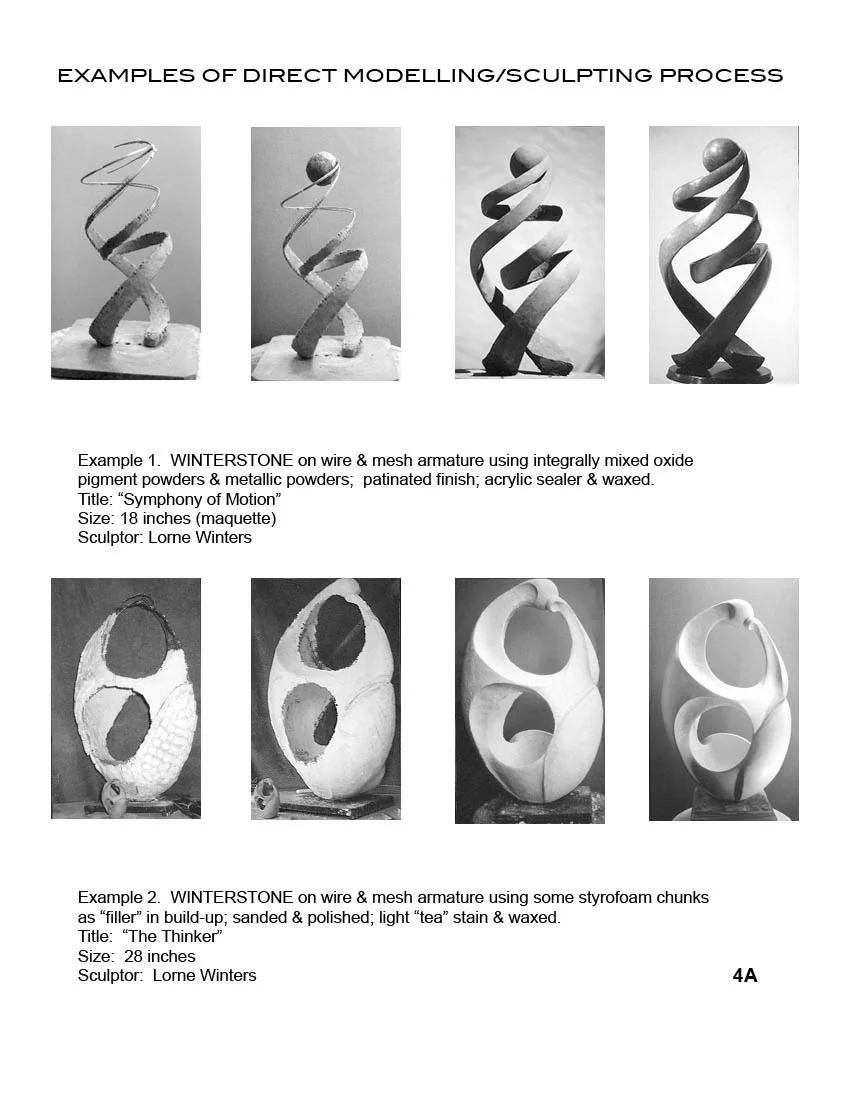
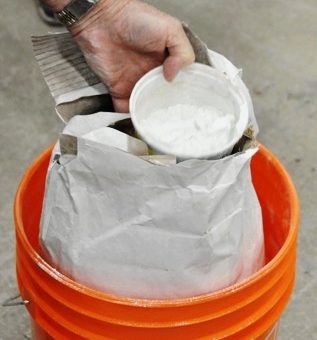
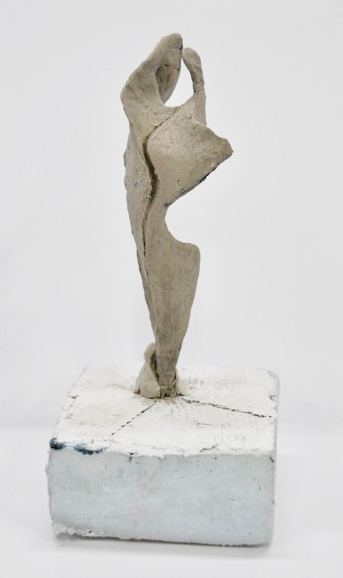
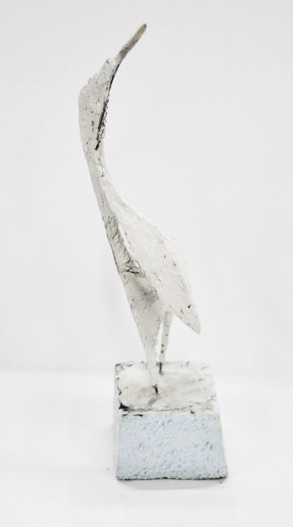
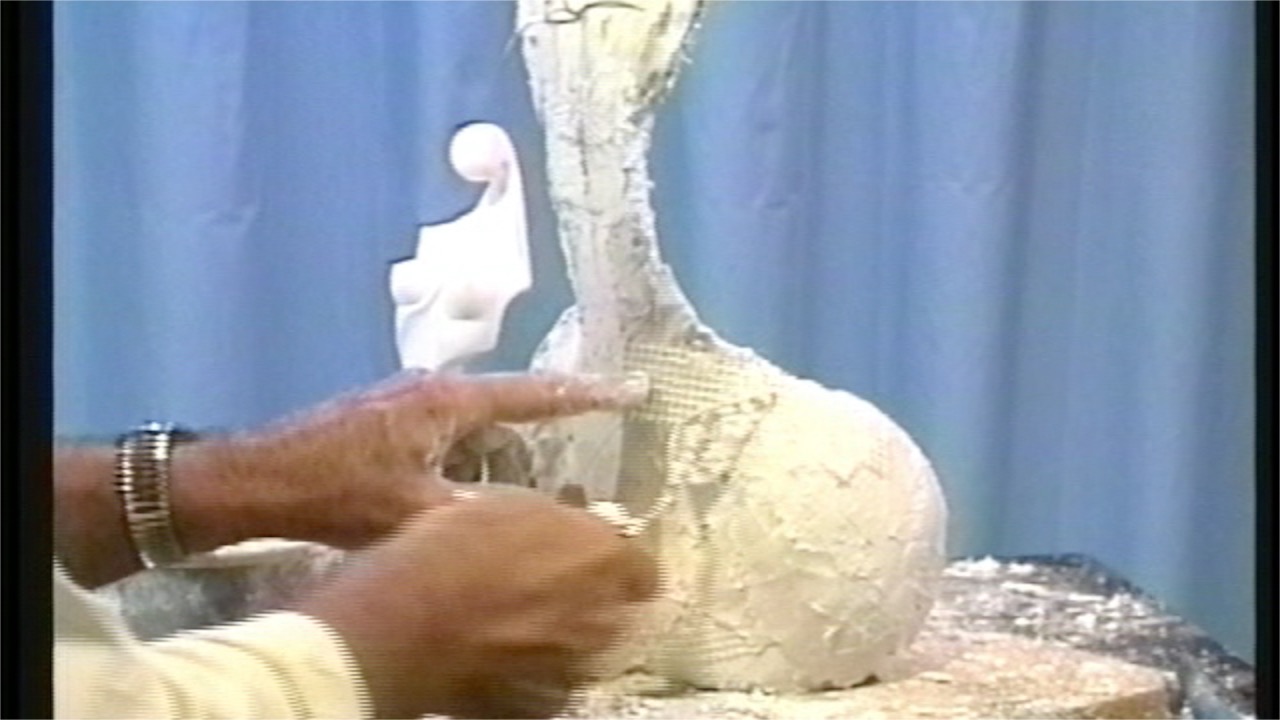
1. Make a Maquette
- You've got an idea in your head of what you want to make. Great! Now turn that idea into a maquette - a sketch or small clay model
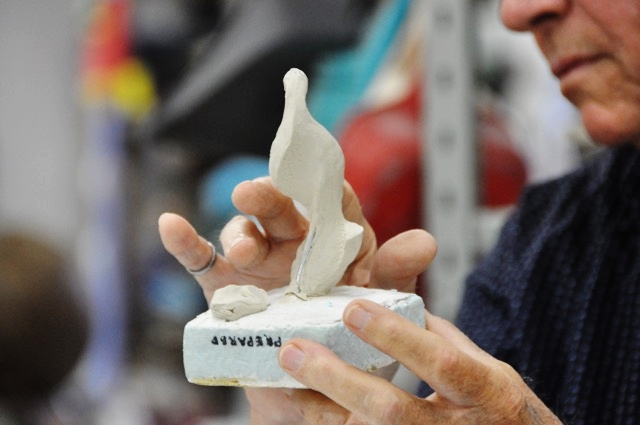
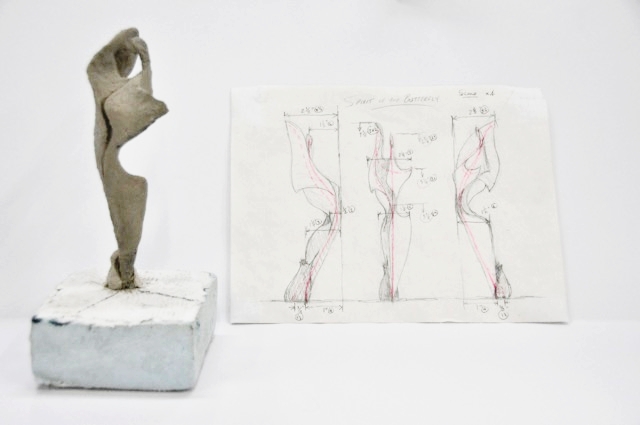
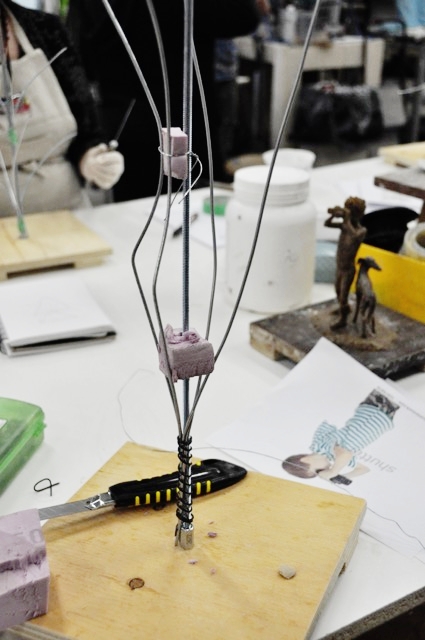
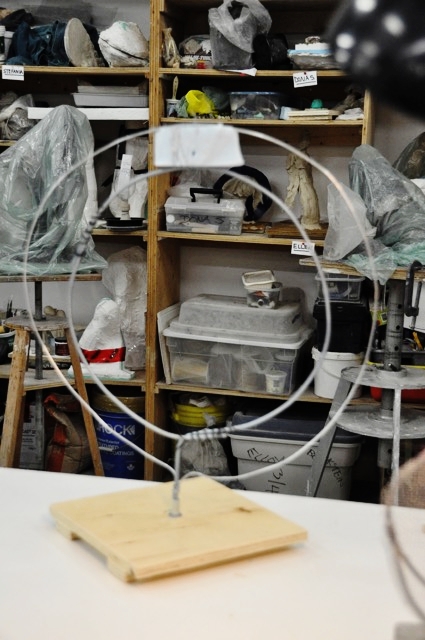
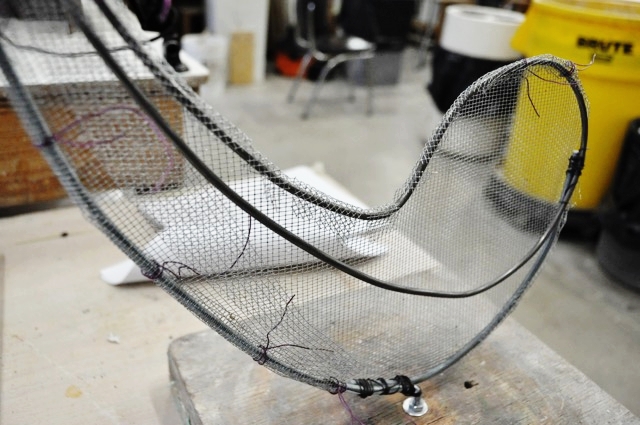
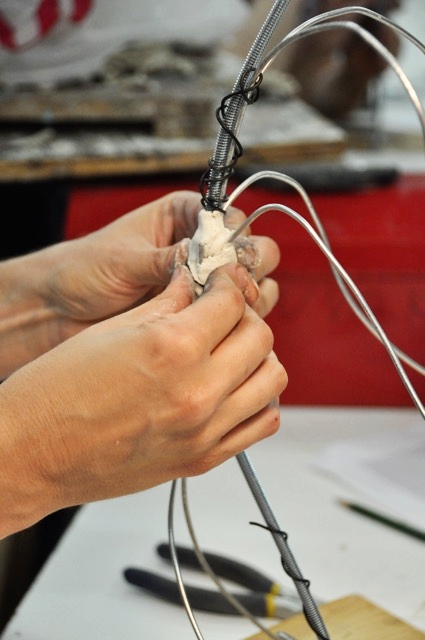
2. Prepare the Armature
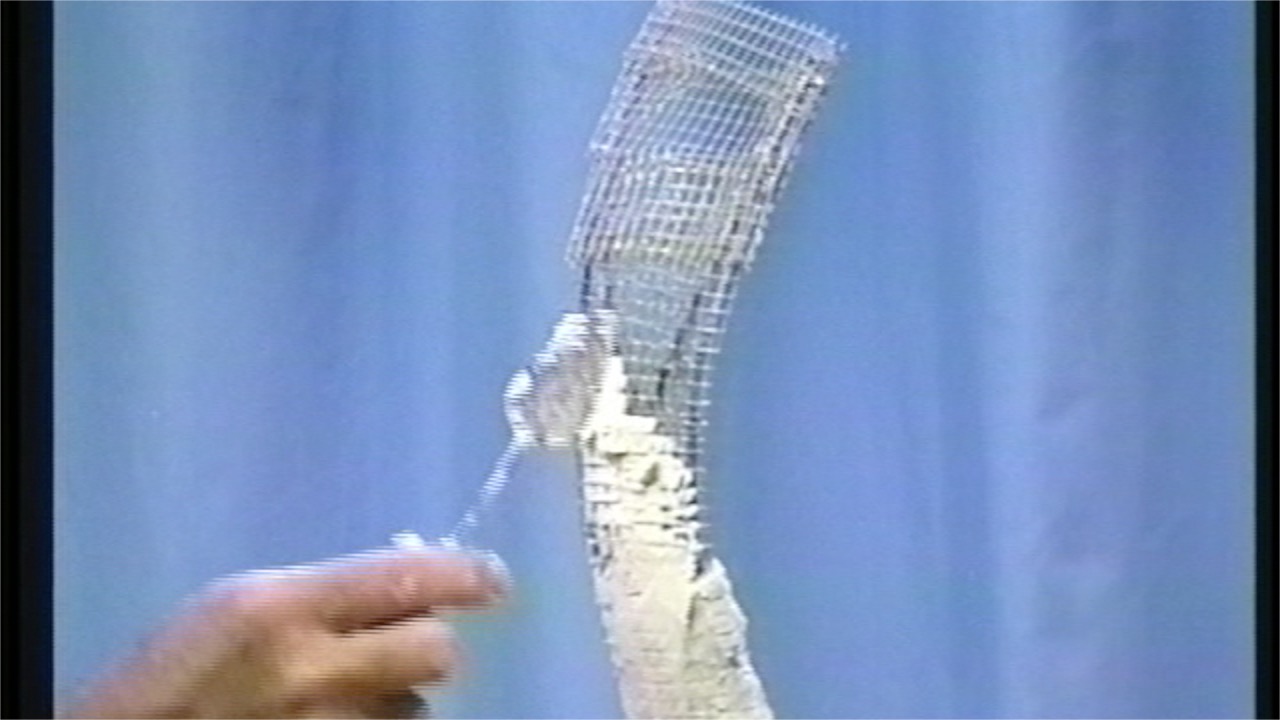
- Using the maquette, scale your idea up and determine what type of armature will work best for your project. You can use styrofoam, wire, metallic mesh, and/or metal rods. Build the armature carefully. If it is not well considered (or weakly constructed) it might end up sticking out of your sculpture or your sculpture could crack under stress)

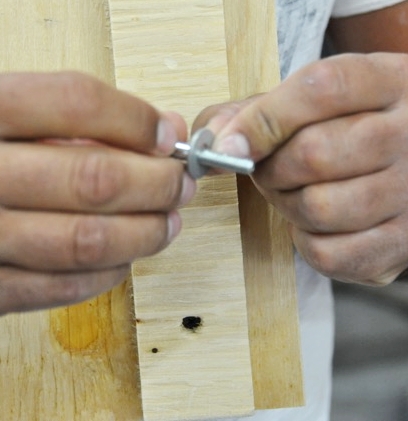
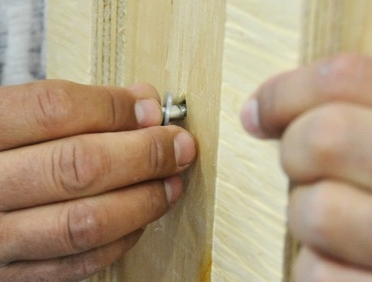

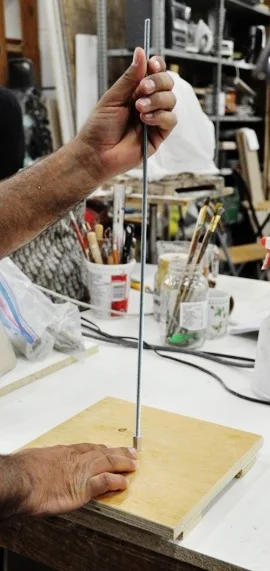


3. Anchor the Armature with Sculpting Mix
- Mix a small batch of Sculpting Mix and secure the armature to the work surface. Let this cure overnight before adding any more layers.


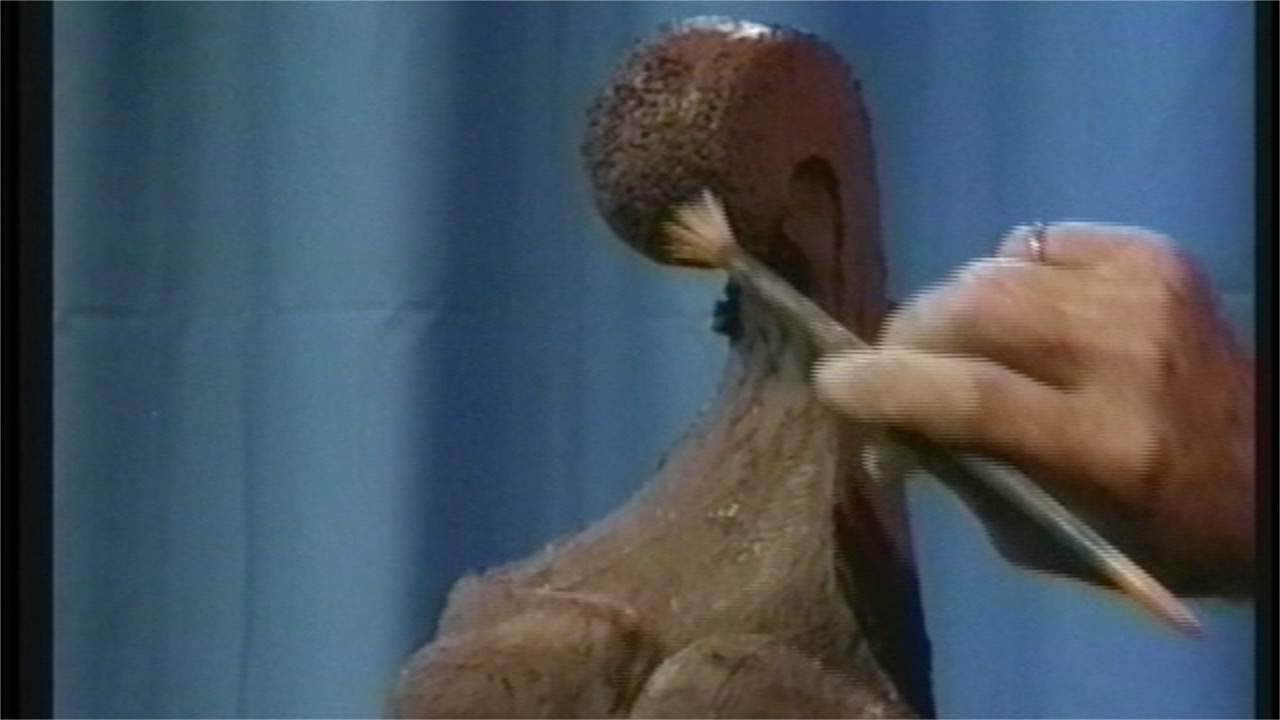
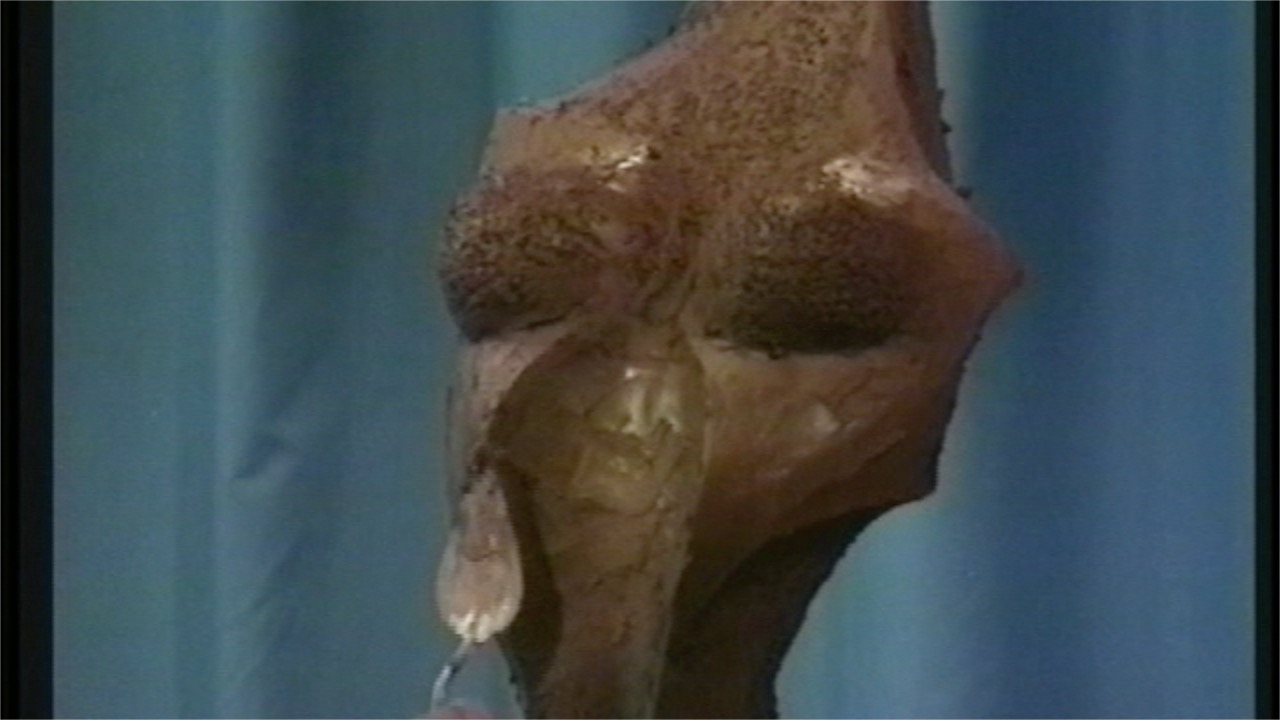
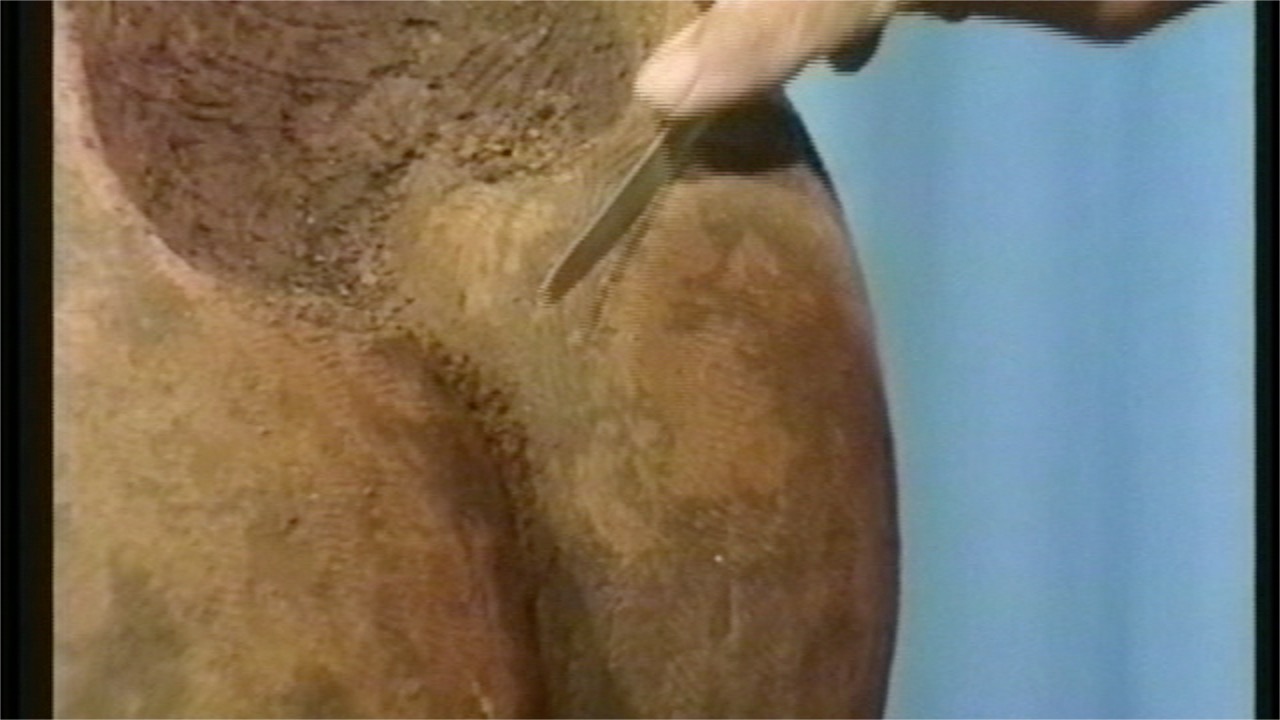
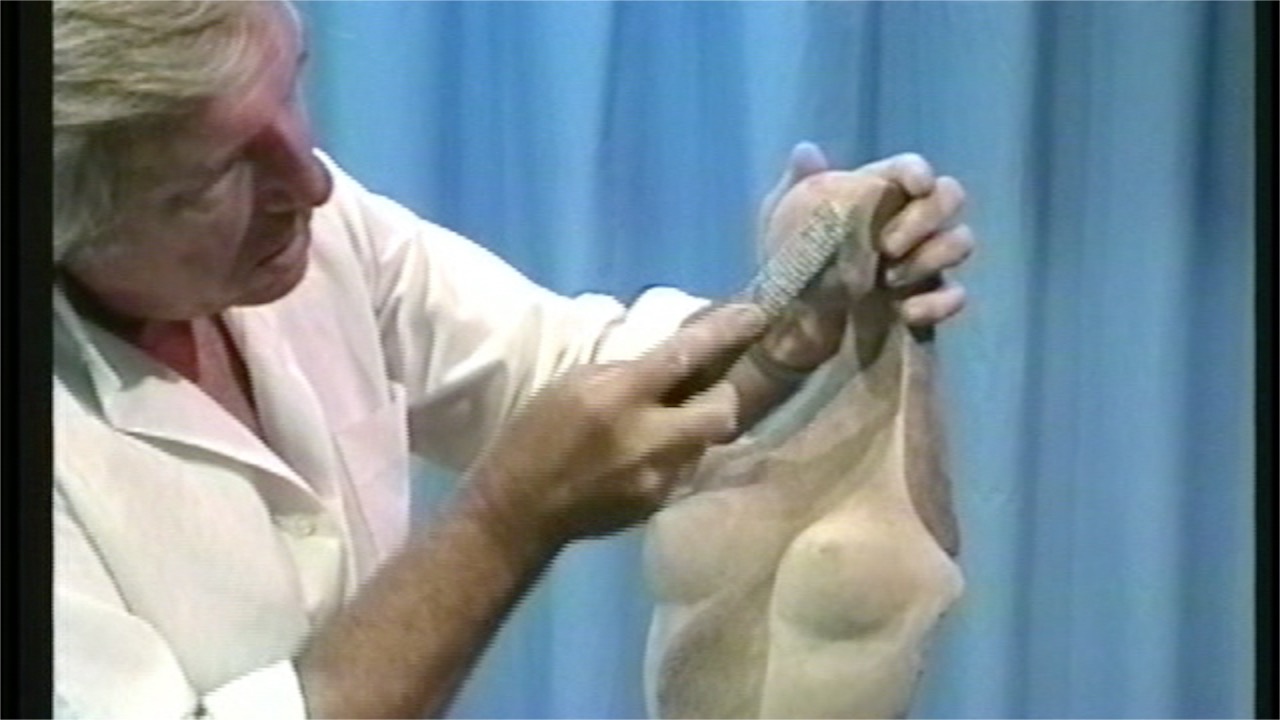
4. Modelling
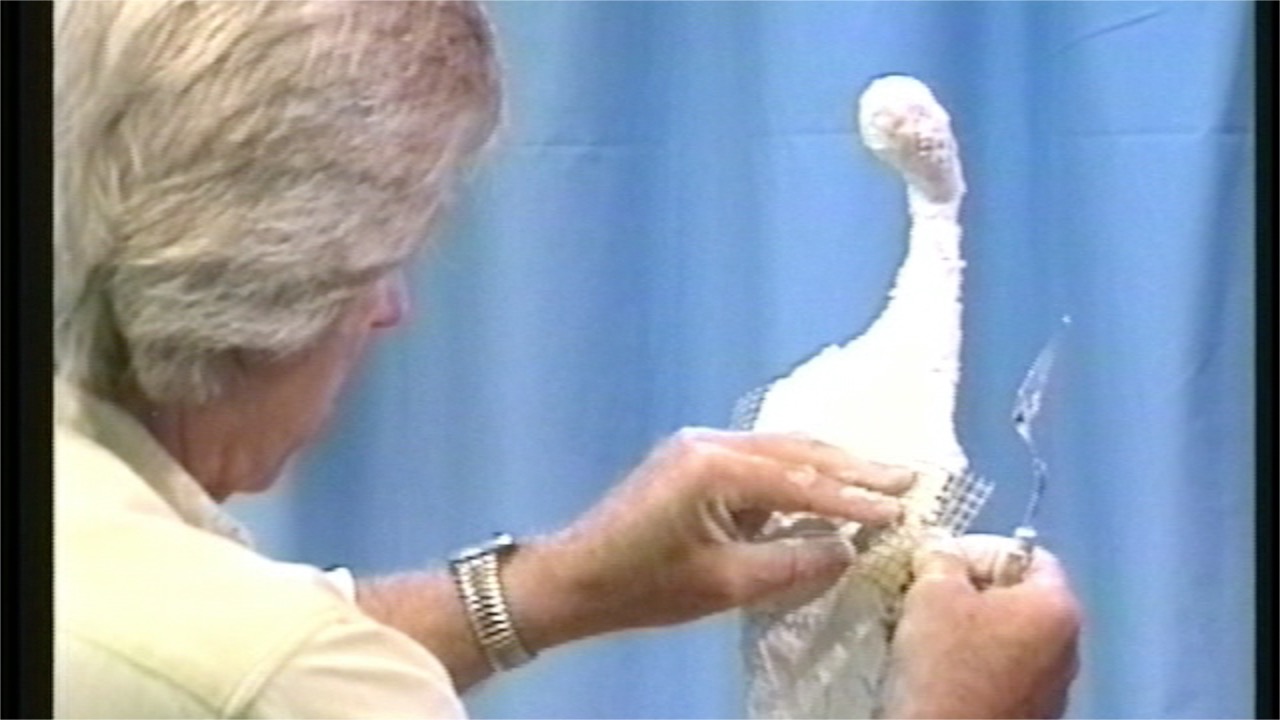
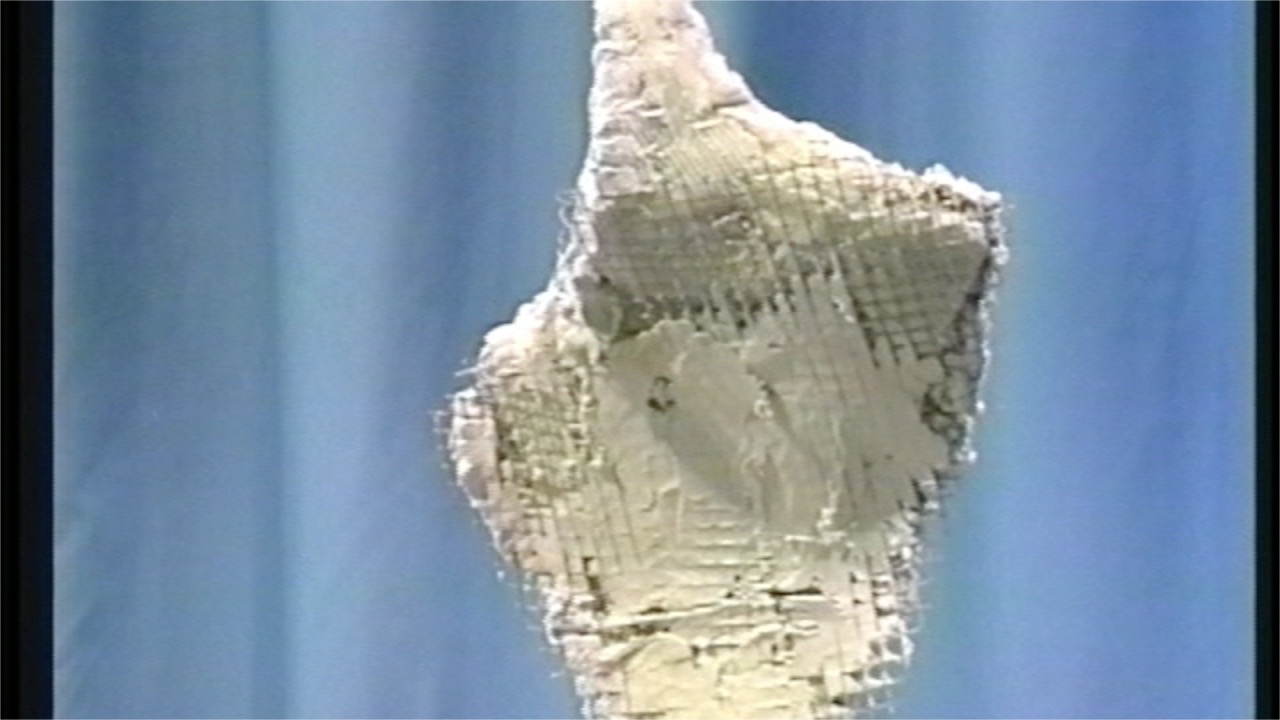
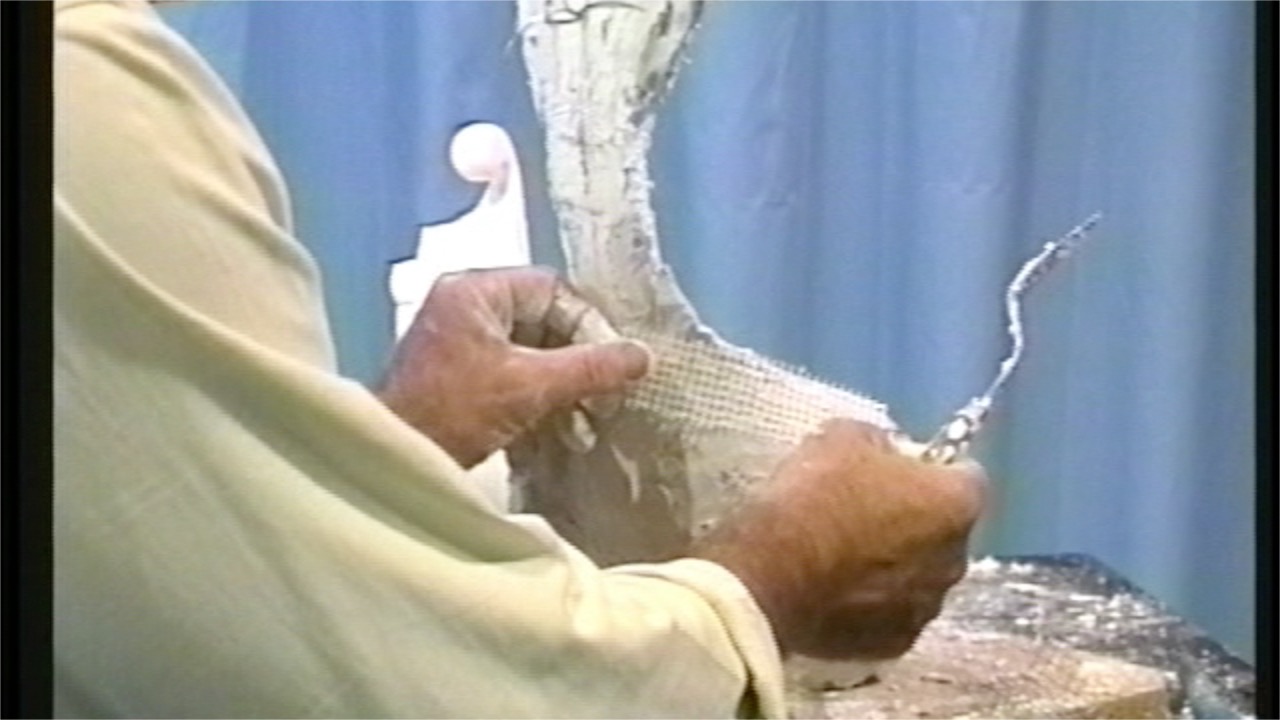
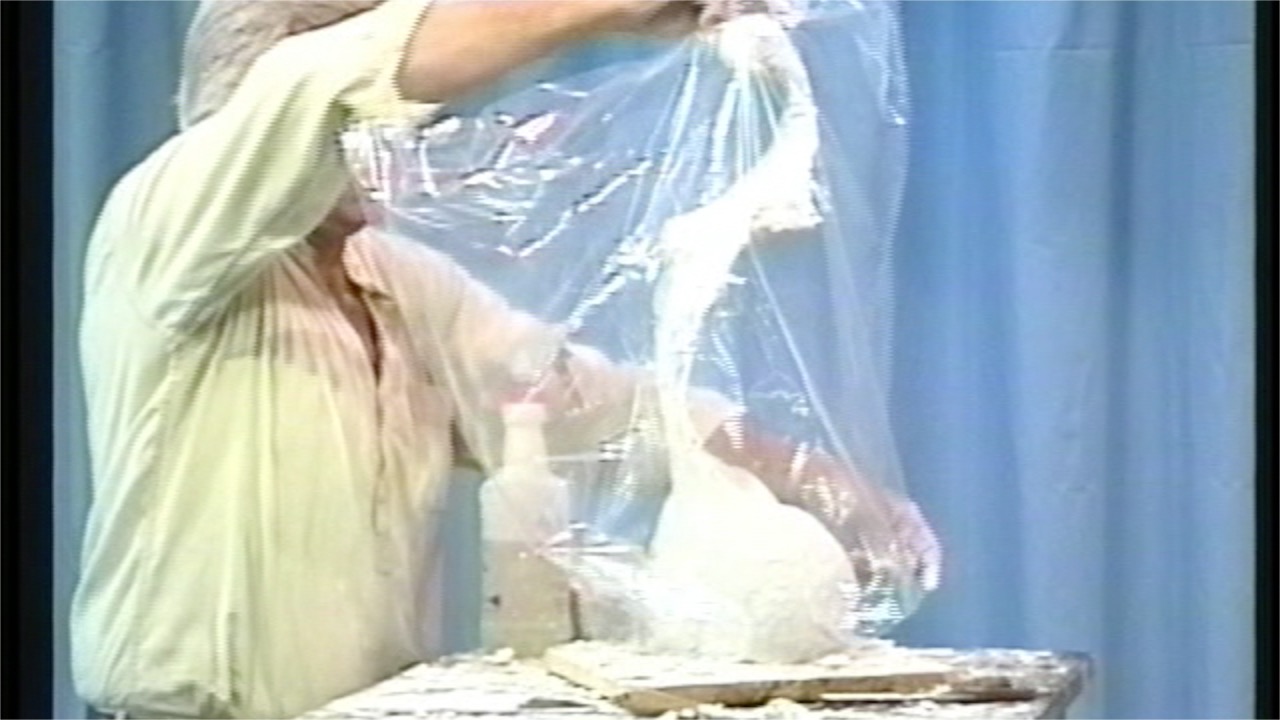
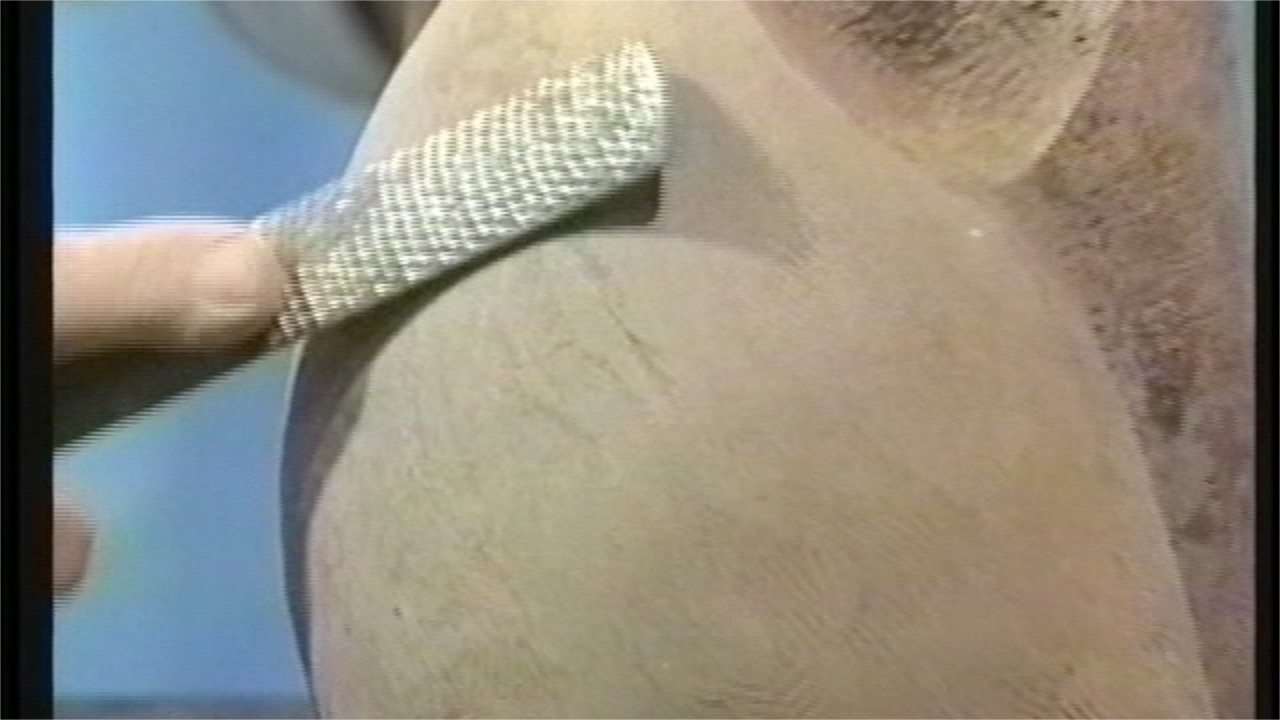
- The build-up may be achieved by applying successive layers of Sculpting Mix with fiberglass or steel mesh reinforcement between layers as needed.
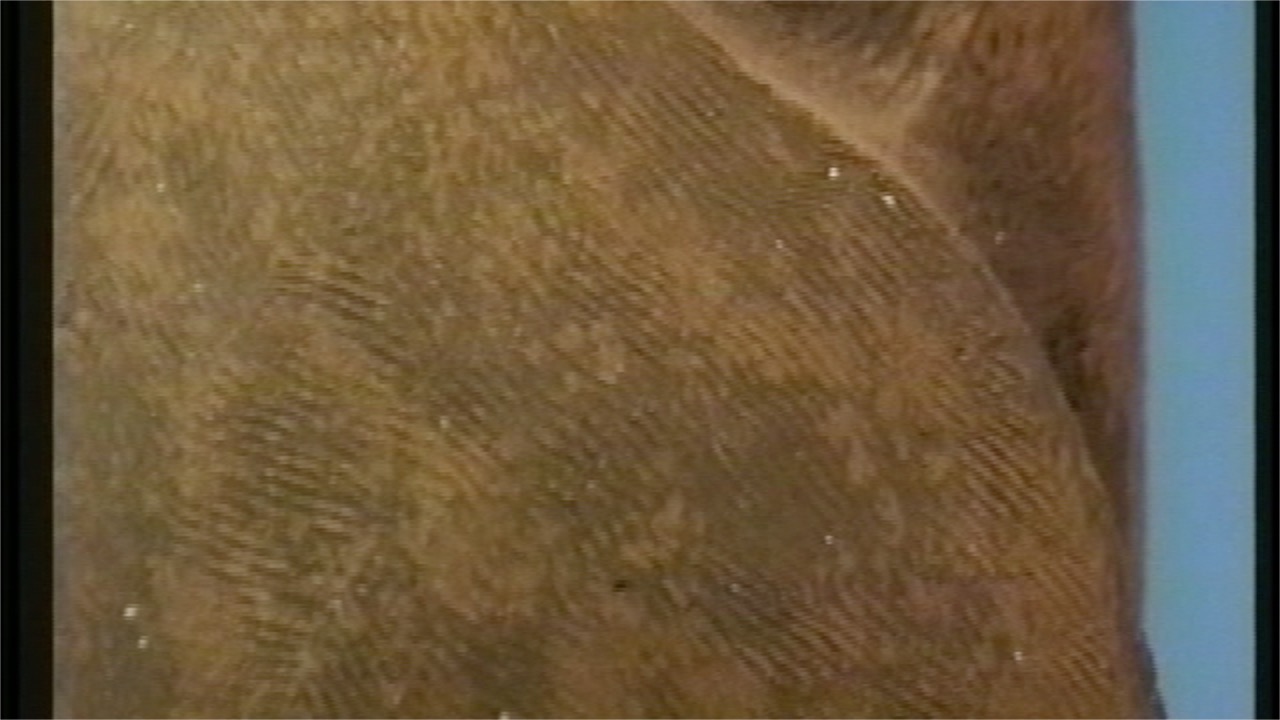
- It is essential that premature evaporation of water from the surface is avoided. During application if the surface appears to be drying, re-wet these areas with a fine water mist/spray.
- As you are finished a layer it's a good idea to roughen the surface with a serrated tool to create a "tooth" to add additional strength to the next layer's bond. When you are done for the day you can lightly mist the sculpture, cover it loosely with plastic and leave it to cure overnight.
- When you return to add the next layer lightly mist the dry sculpture first. Then add another layer as required.
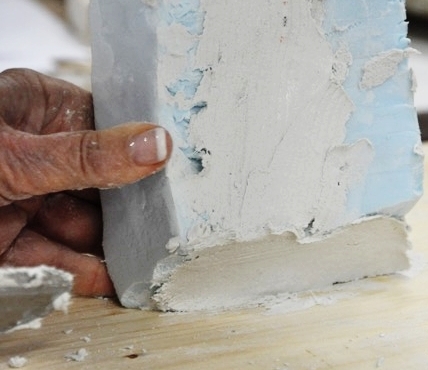
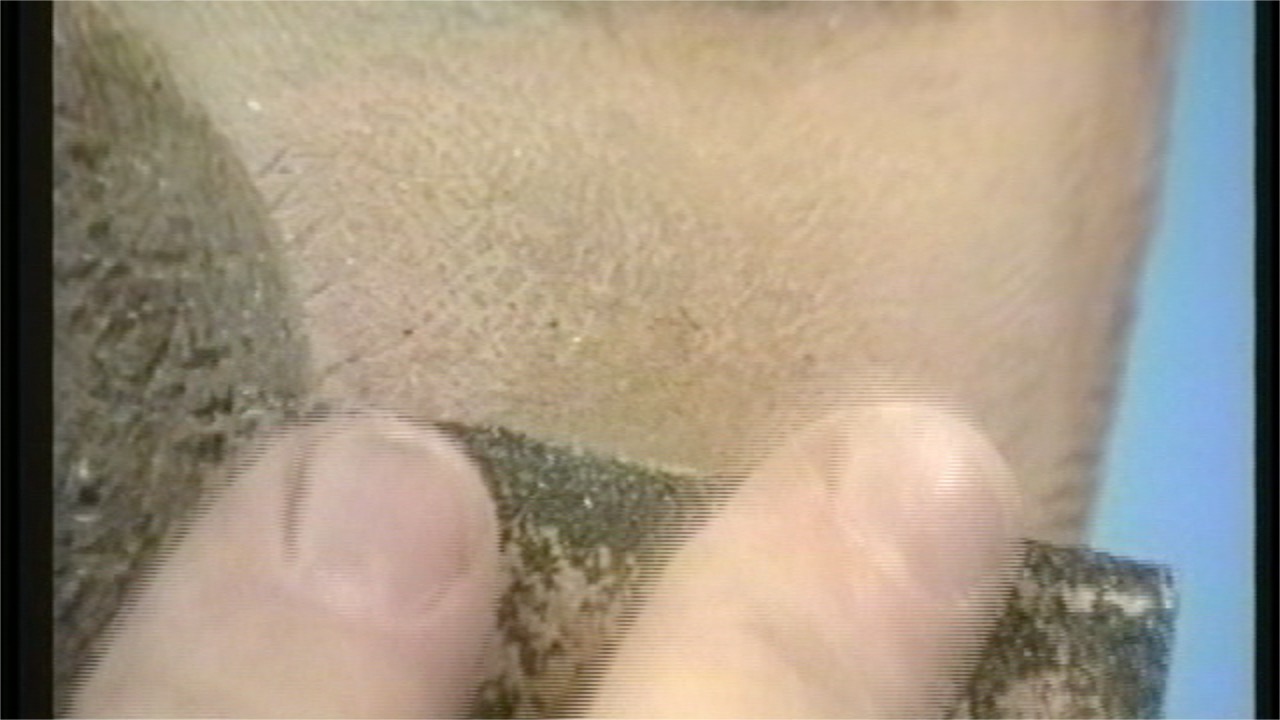
- For the final surface layer approximately 10 to 20 minutes after application you can damp smooth with a rubber pad or dry sponge pad. This will reduce the amount you'll need to sand to achieve a smooth surface.
- For the final layer ensure there is at least 1/8" of Winterstone applied over the top of the fibreglass mesh. This will eliminate any read-through of the underlying mesh and will provide some thickness for sanding and polishing of the hardened piece.


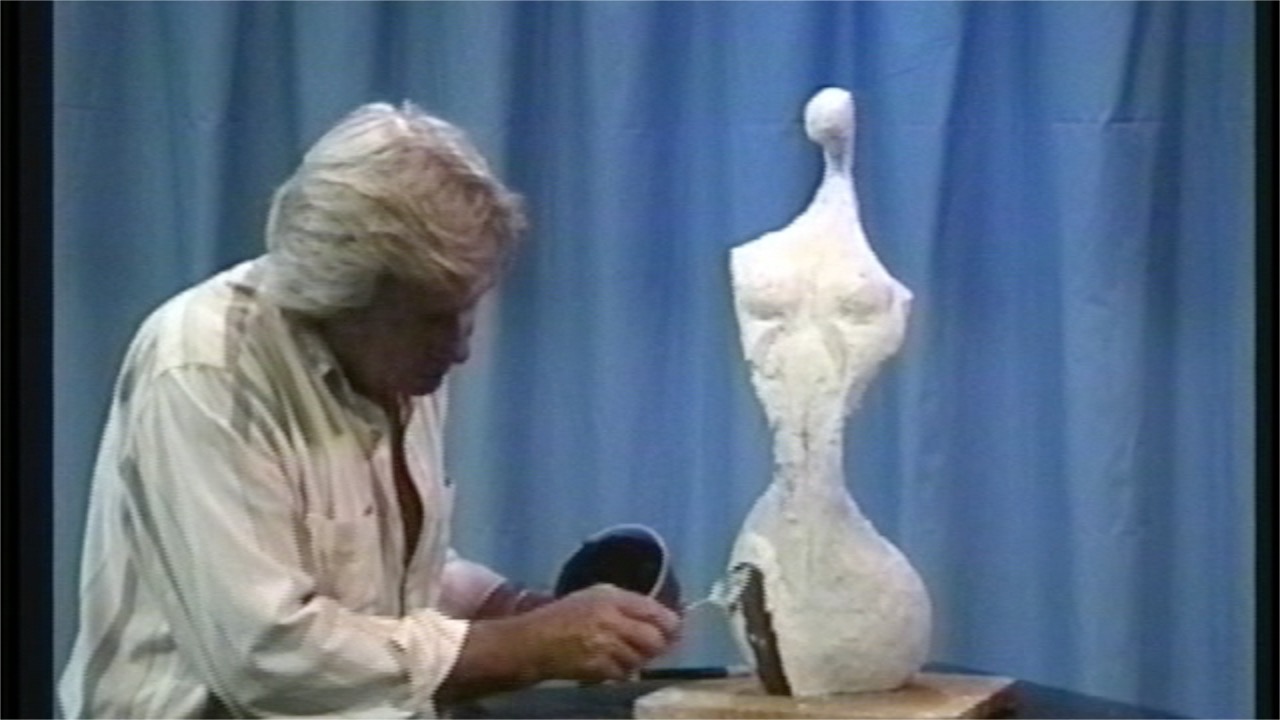


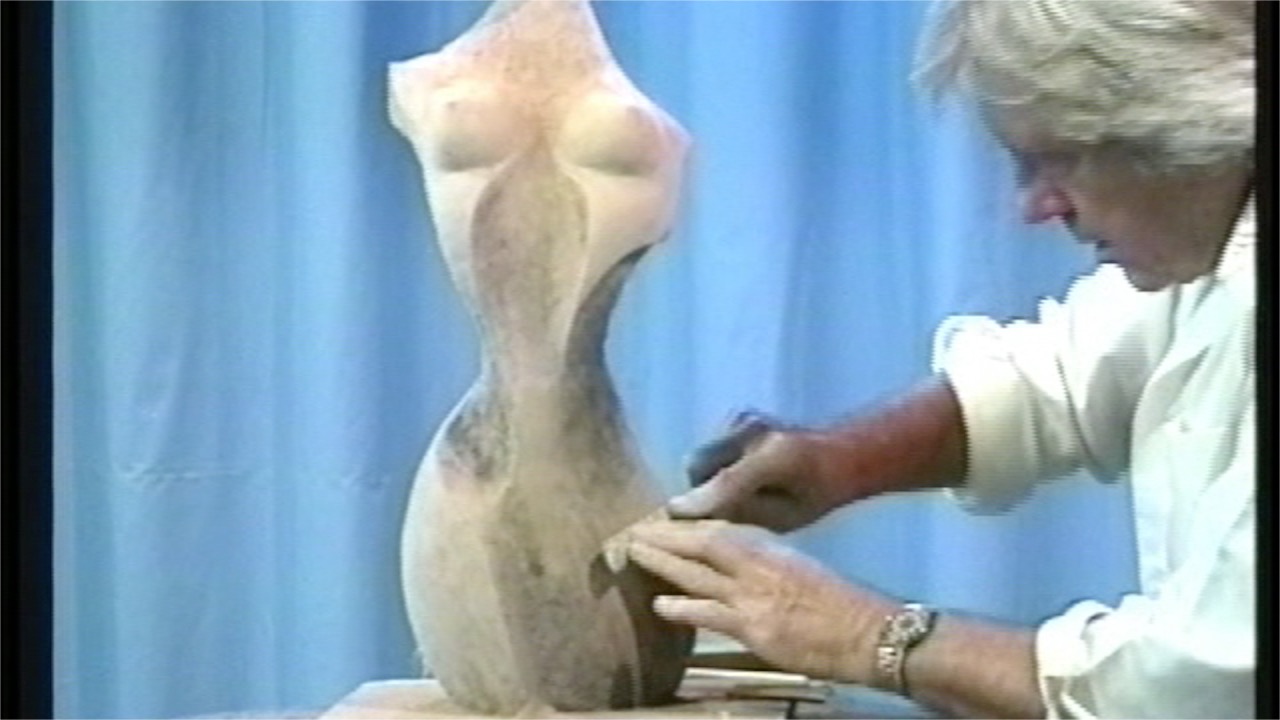


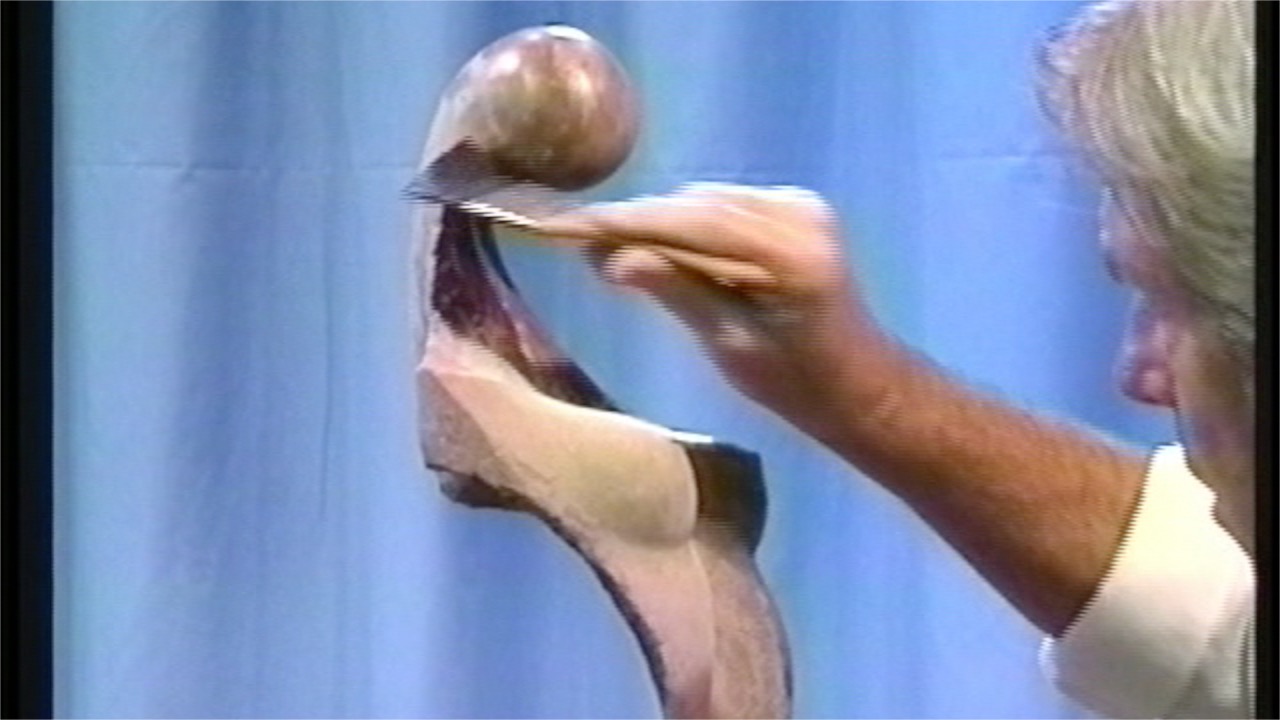
5. Soft Carving
- If you wish to use soft carving techniques, within a few hours of application, Winterstone sets to the degree that soft carving techniques can be used. Afterwards you can add more Winterstone or finish the sculpture.
6. Hard Carving
- If you wish to use hard carving techniques, after 24 hours you can use a Dremel or similar type of hard caring tool. Again, afterwards you can continue to add more layers if you wish or finish the piece.
7. Drying/Curing
- You have finished adding Winterstone and are ready to start to finish the sculpture. As before, at the end of the session loosely cover the sculpture with plastic to keep the moisture in for the initial 24 hours. This is required for critical strength development.
- After 24 hours remove the plastic and let it air dry for an additional 48 hours.
8. Sanding
- Rasps and sanding paper can be used as required. Silicone Carbide Sandpapers #120, 180, 220, 320 & 400 are good to use.
- Winterstone gets harder and stronger every day it is left to dry. If you wish to sand or rasp to achieve a super smooth surface, know that the longer you wait the less easily the Winterstone will be sanded away.
9. Patination
- At this point external patination can be applied. (see "Patination" instructions page)
10. Sealing
- Finally a sealer should be applied to protect the patina. (see "Sealing" instructions page)