Casting Mix FAQ
What is different about Casting Mix?
- When mixed with water Casting Mix is quite liquid and pourable. It has improved strength and shrinkage resistance with fine detail reproduction capabilities. It is ideal for casting thin shell sculptures or bas reliefs using the slush casting technique.
Can I add any fillers to Casting Mix?
- Other than pigments, no other additional fillers (i.e., metallic powders) are required or recommended. If metallic powders are desired, they should be used with Winterstone Ultra Mix only.
What is slush casting?
- Slush casting is when a liquid medium is poured into a mold and "slushed" around to provide a thin layer with complete coverage. Slush casting usually involves multiple pours, leaving time between the pours to allow the medium to set.
How do I reinforce Casting Mix?
- Once a face layer has been poured, chopped strand can be added to batches which will create the final thickness.
What is the yield of Casting Mix?
- One pound of dry mix produces approx. 17 cu. in. of hardened end product.
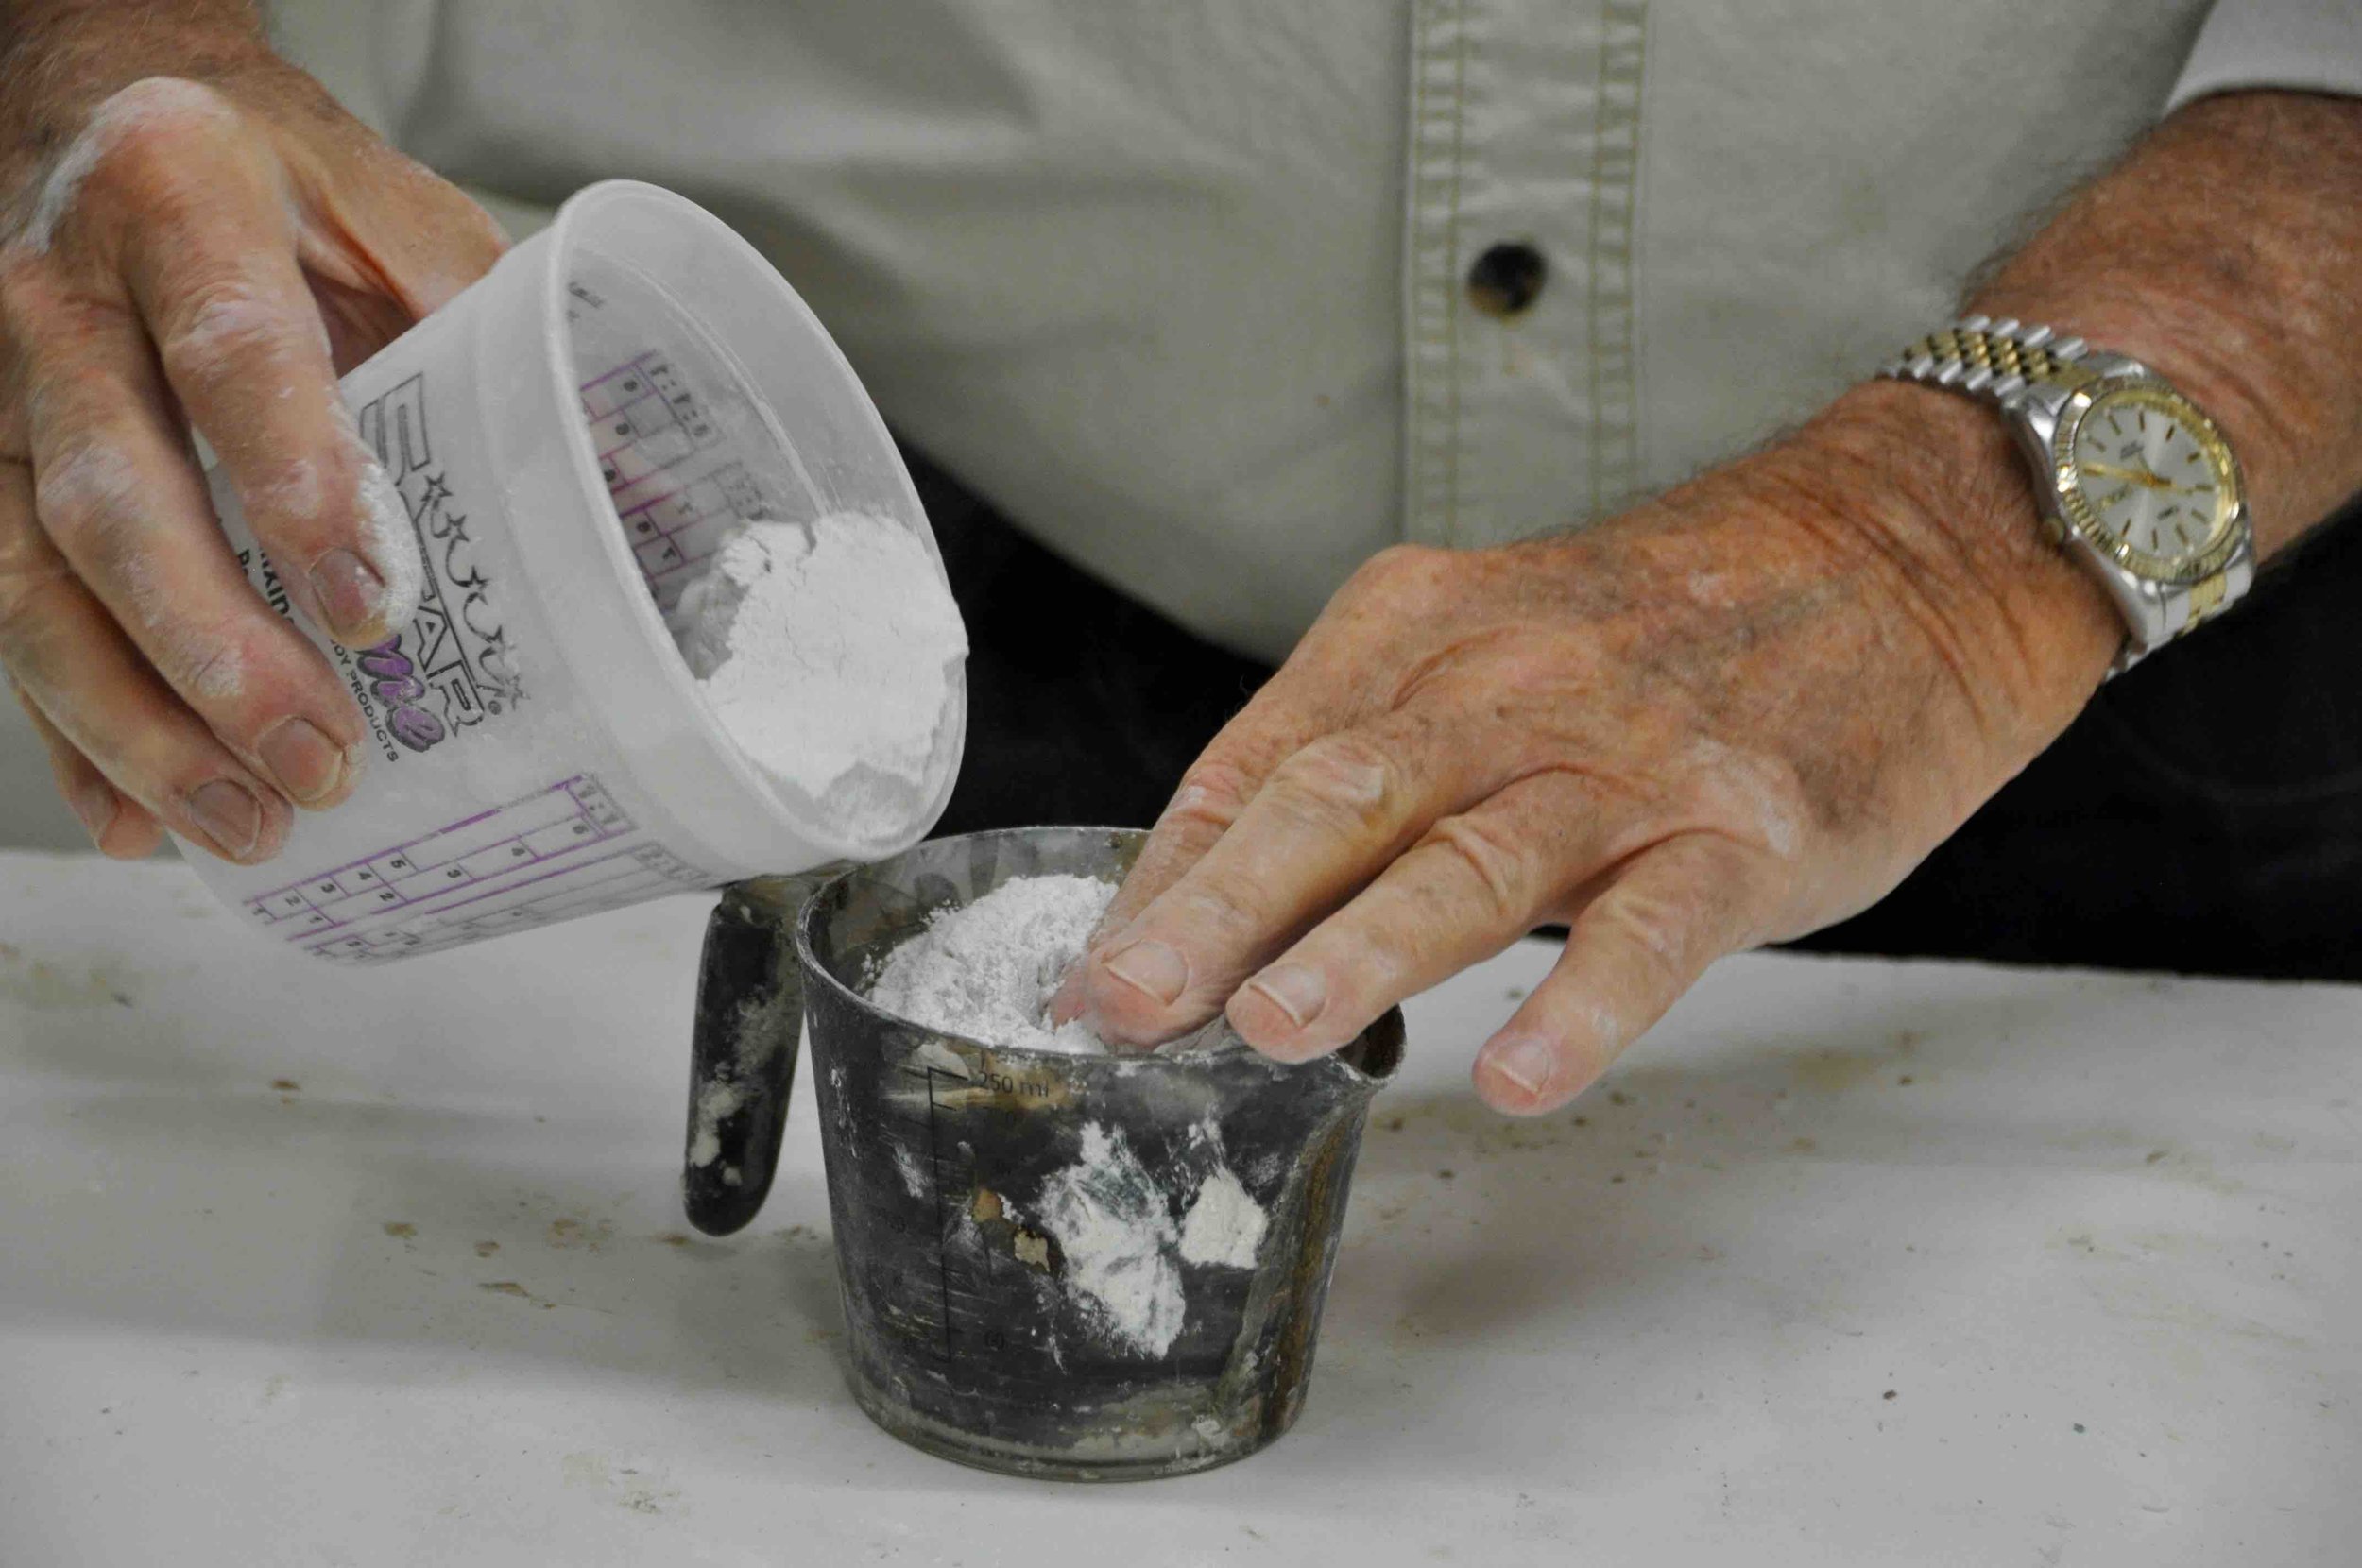
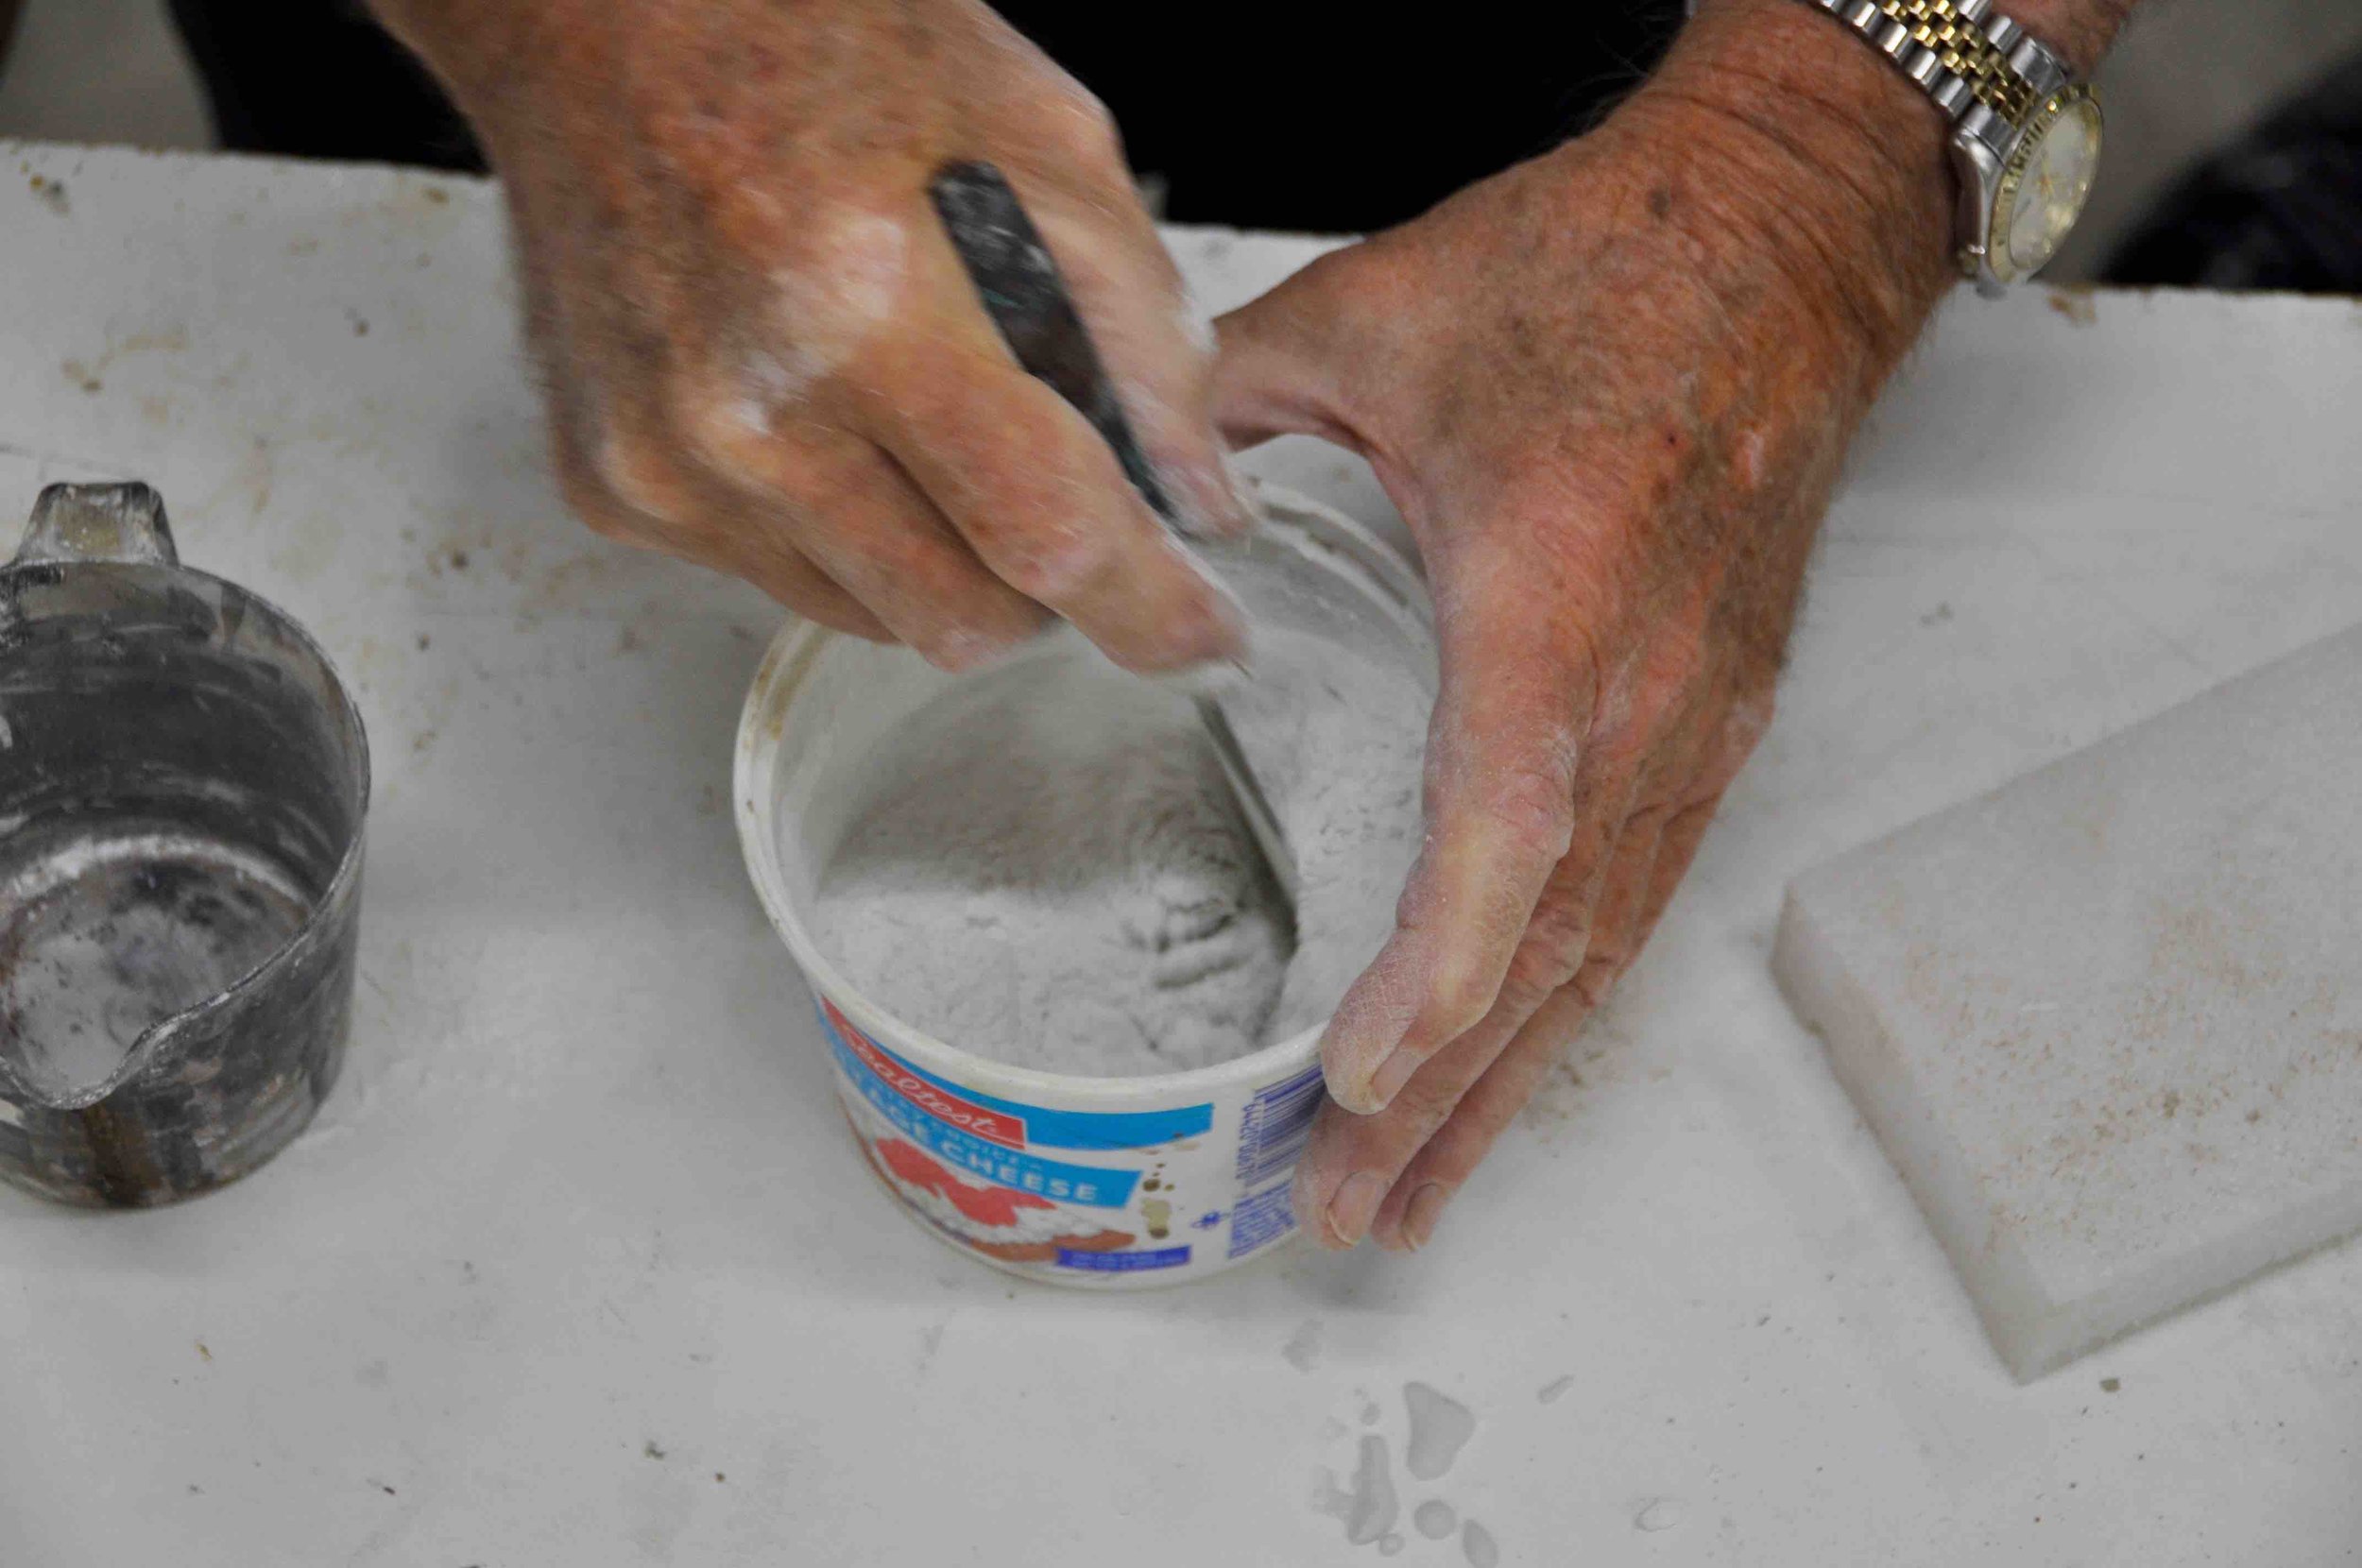
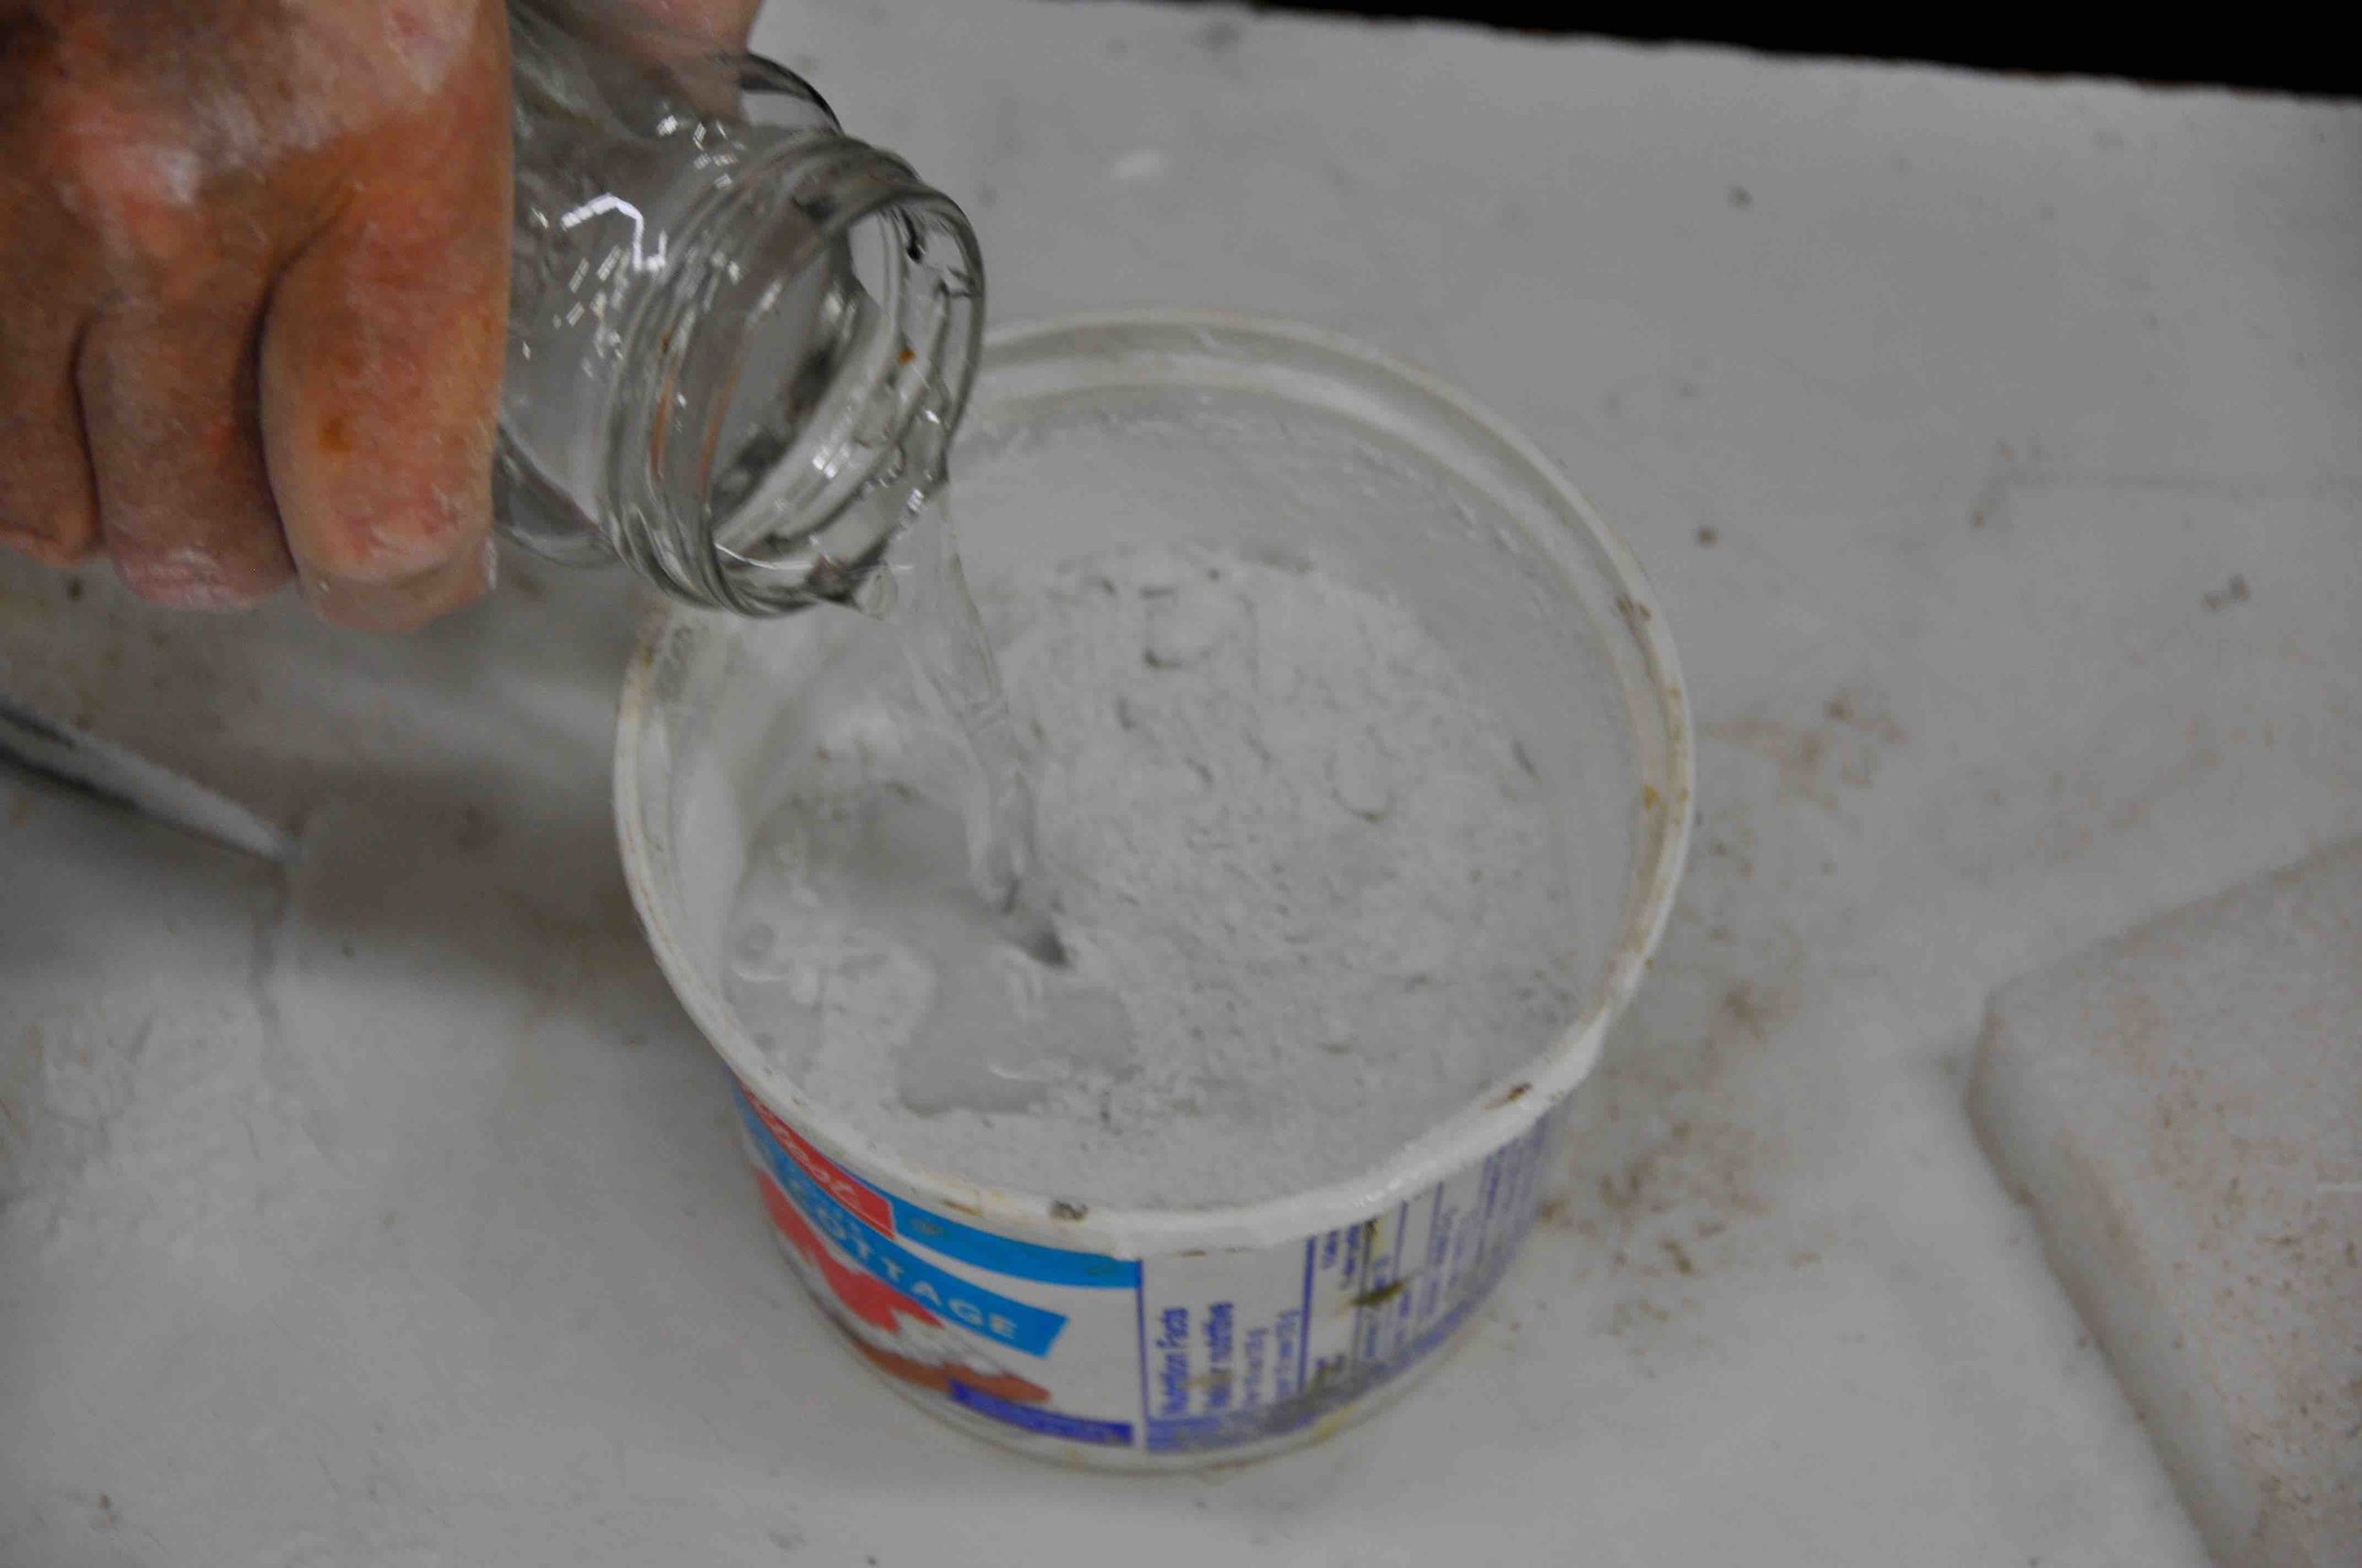
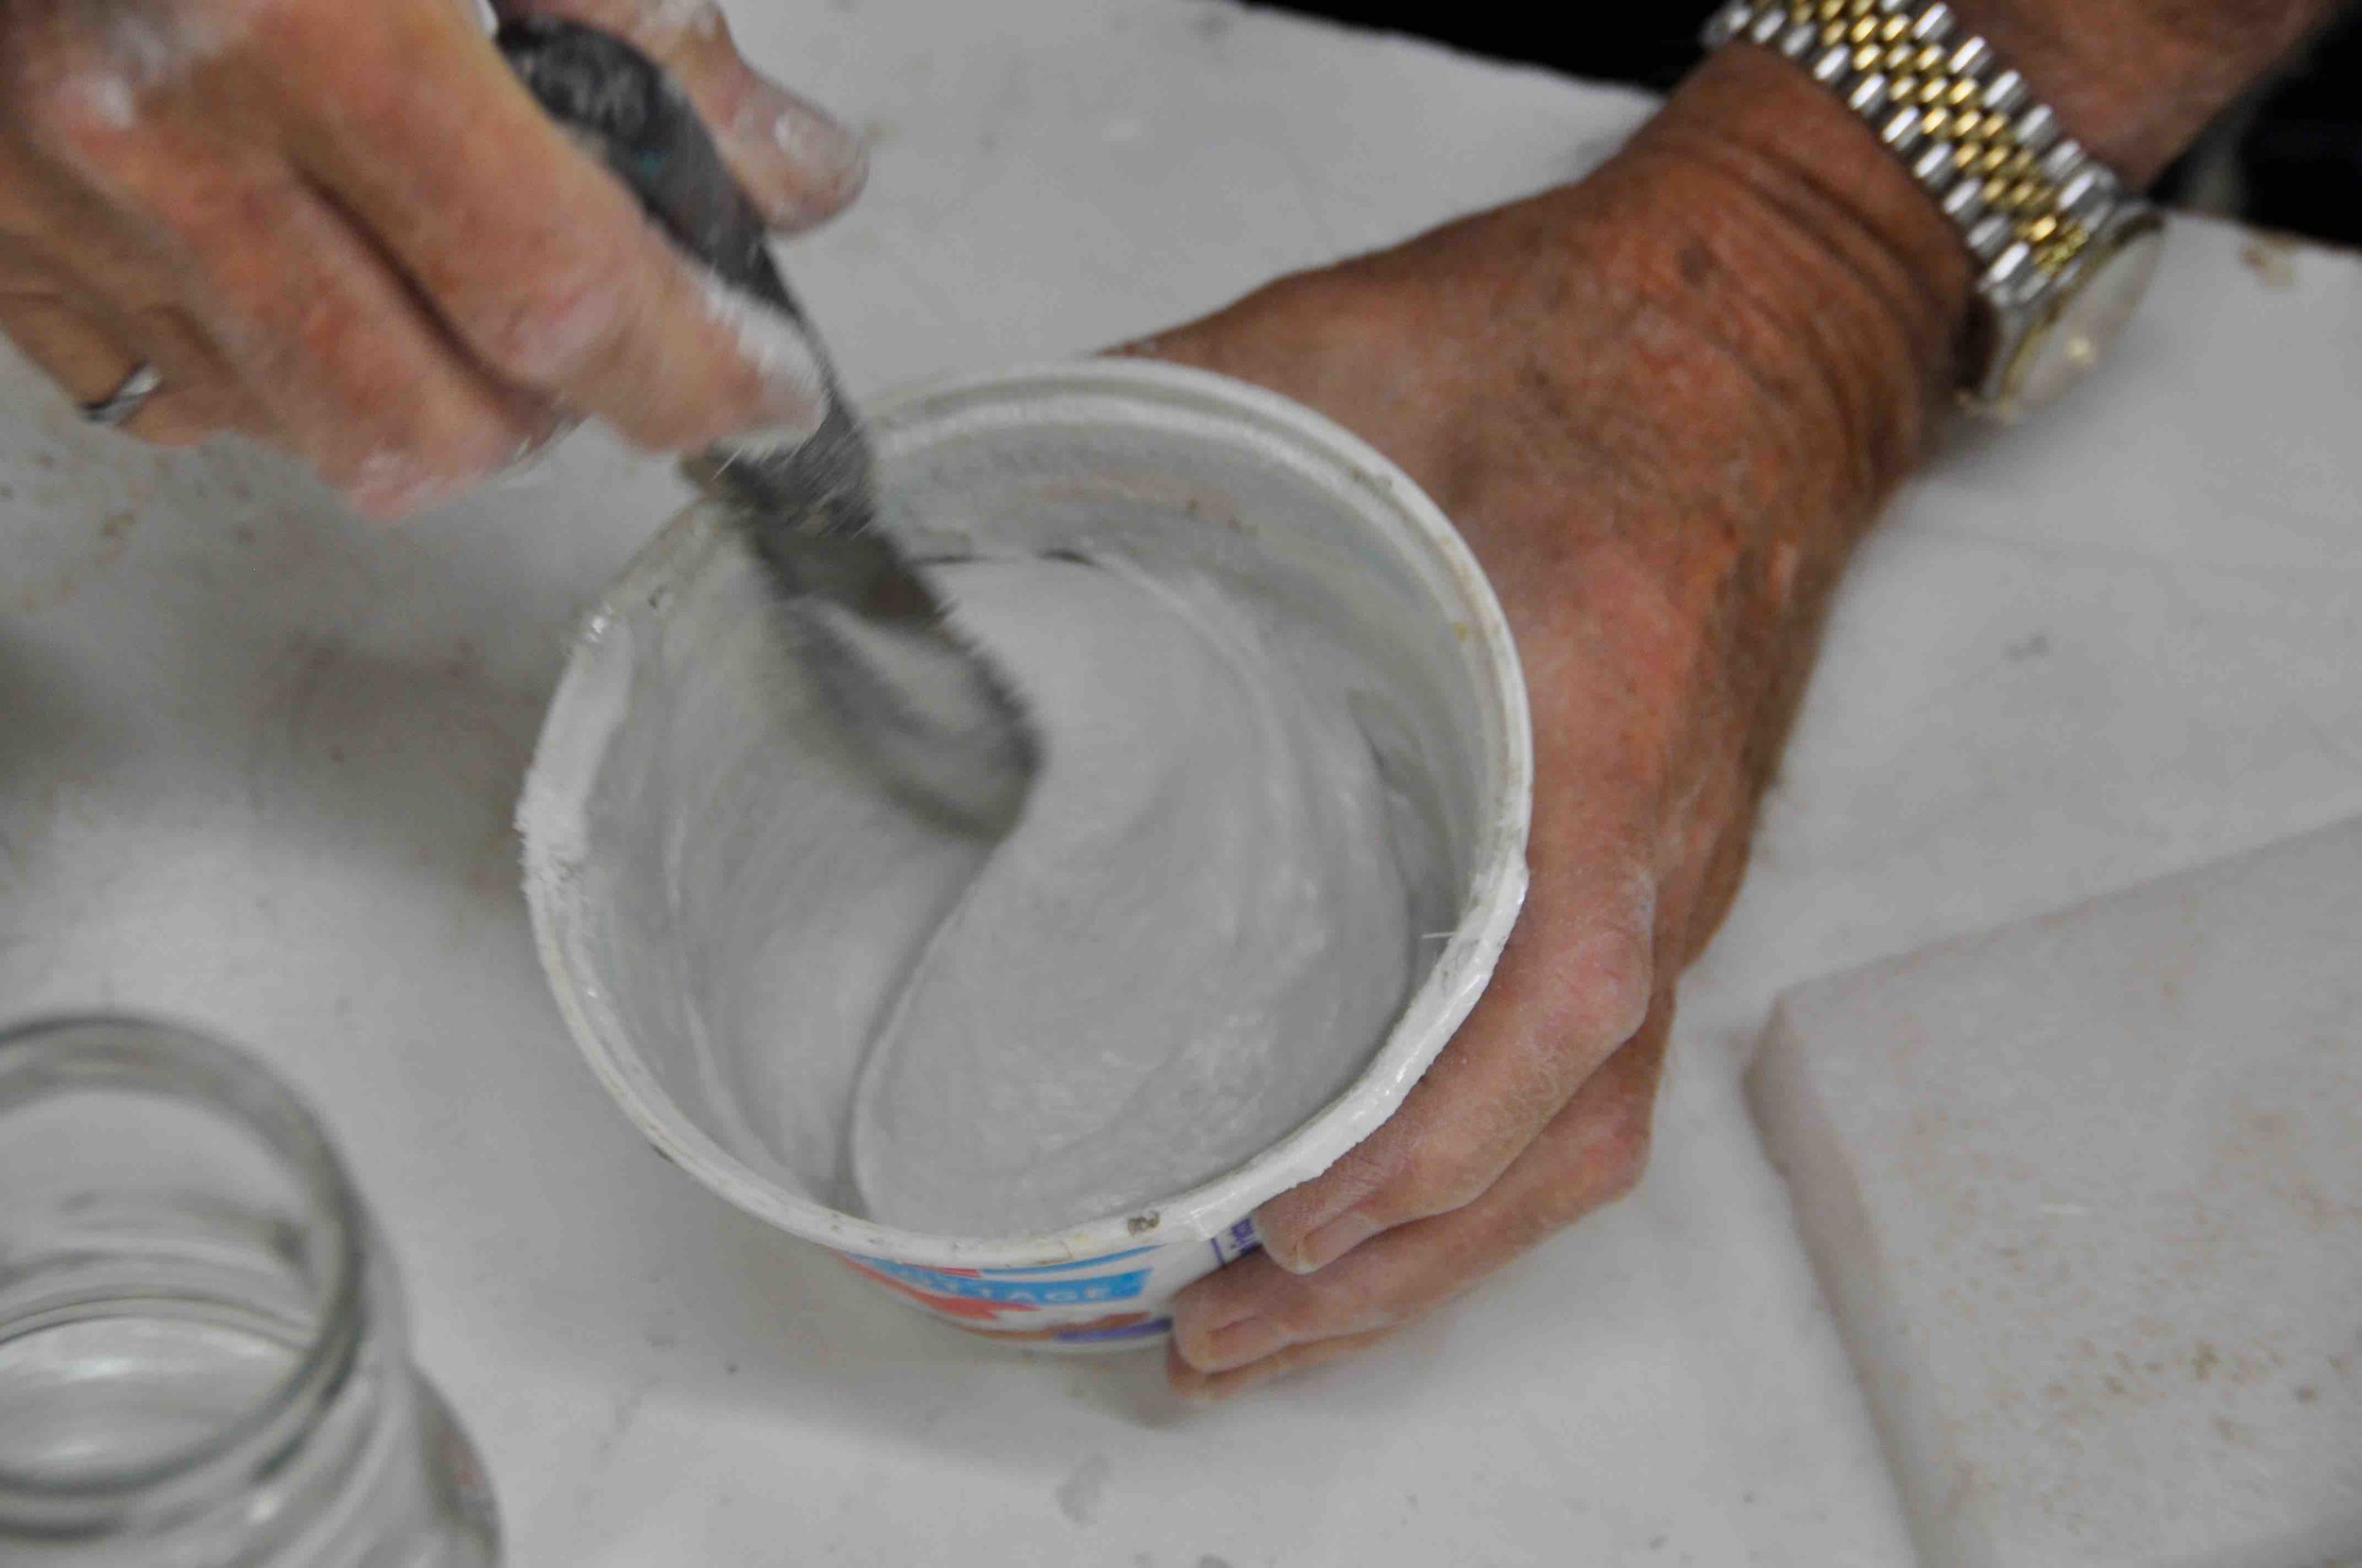
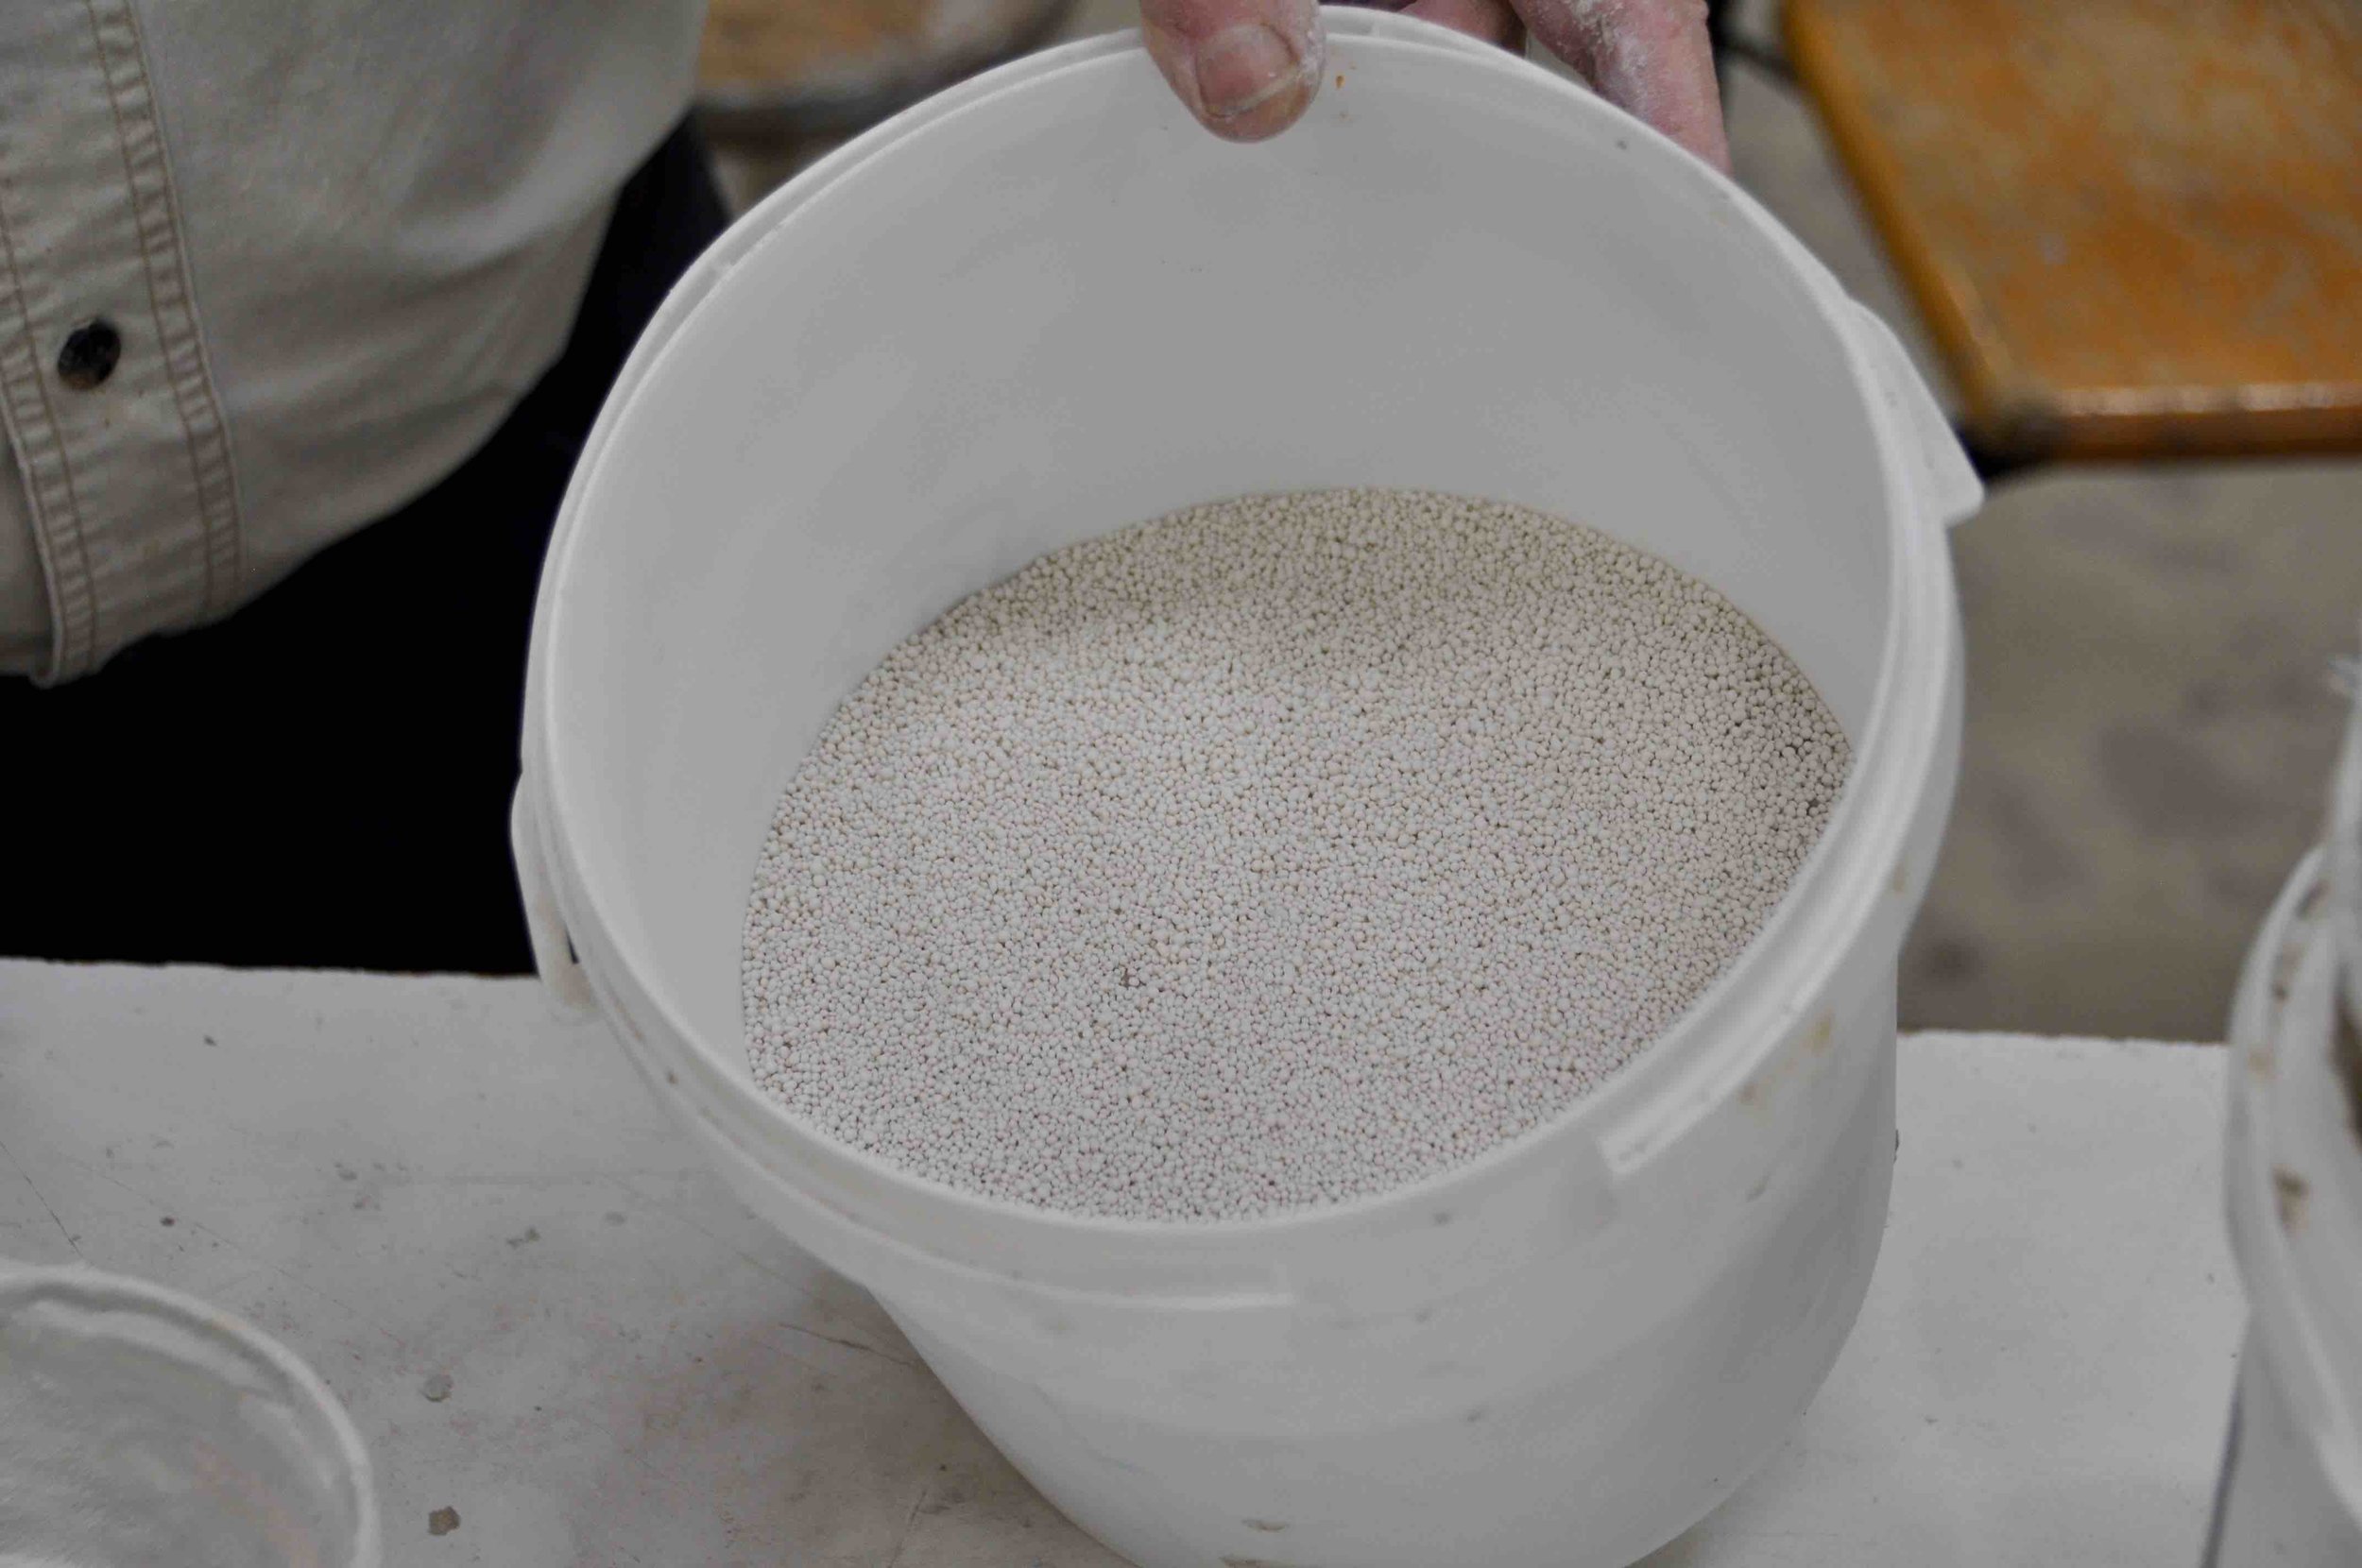
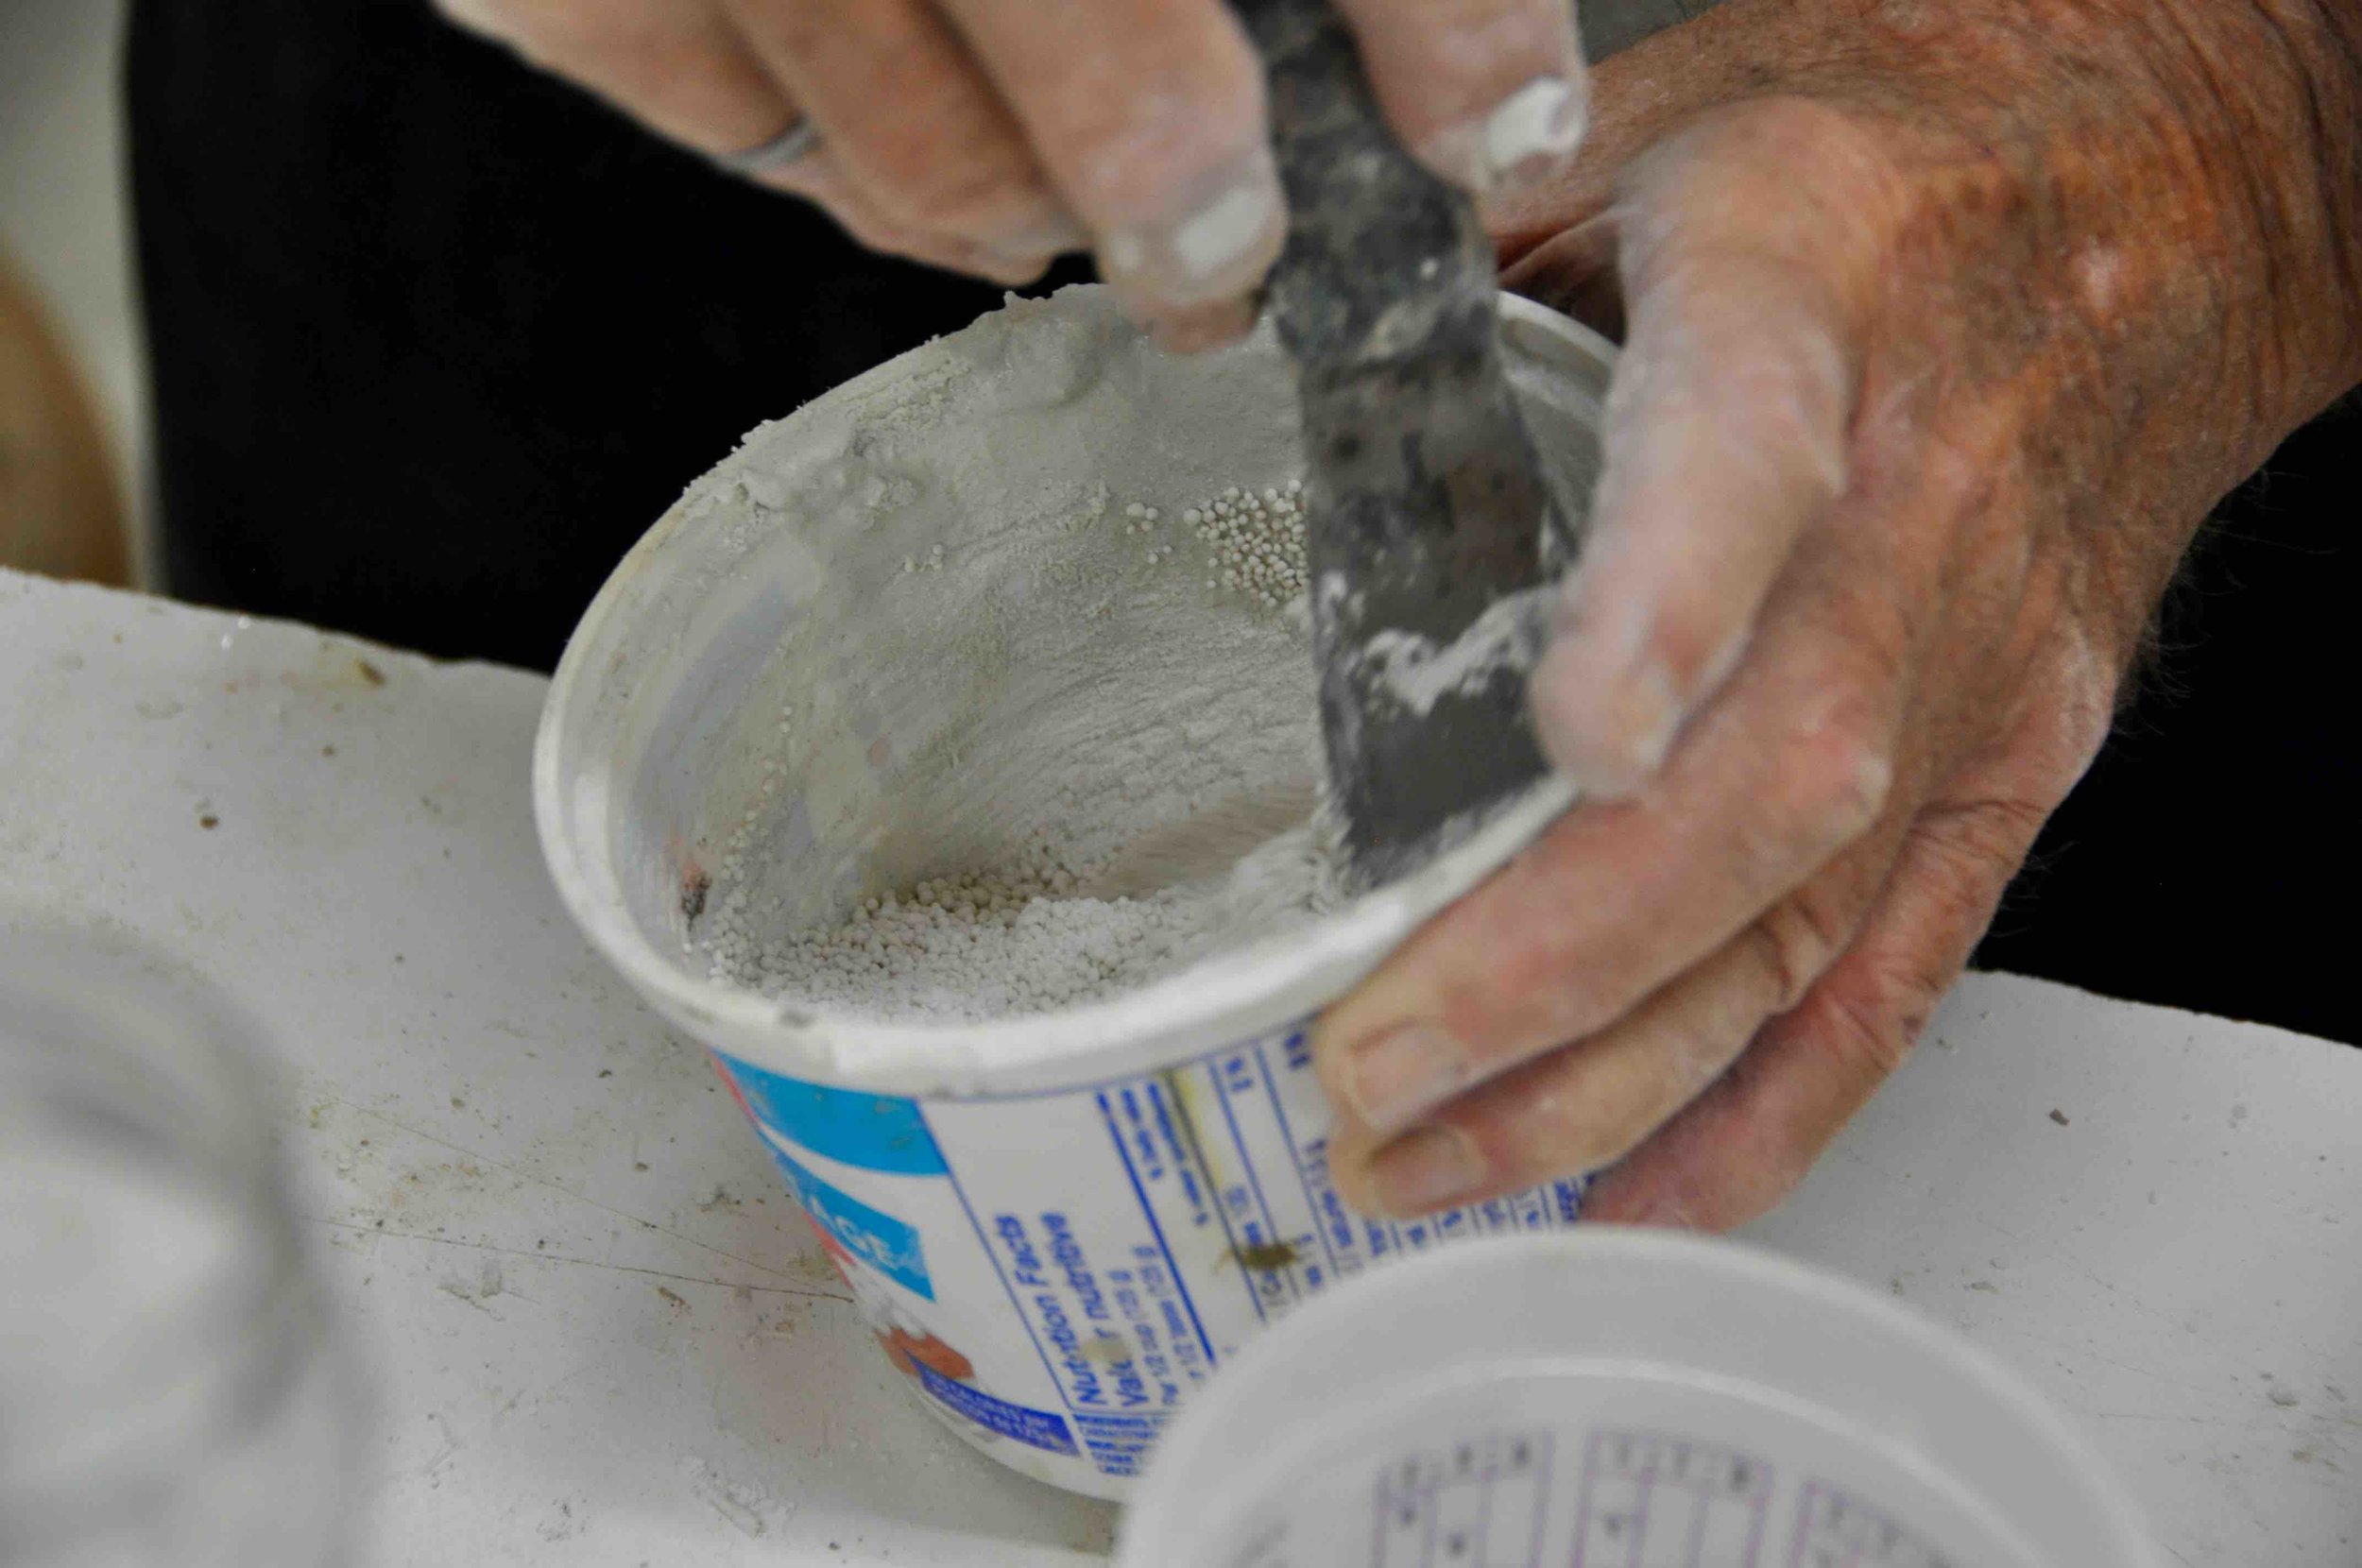
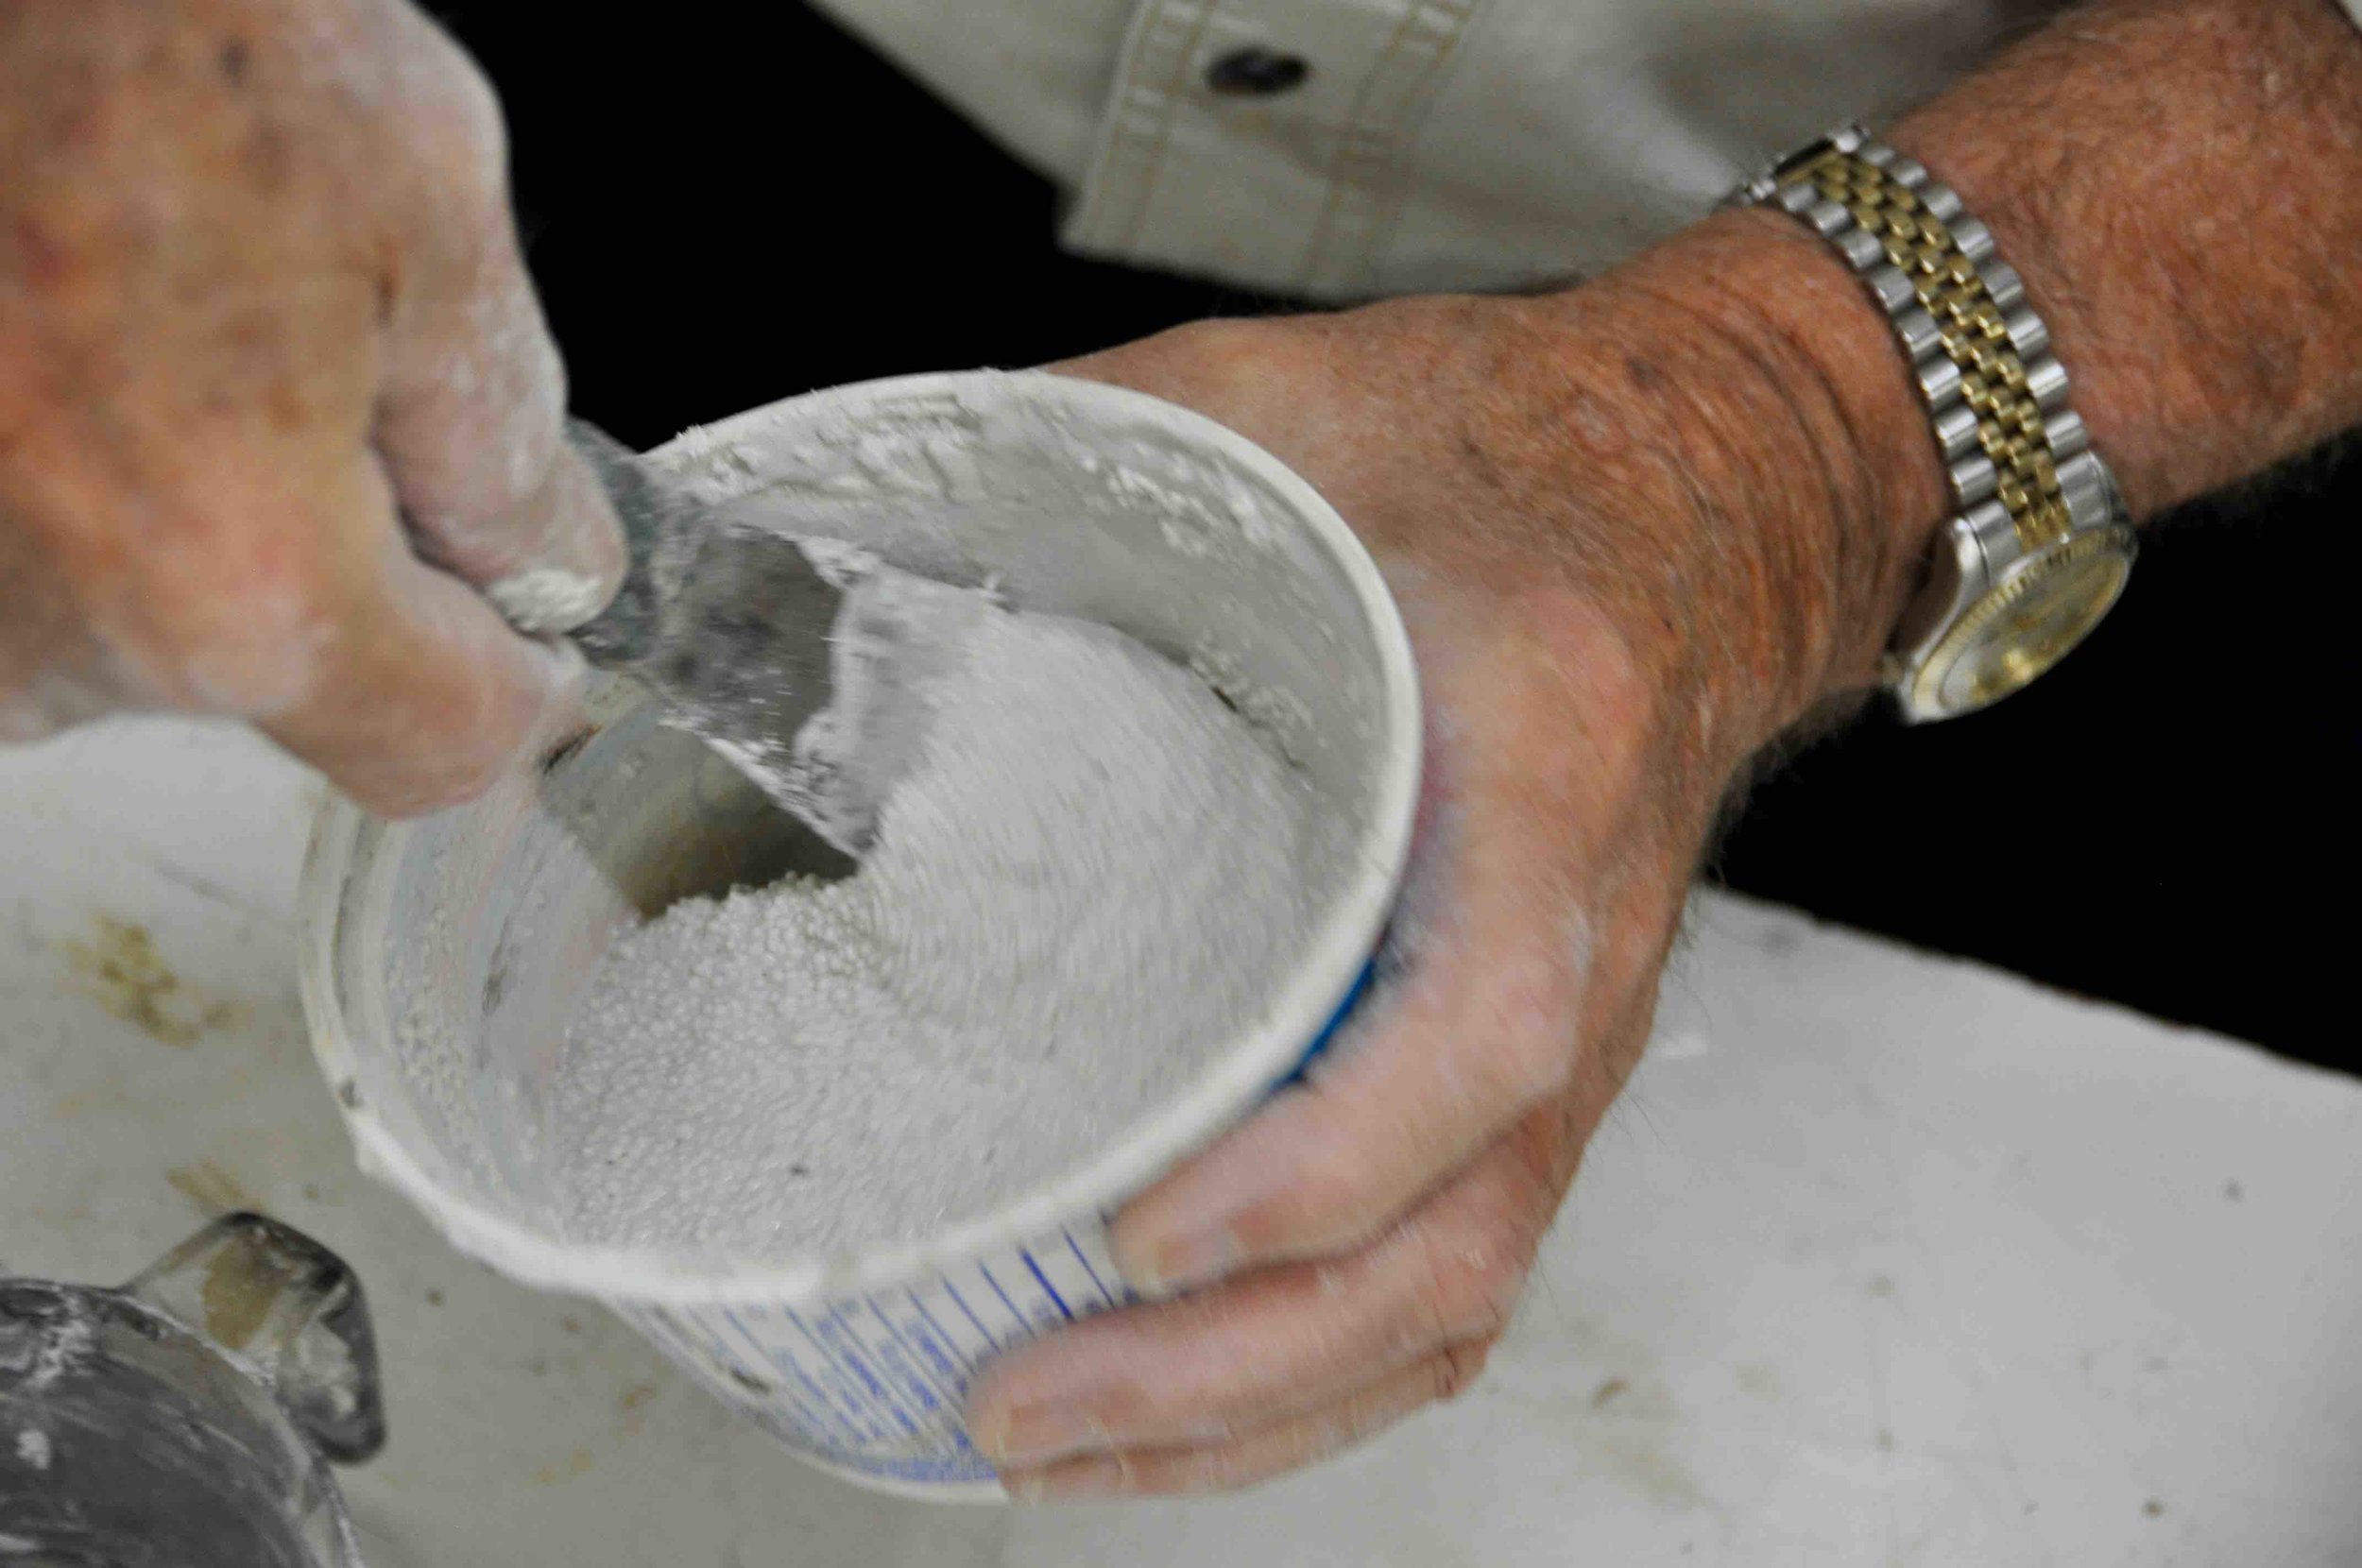
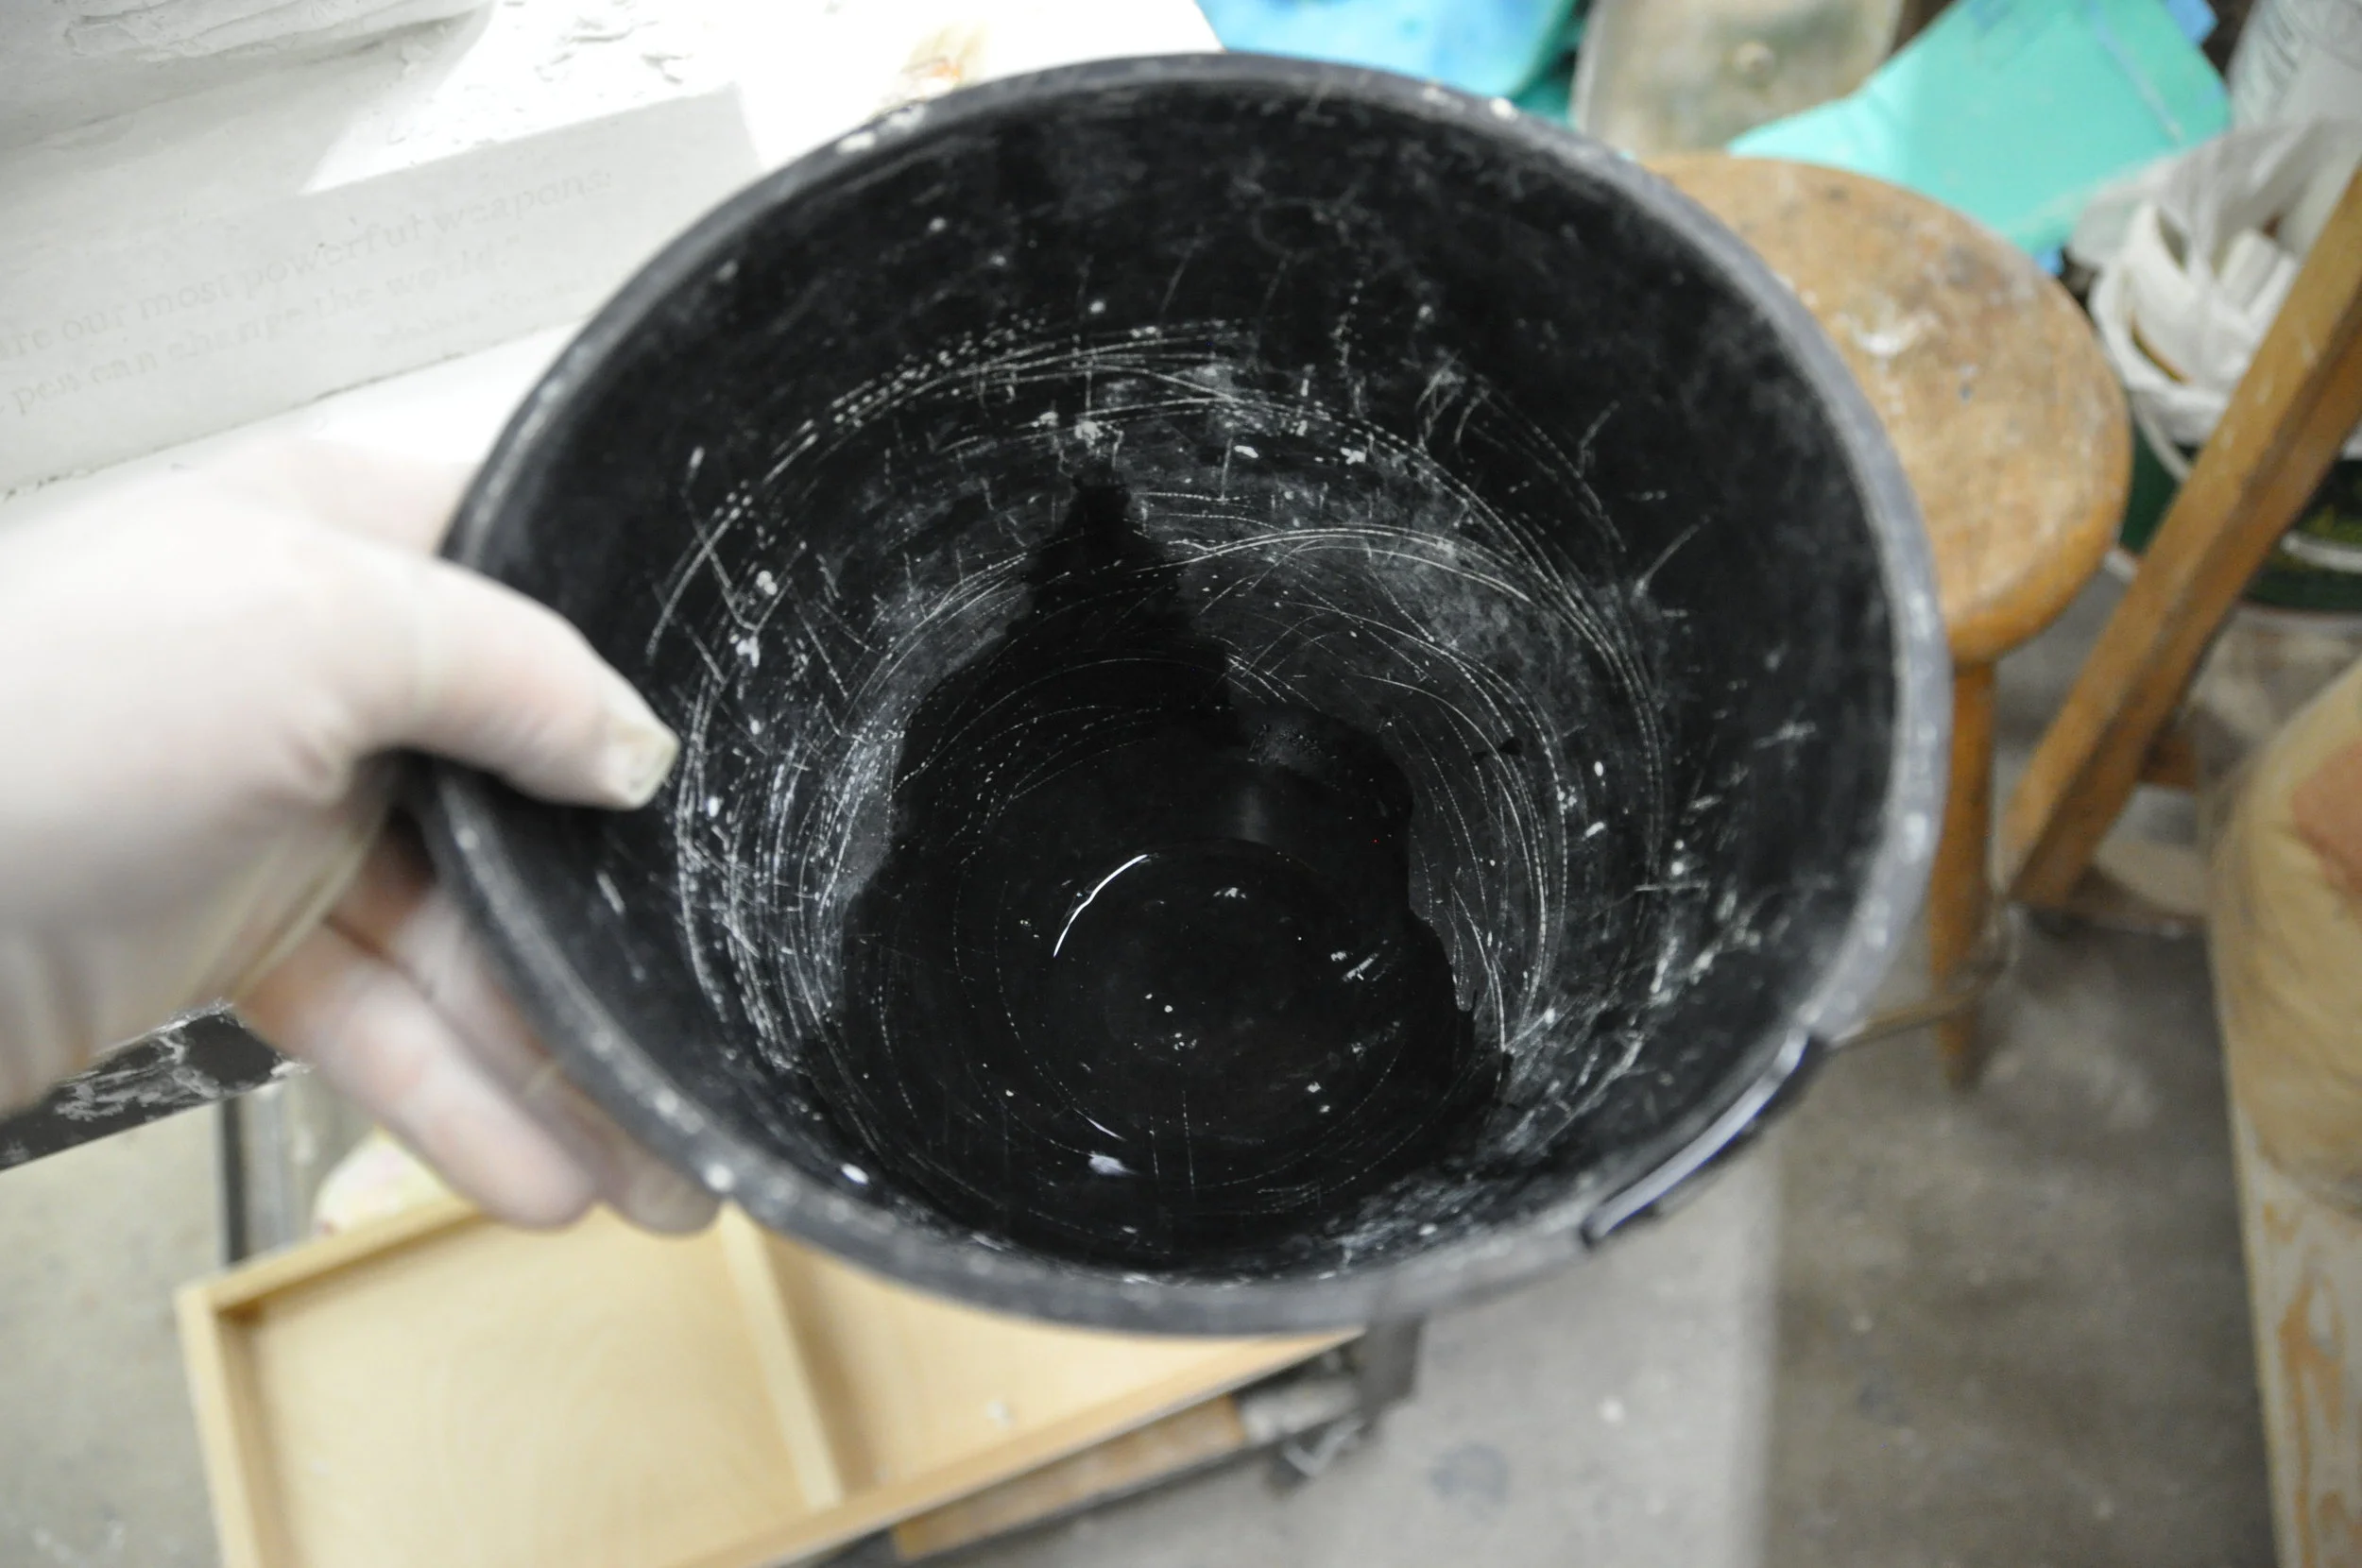
How to Mix a batch of Casting Mix
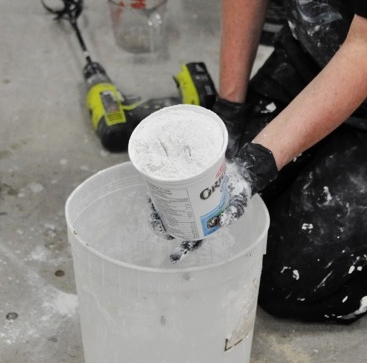
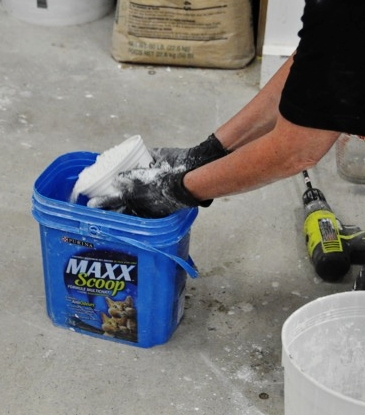
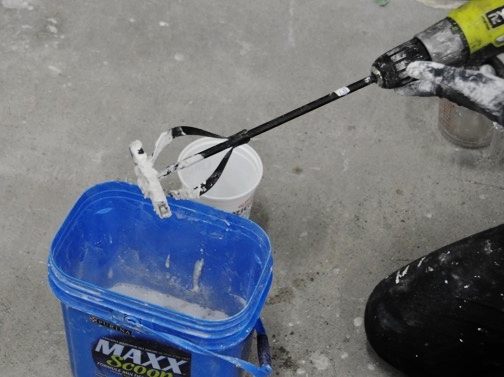
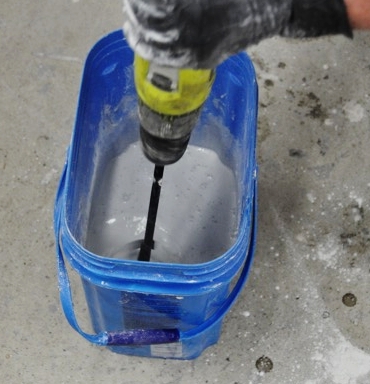
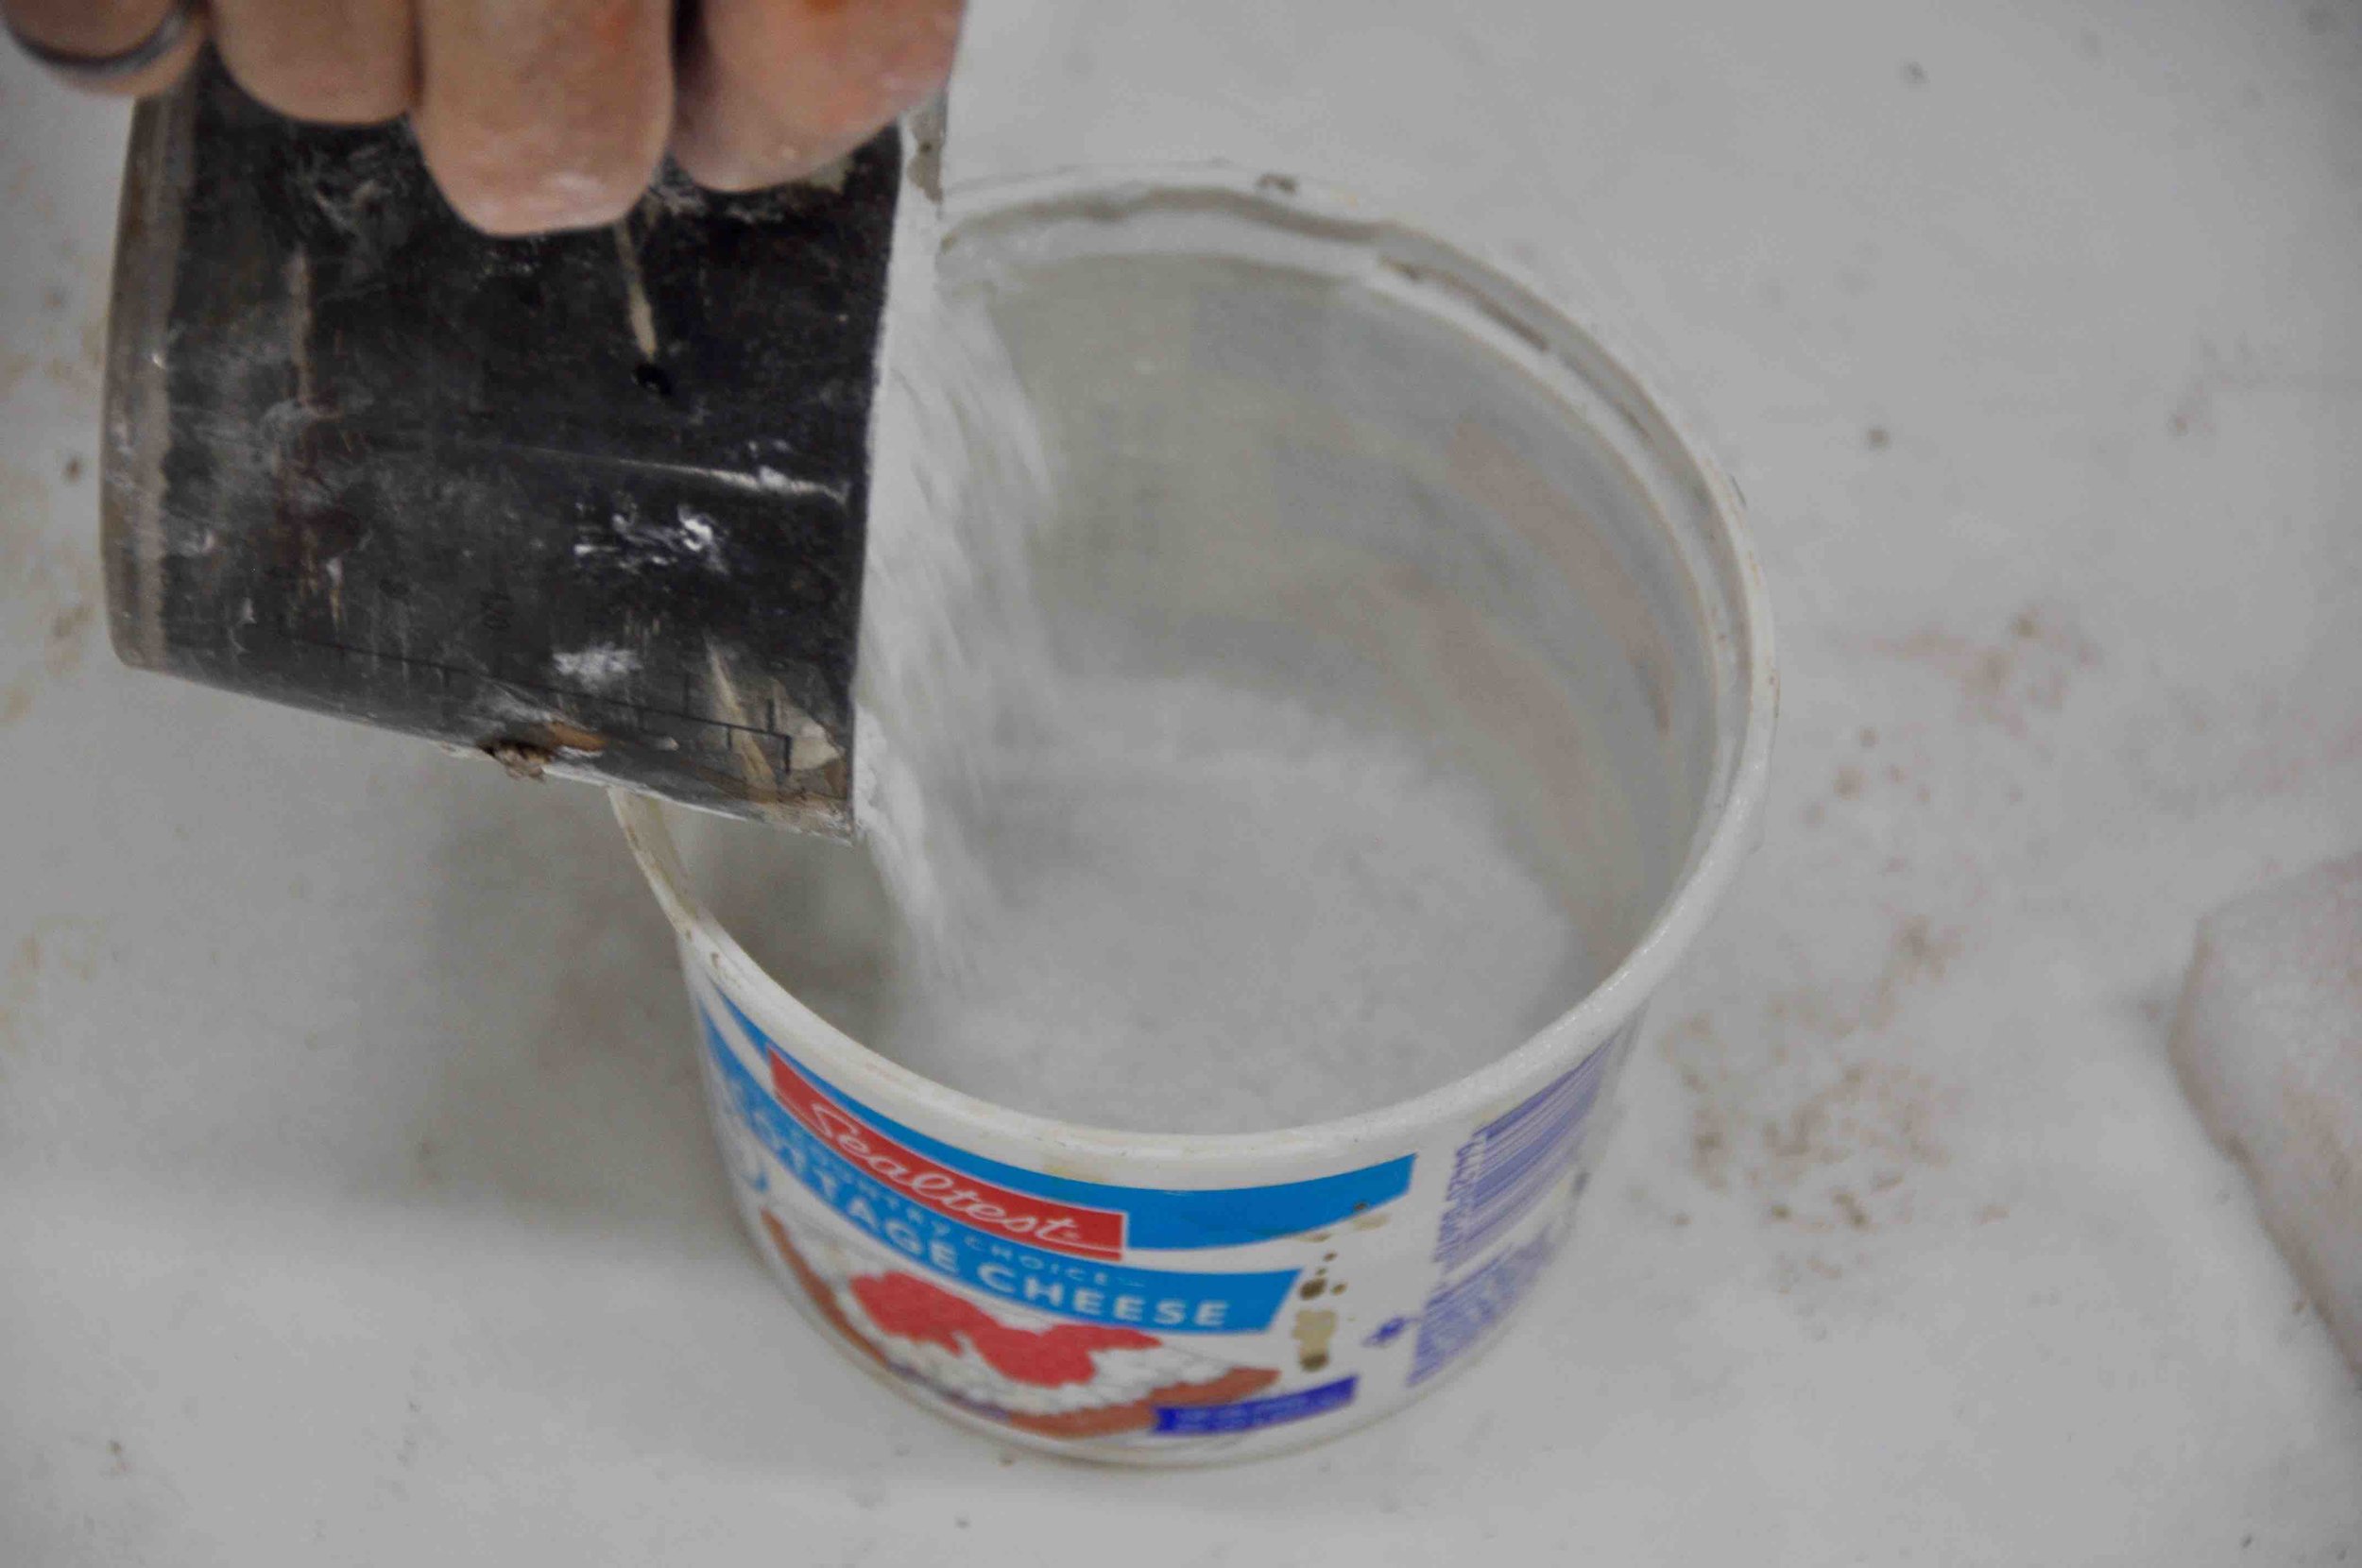
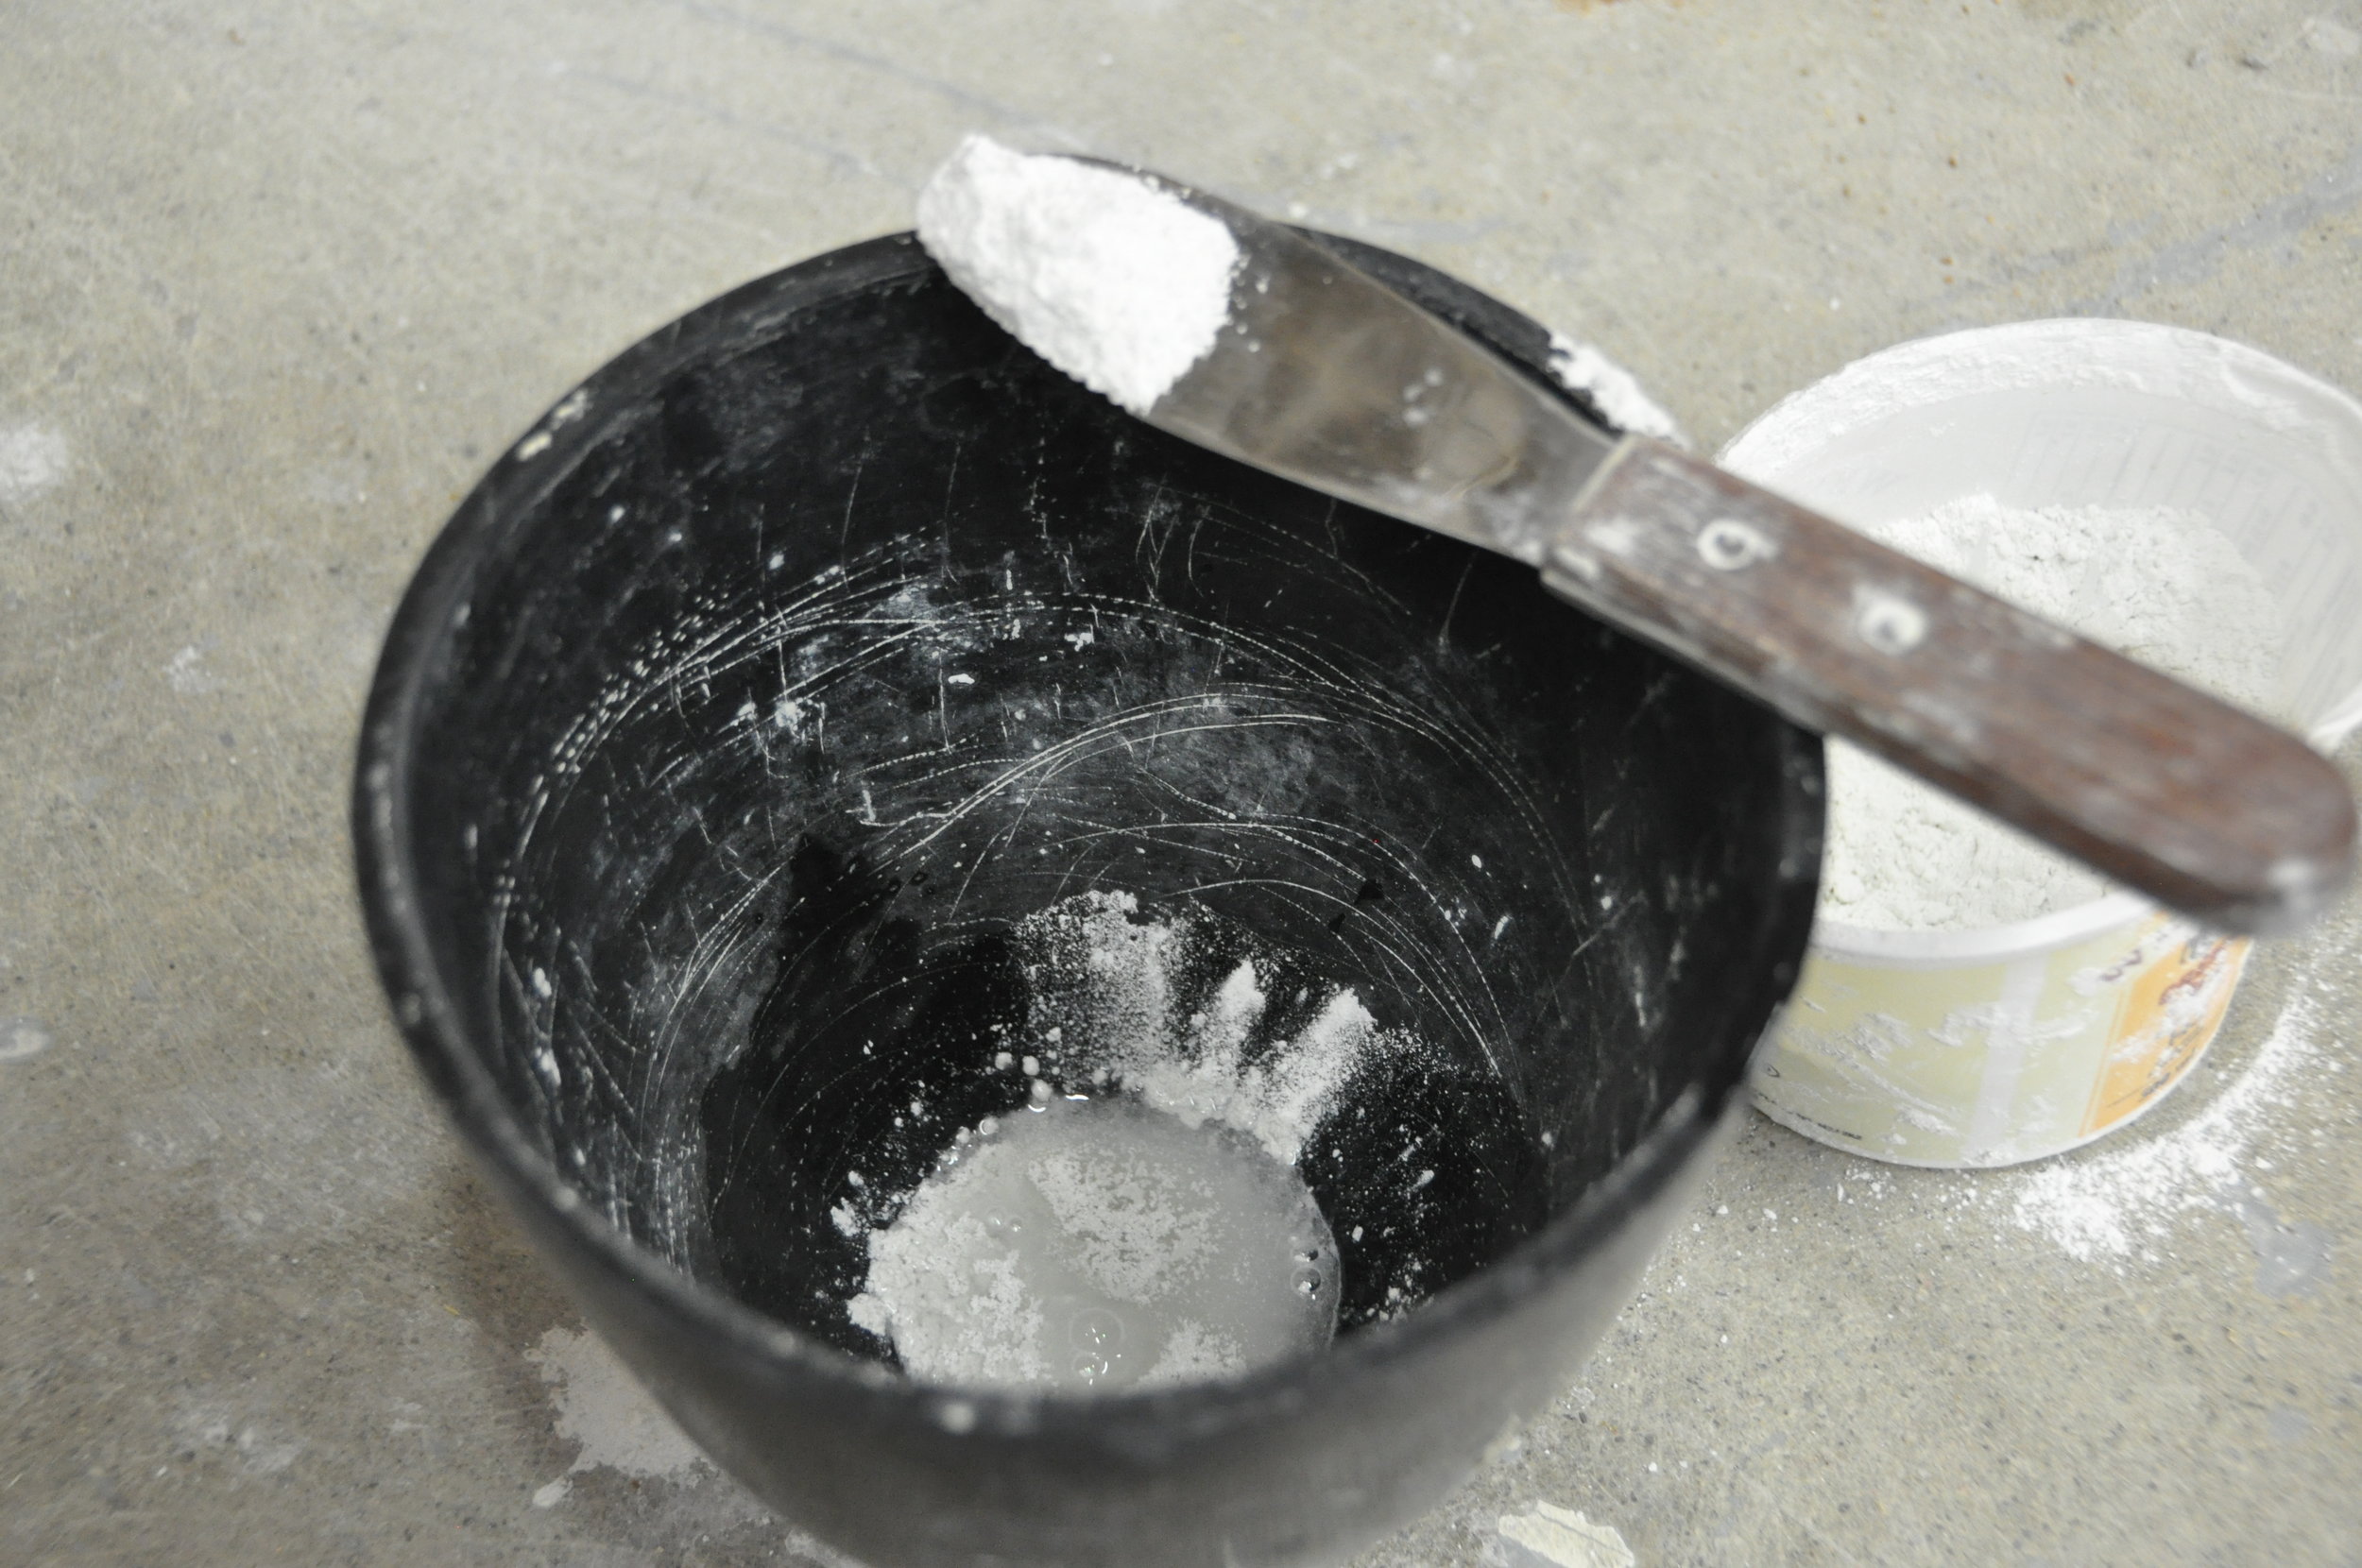
- Place the measured amount of dry mix into a container large enough to be mixed with a machine mixer (mixing attachment with a drill works best)
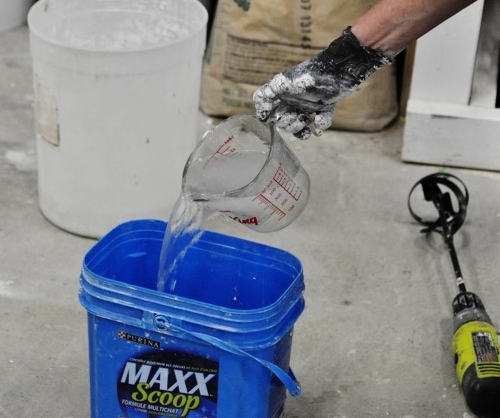
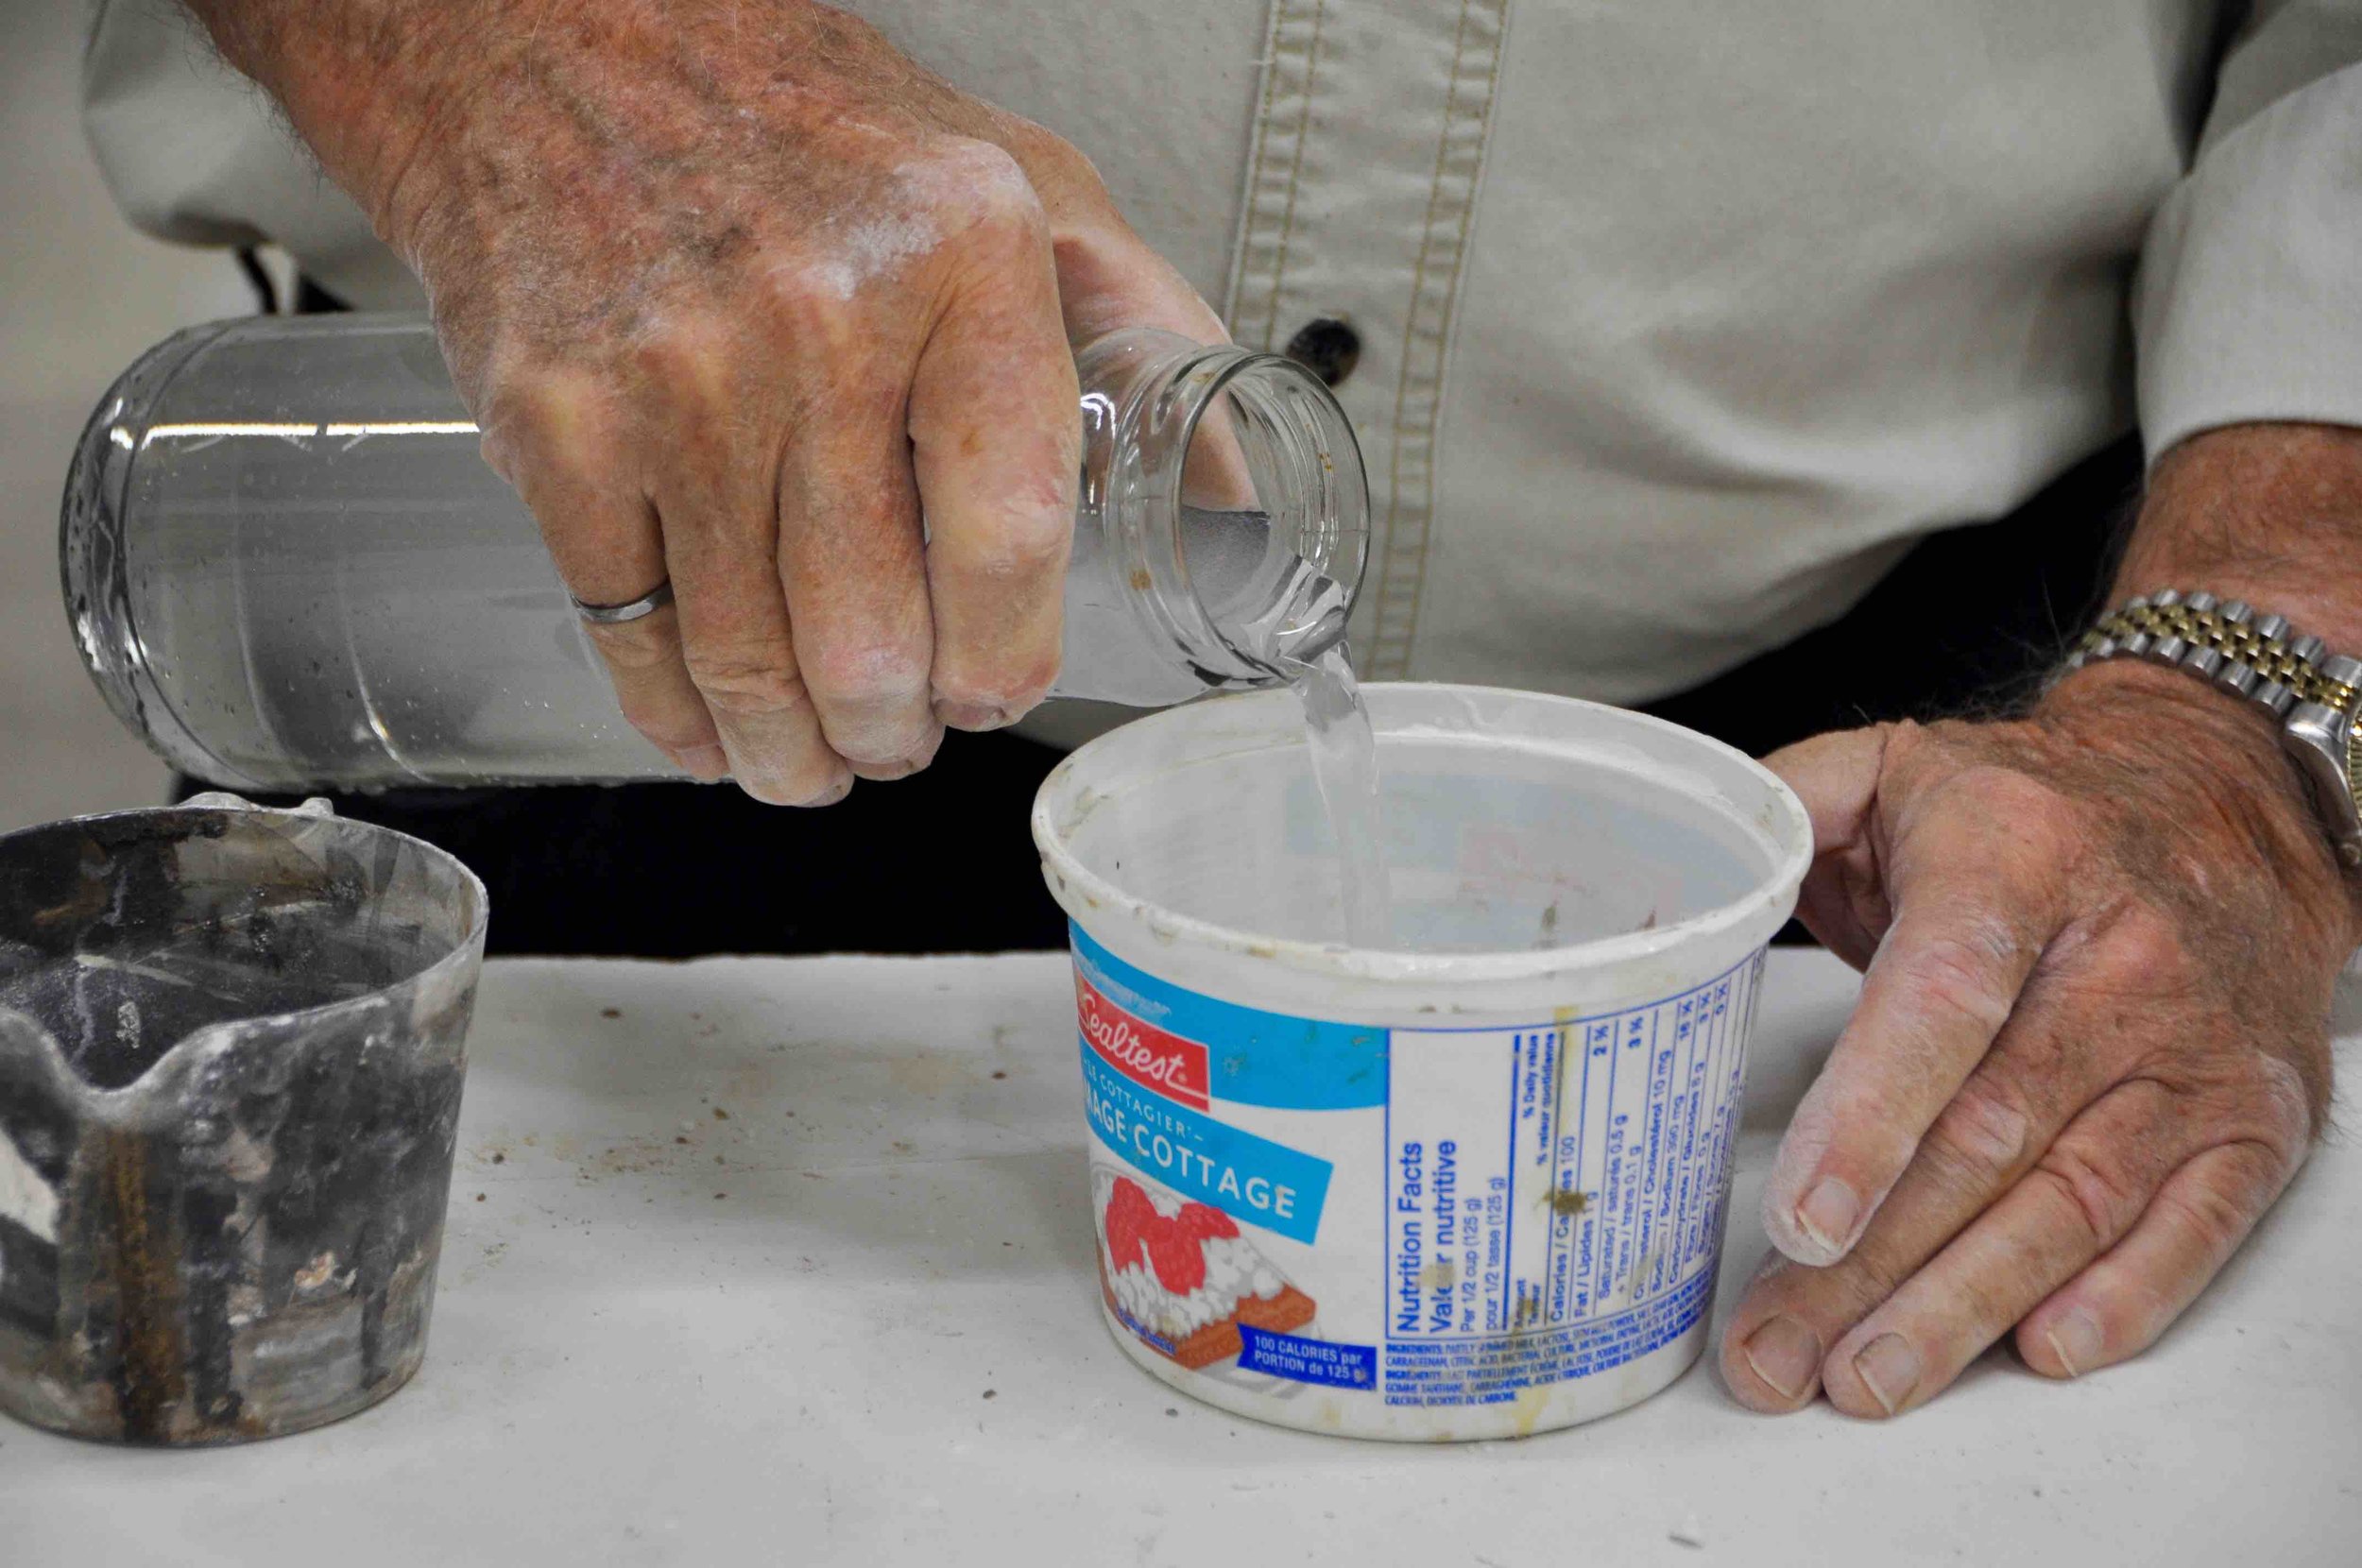
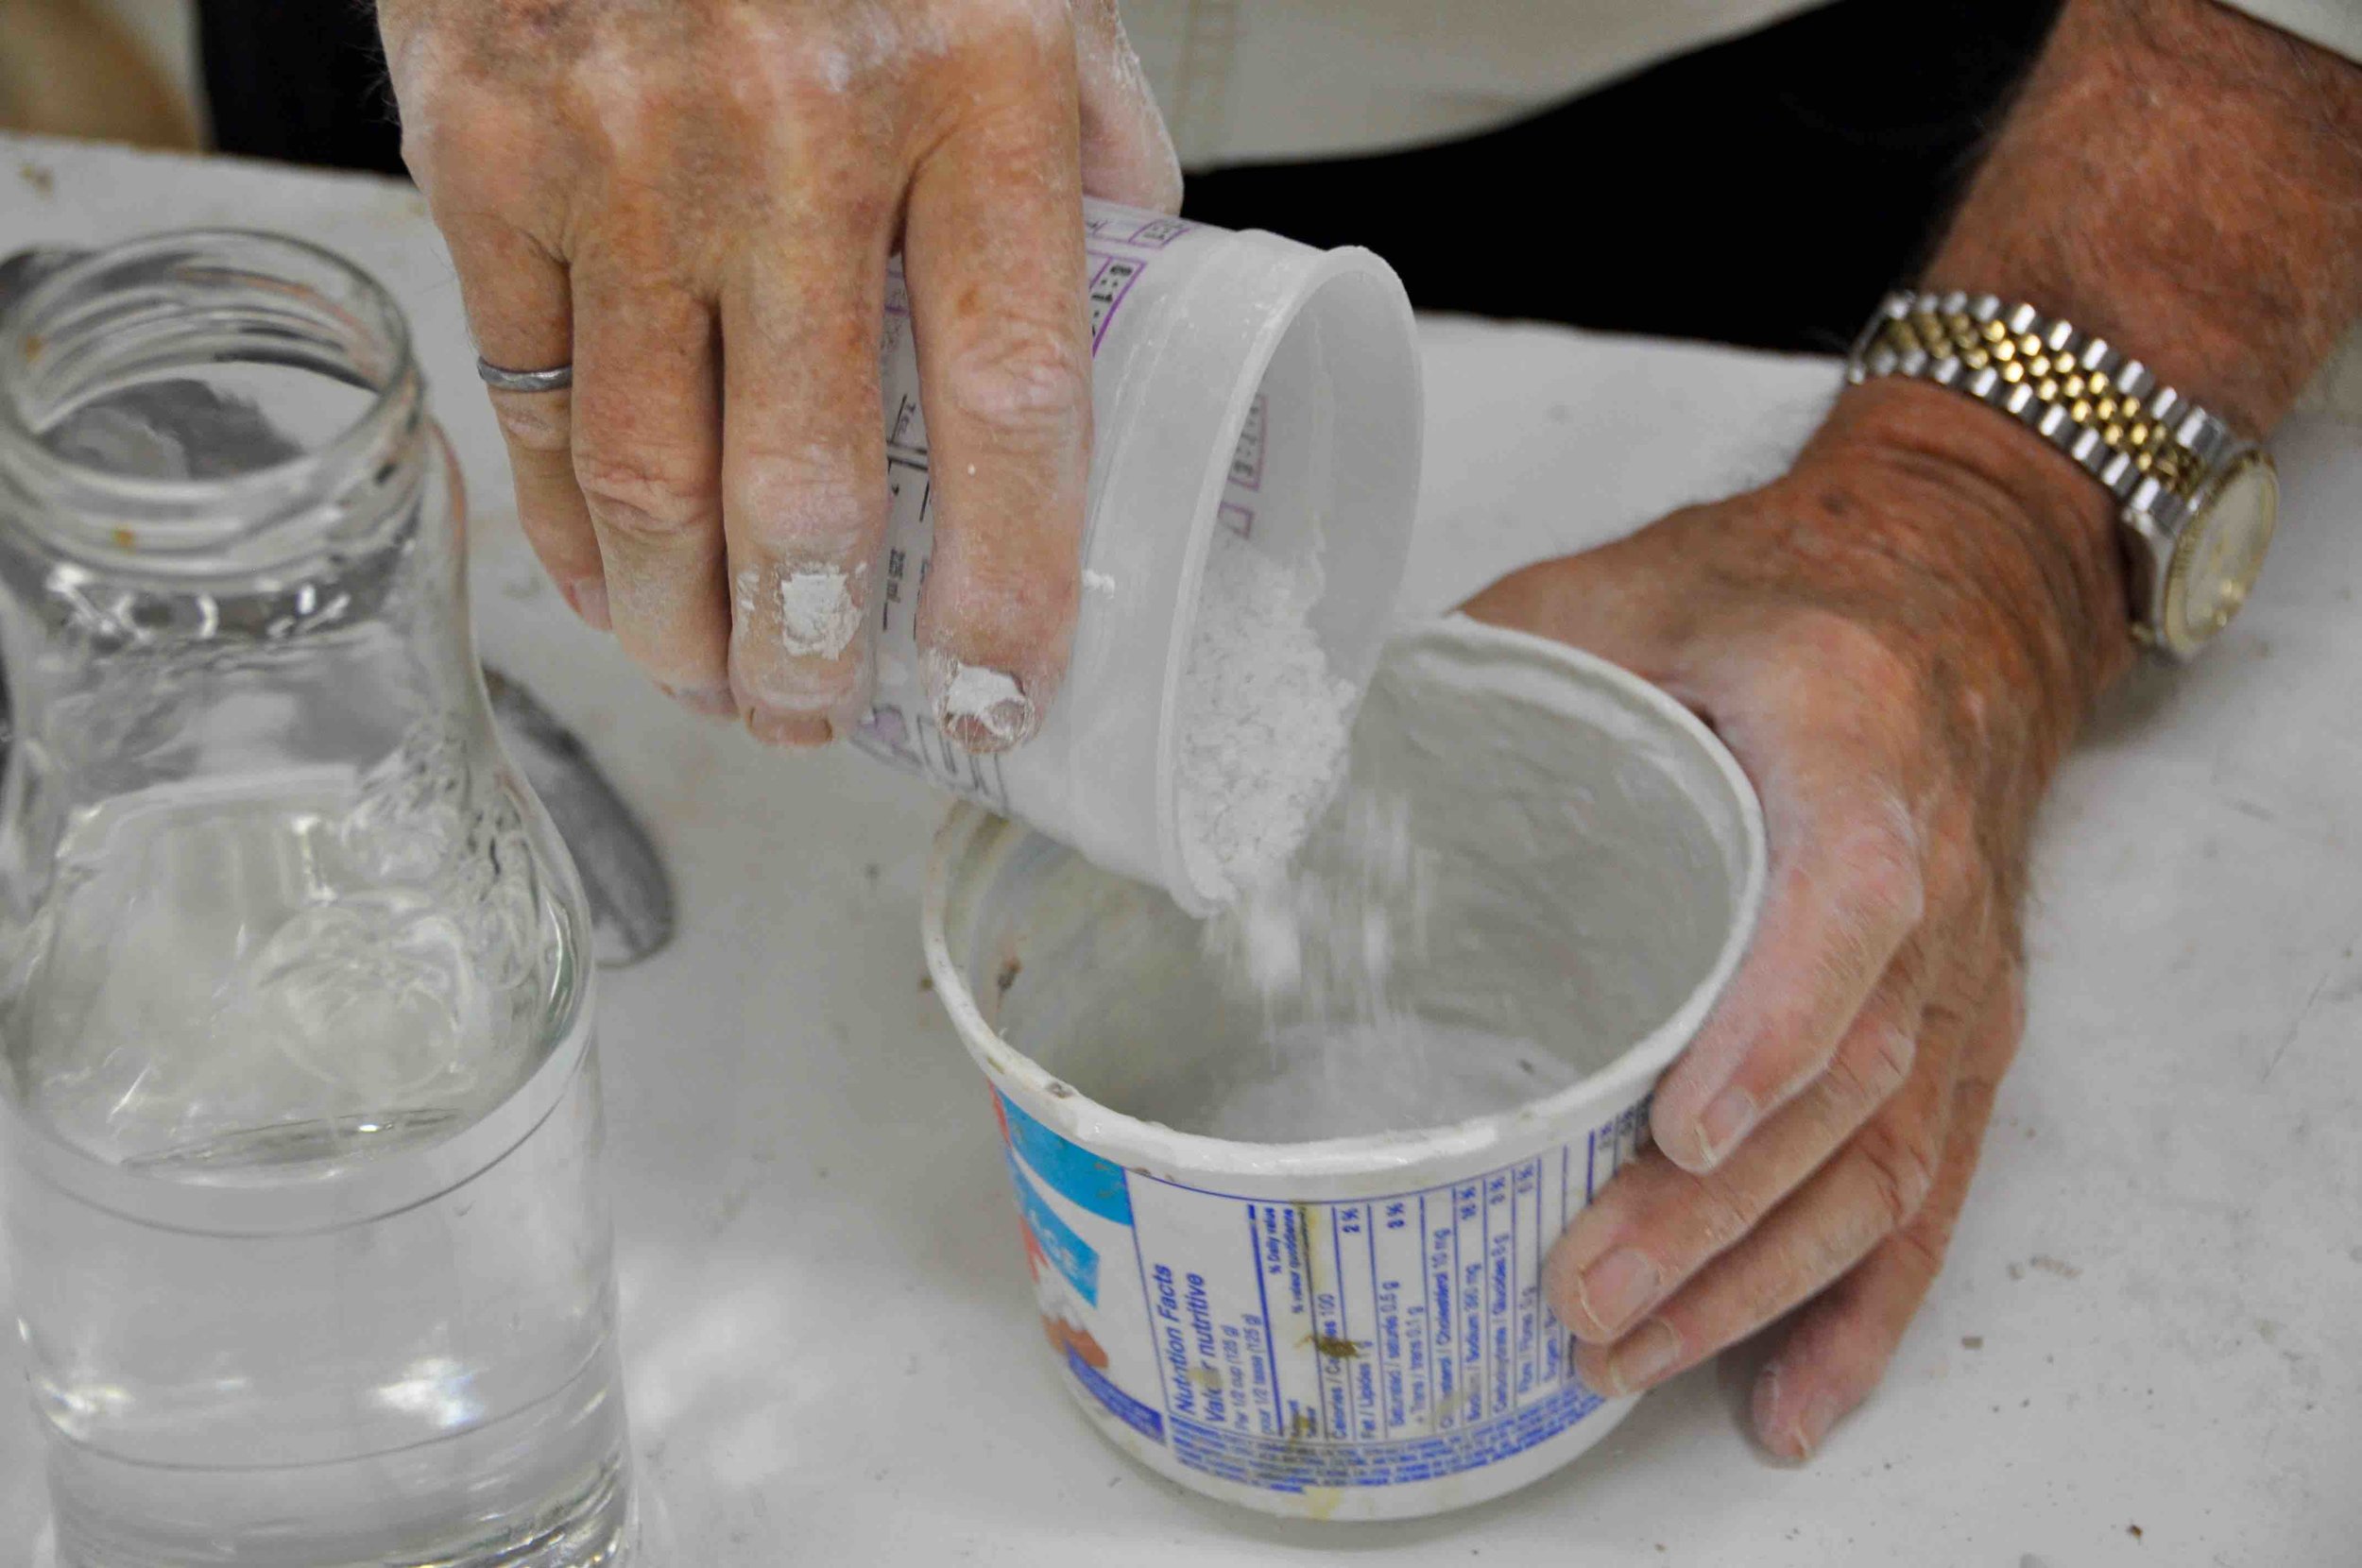
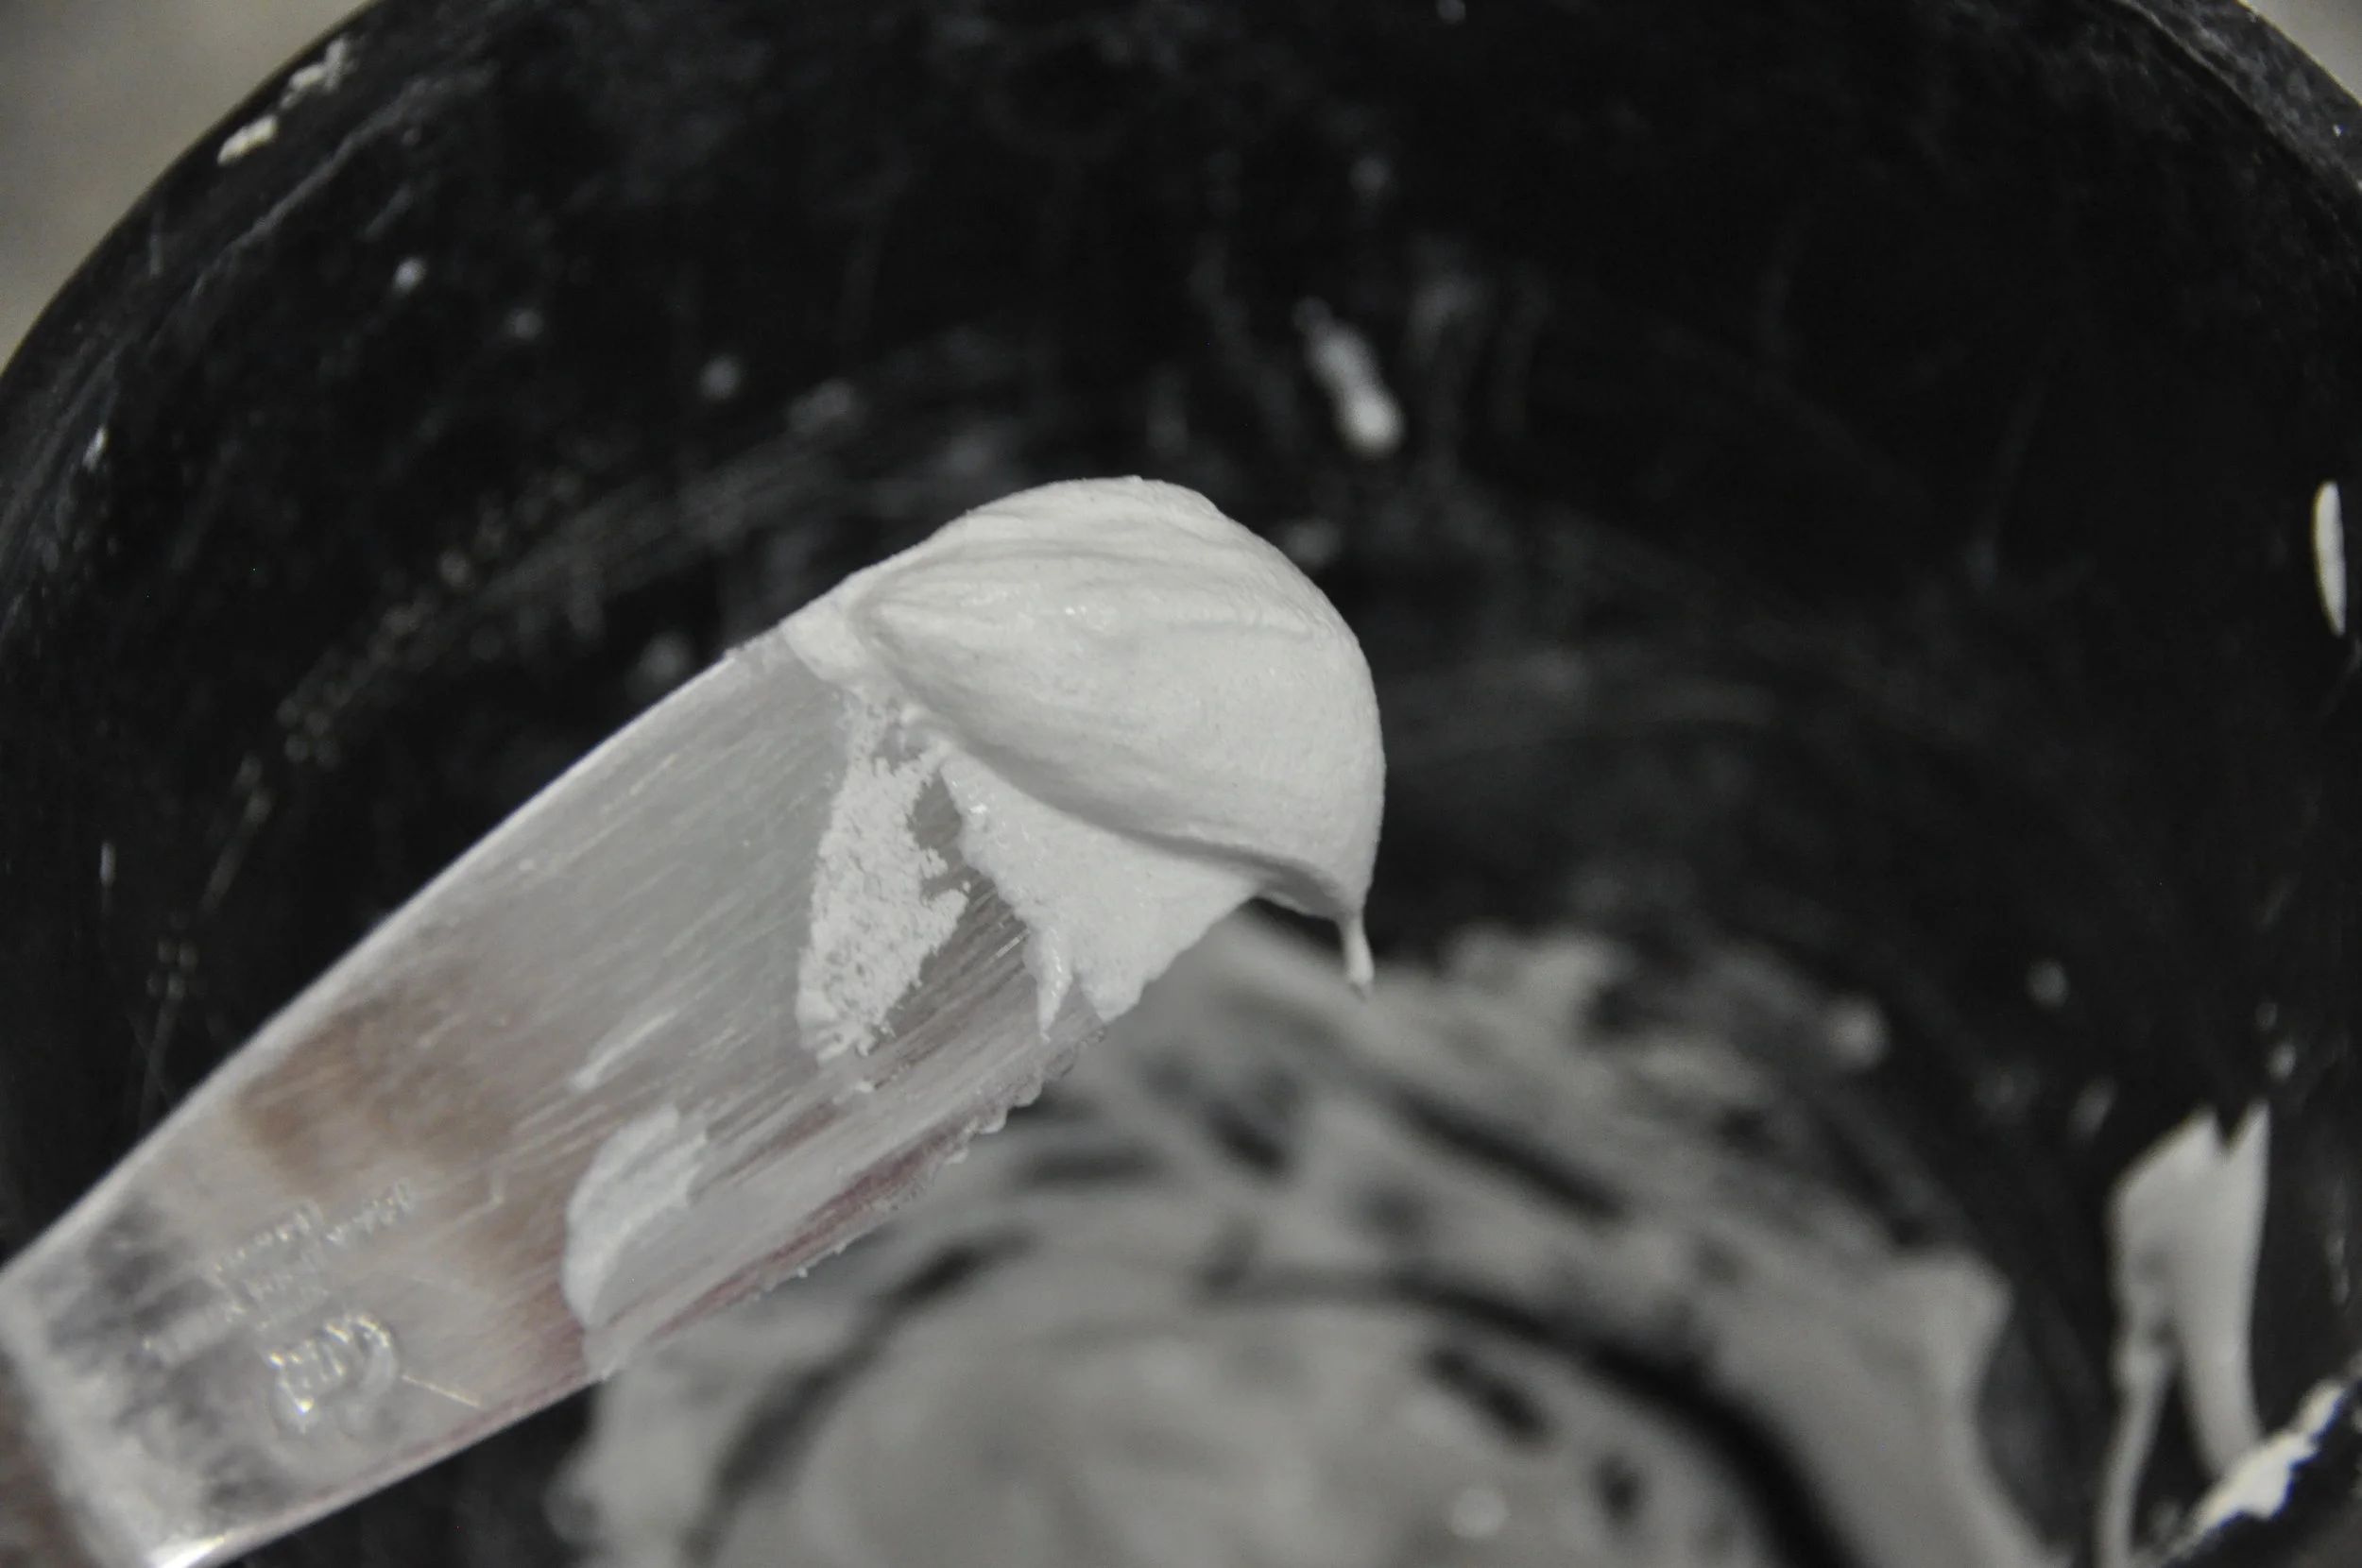
- Add required amount of water - generally 1 part water to 5 parts dry mix. (Technically 19 parts water to 100 parts dry mix by weight or 22 parts water to 100 parts dry mix by volume.) Casting Mix is extremely sensitive to very small differences in the quantity of mix water. The strongest and most durable product results from using as little water as possible
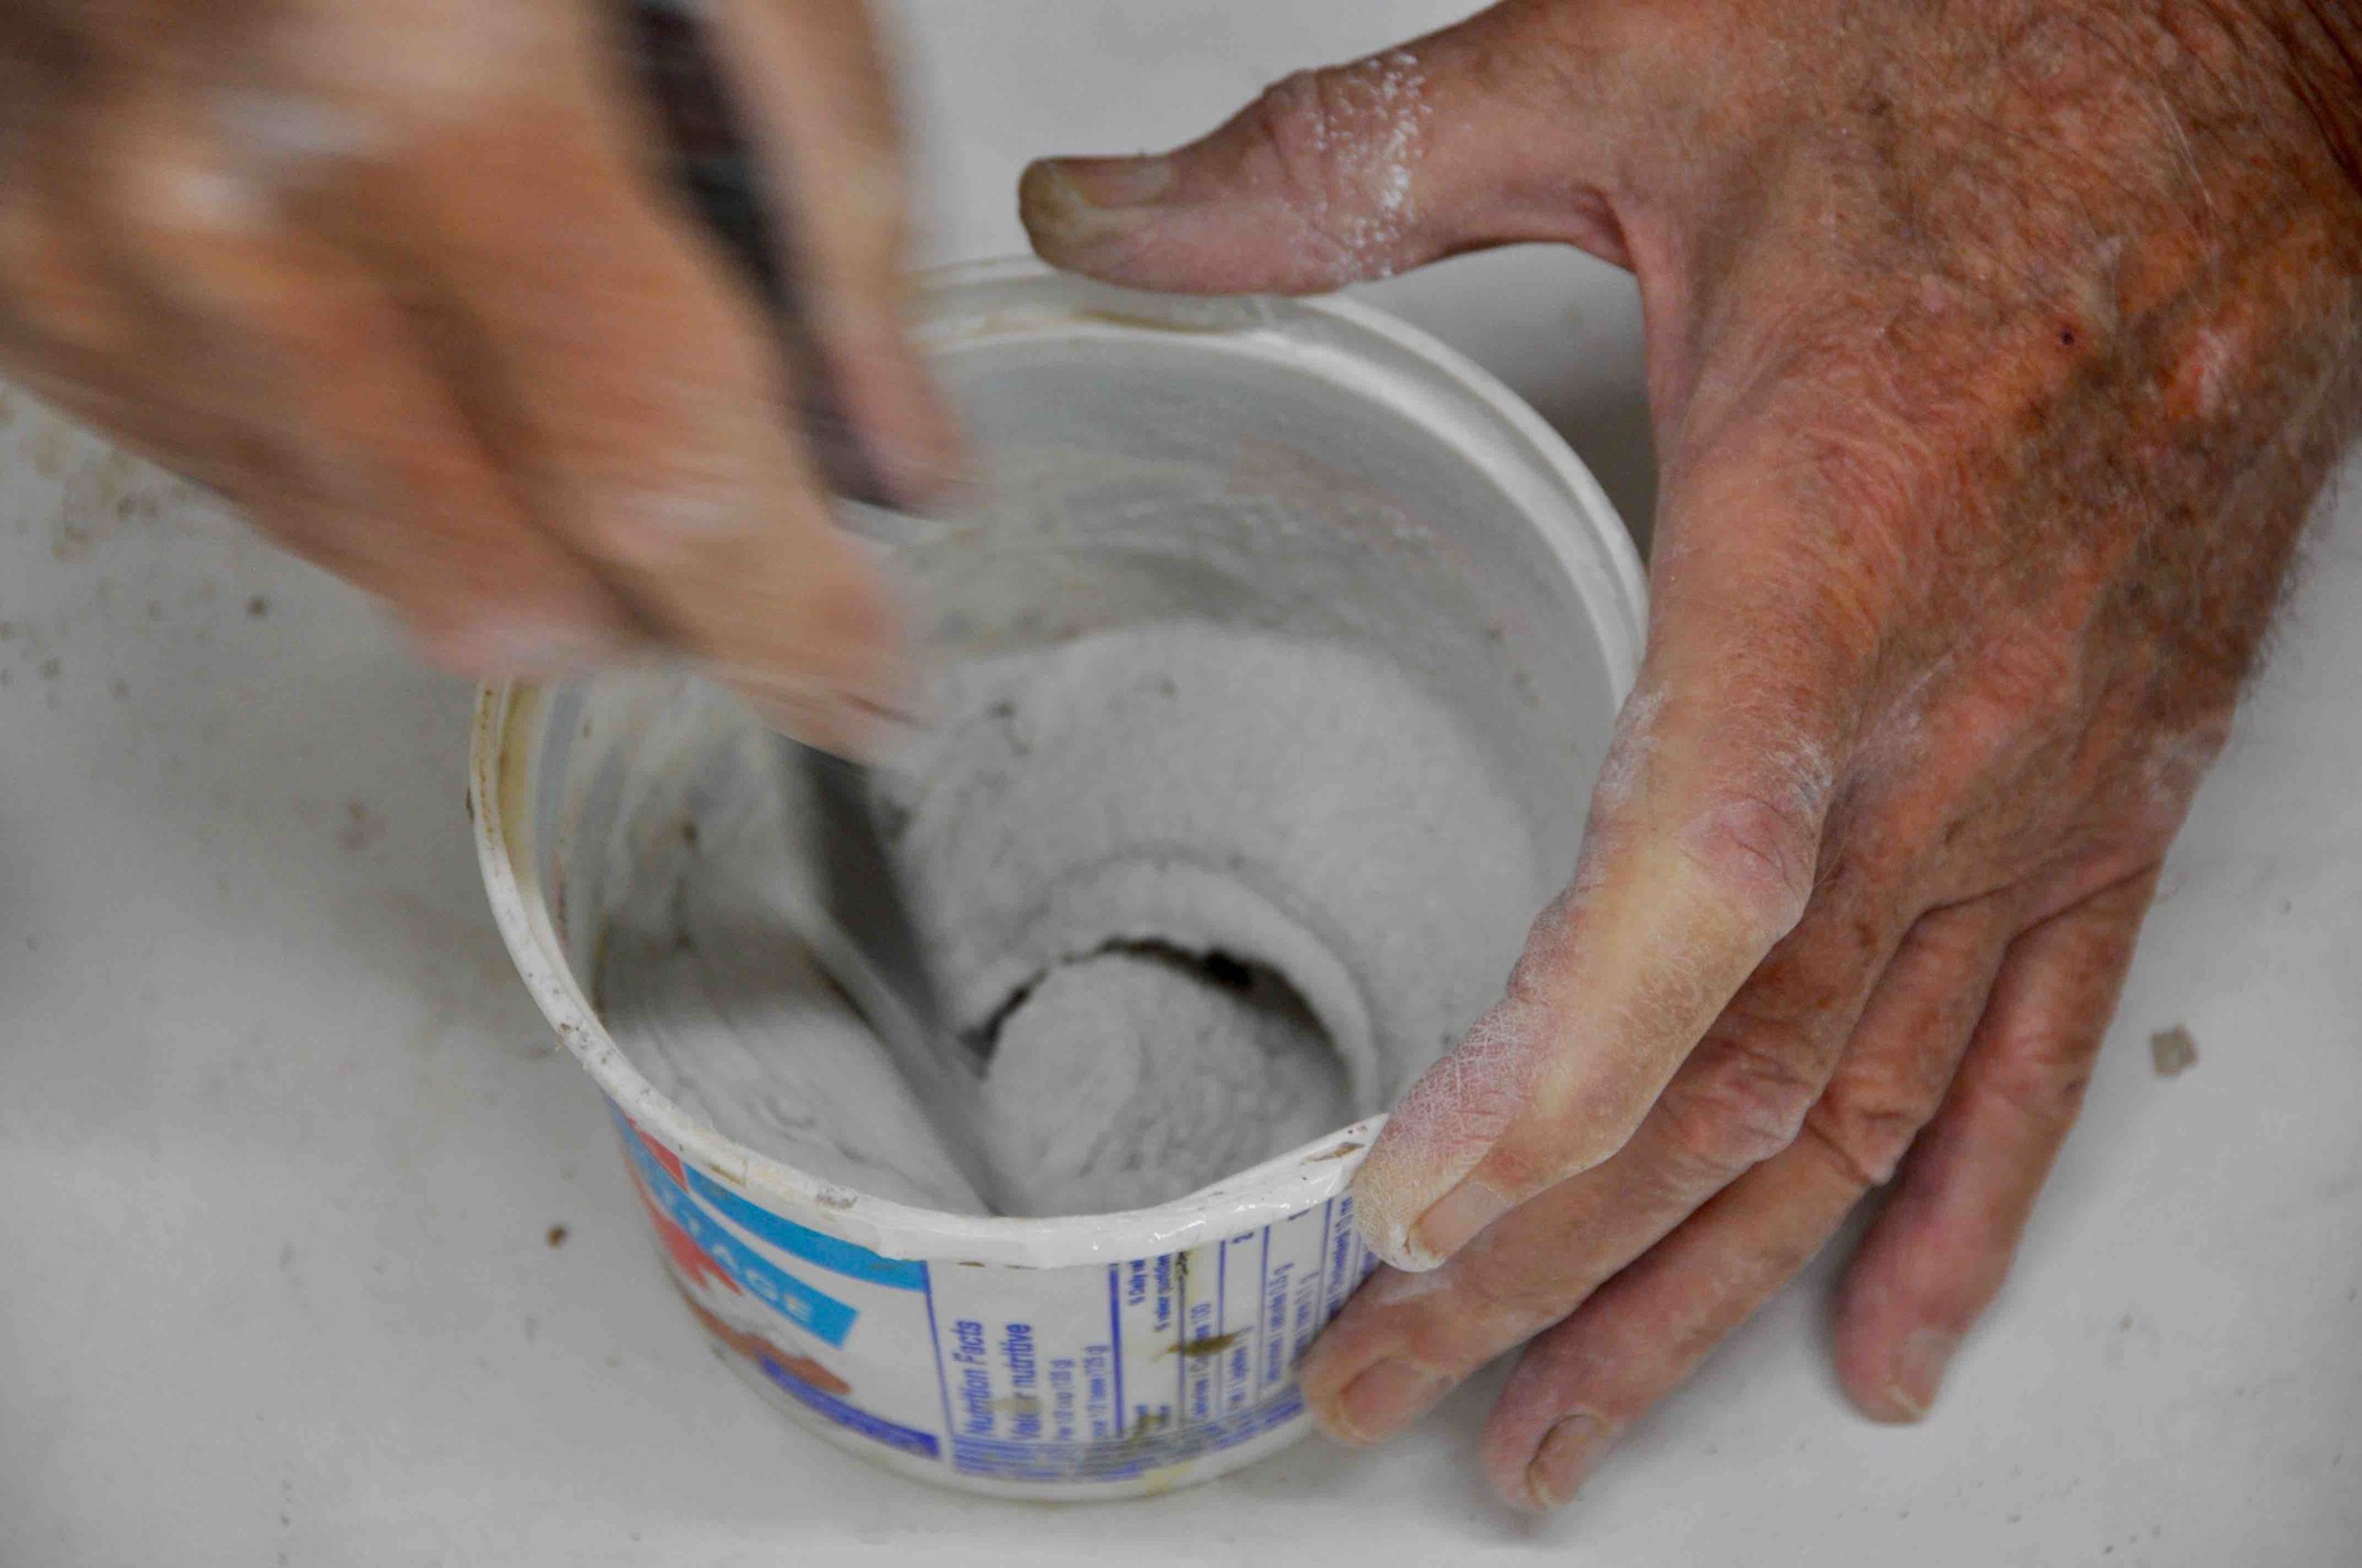
- Mix with mixer until well mixed (time will vary depending on quantity being mixed). Be sure to scrape the bottom of the pail to make sure there is no dry mix hiding there!
How to Cast with Casting Mix - Step-by-step instructions
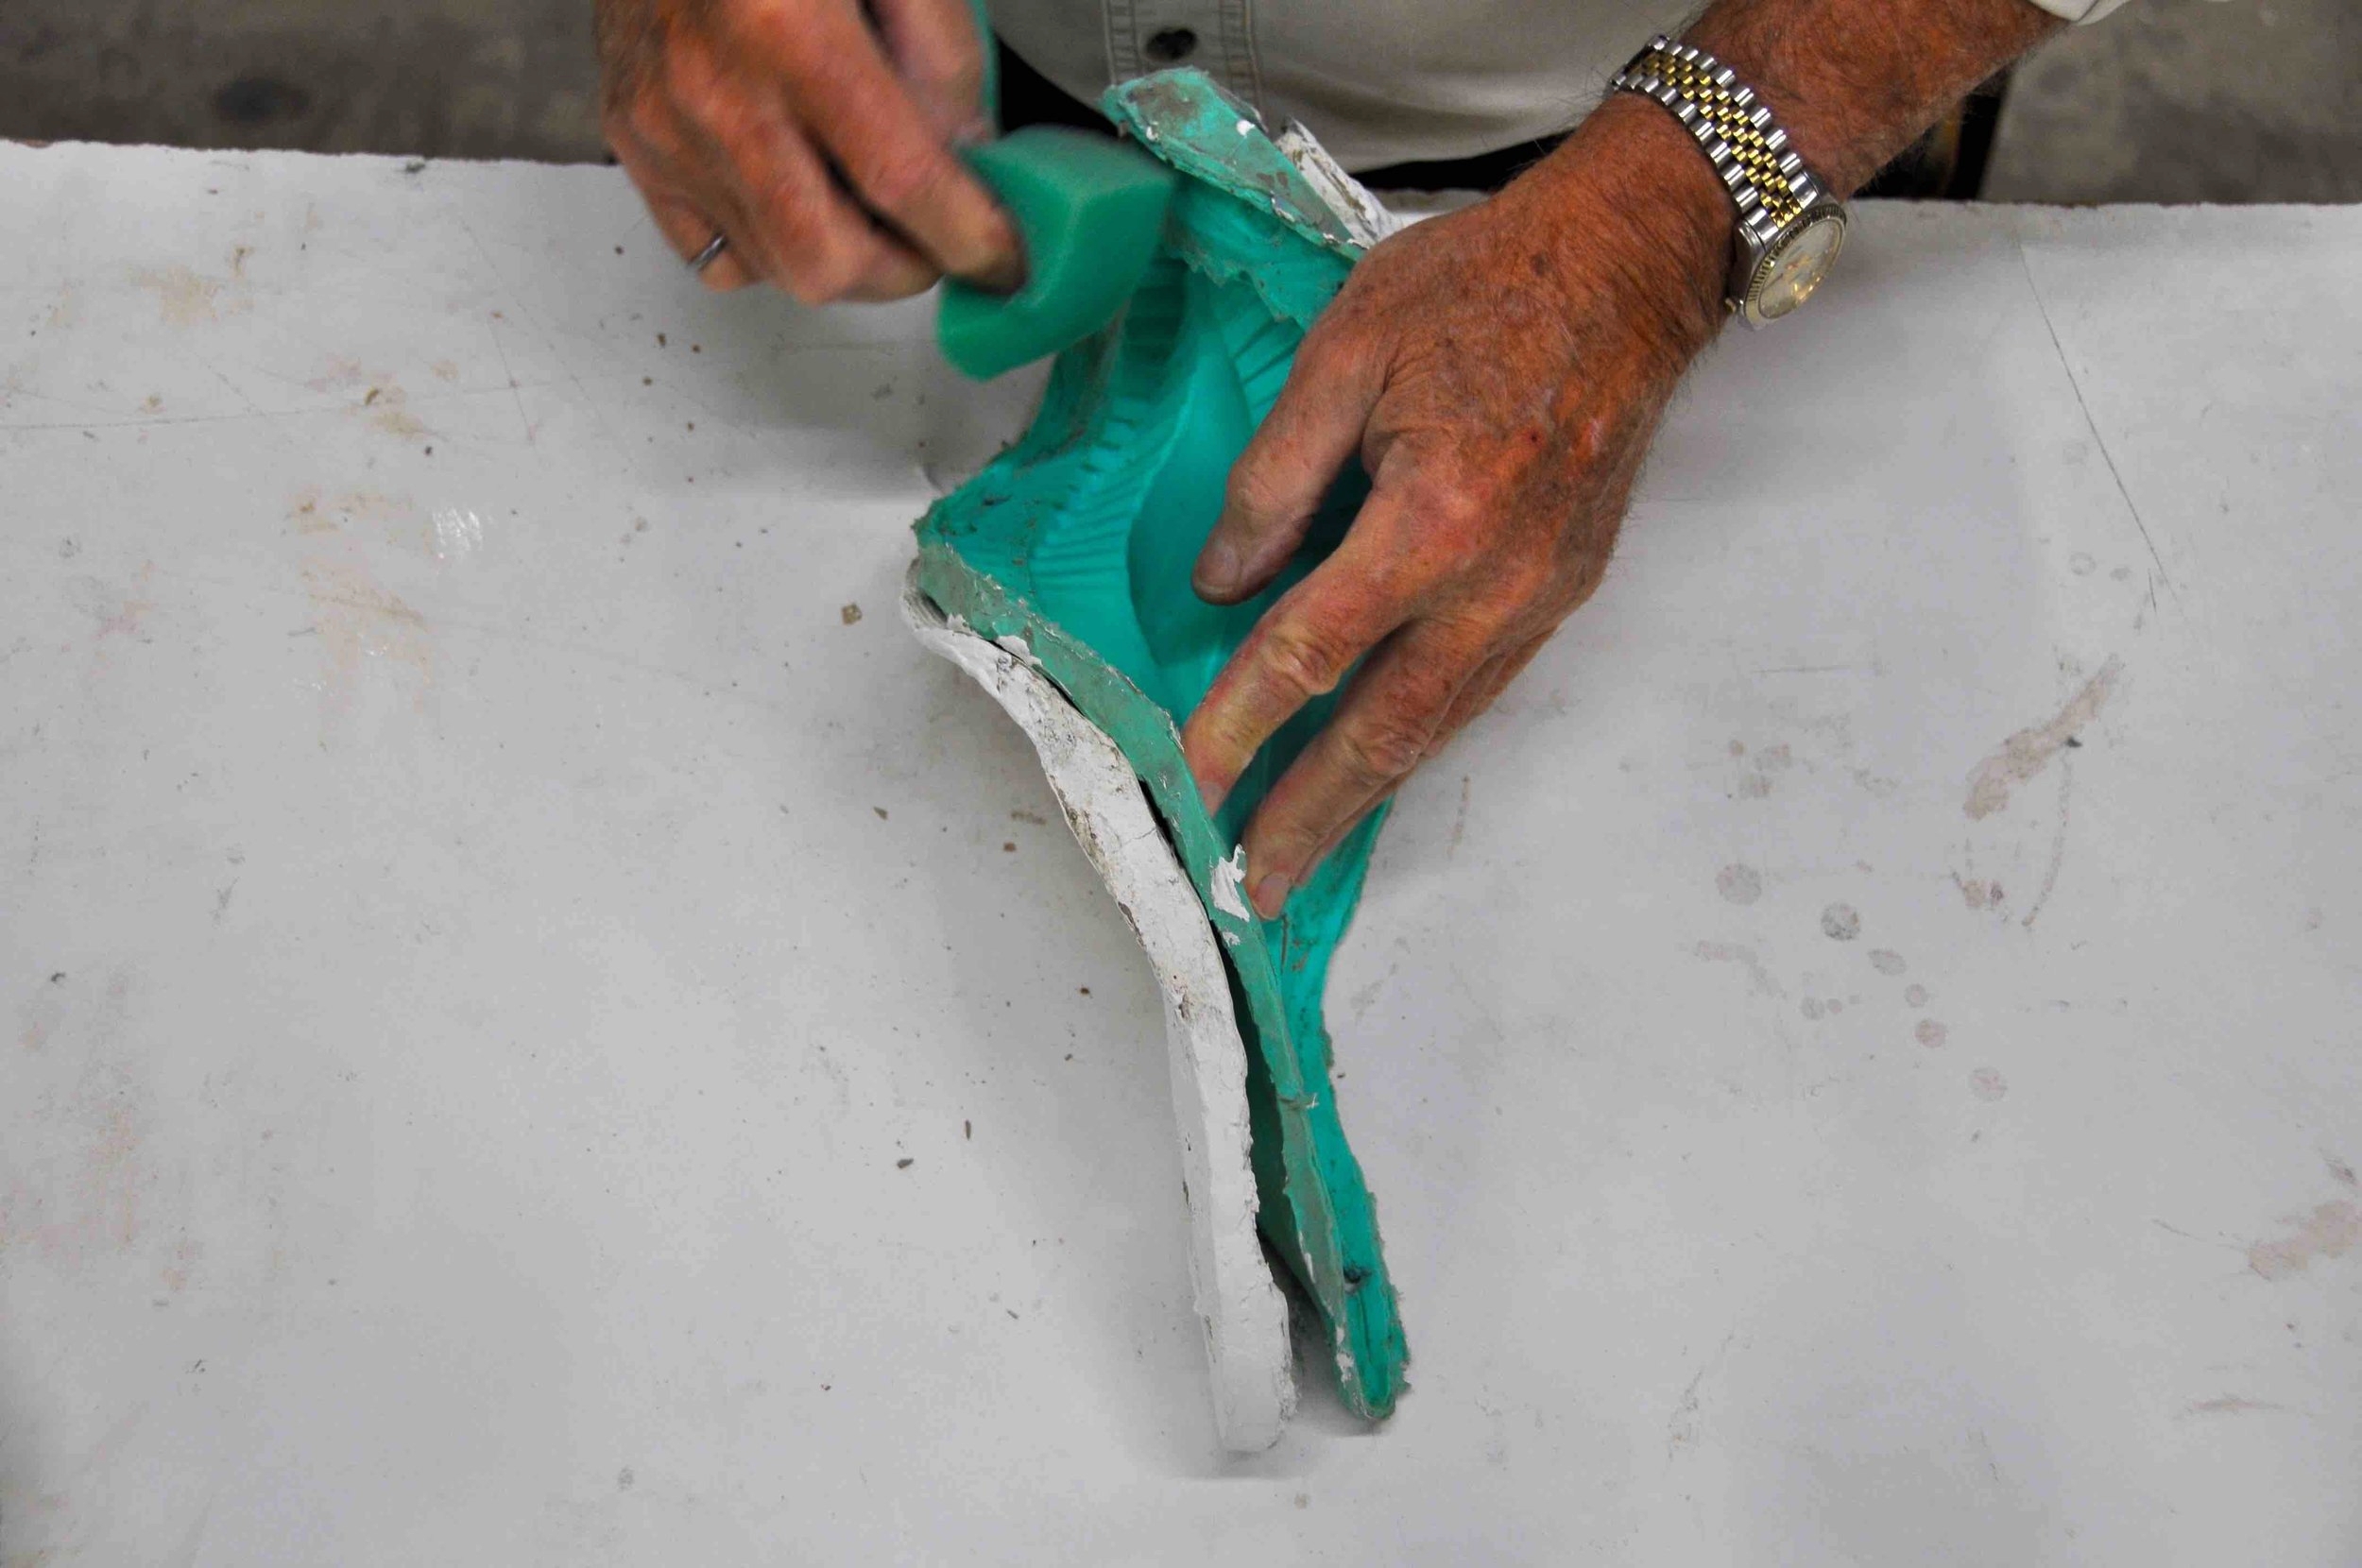
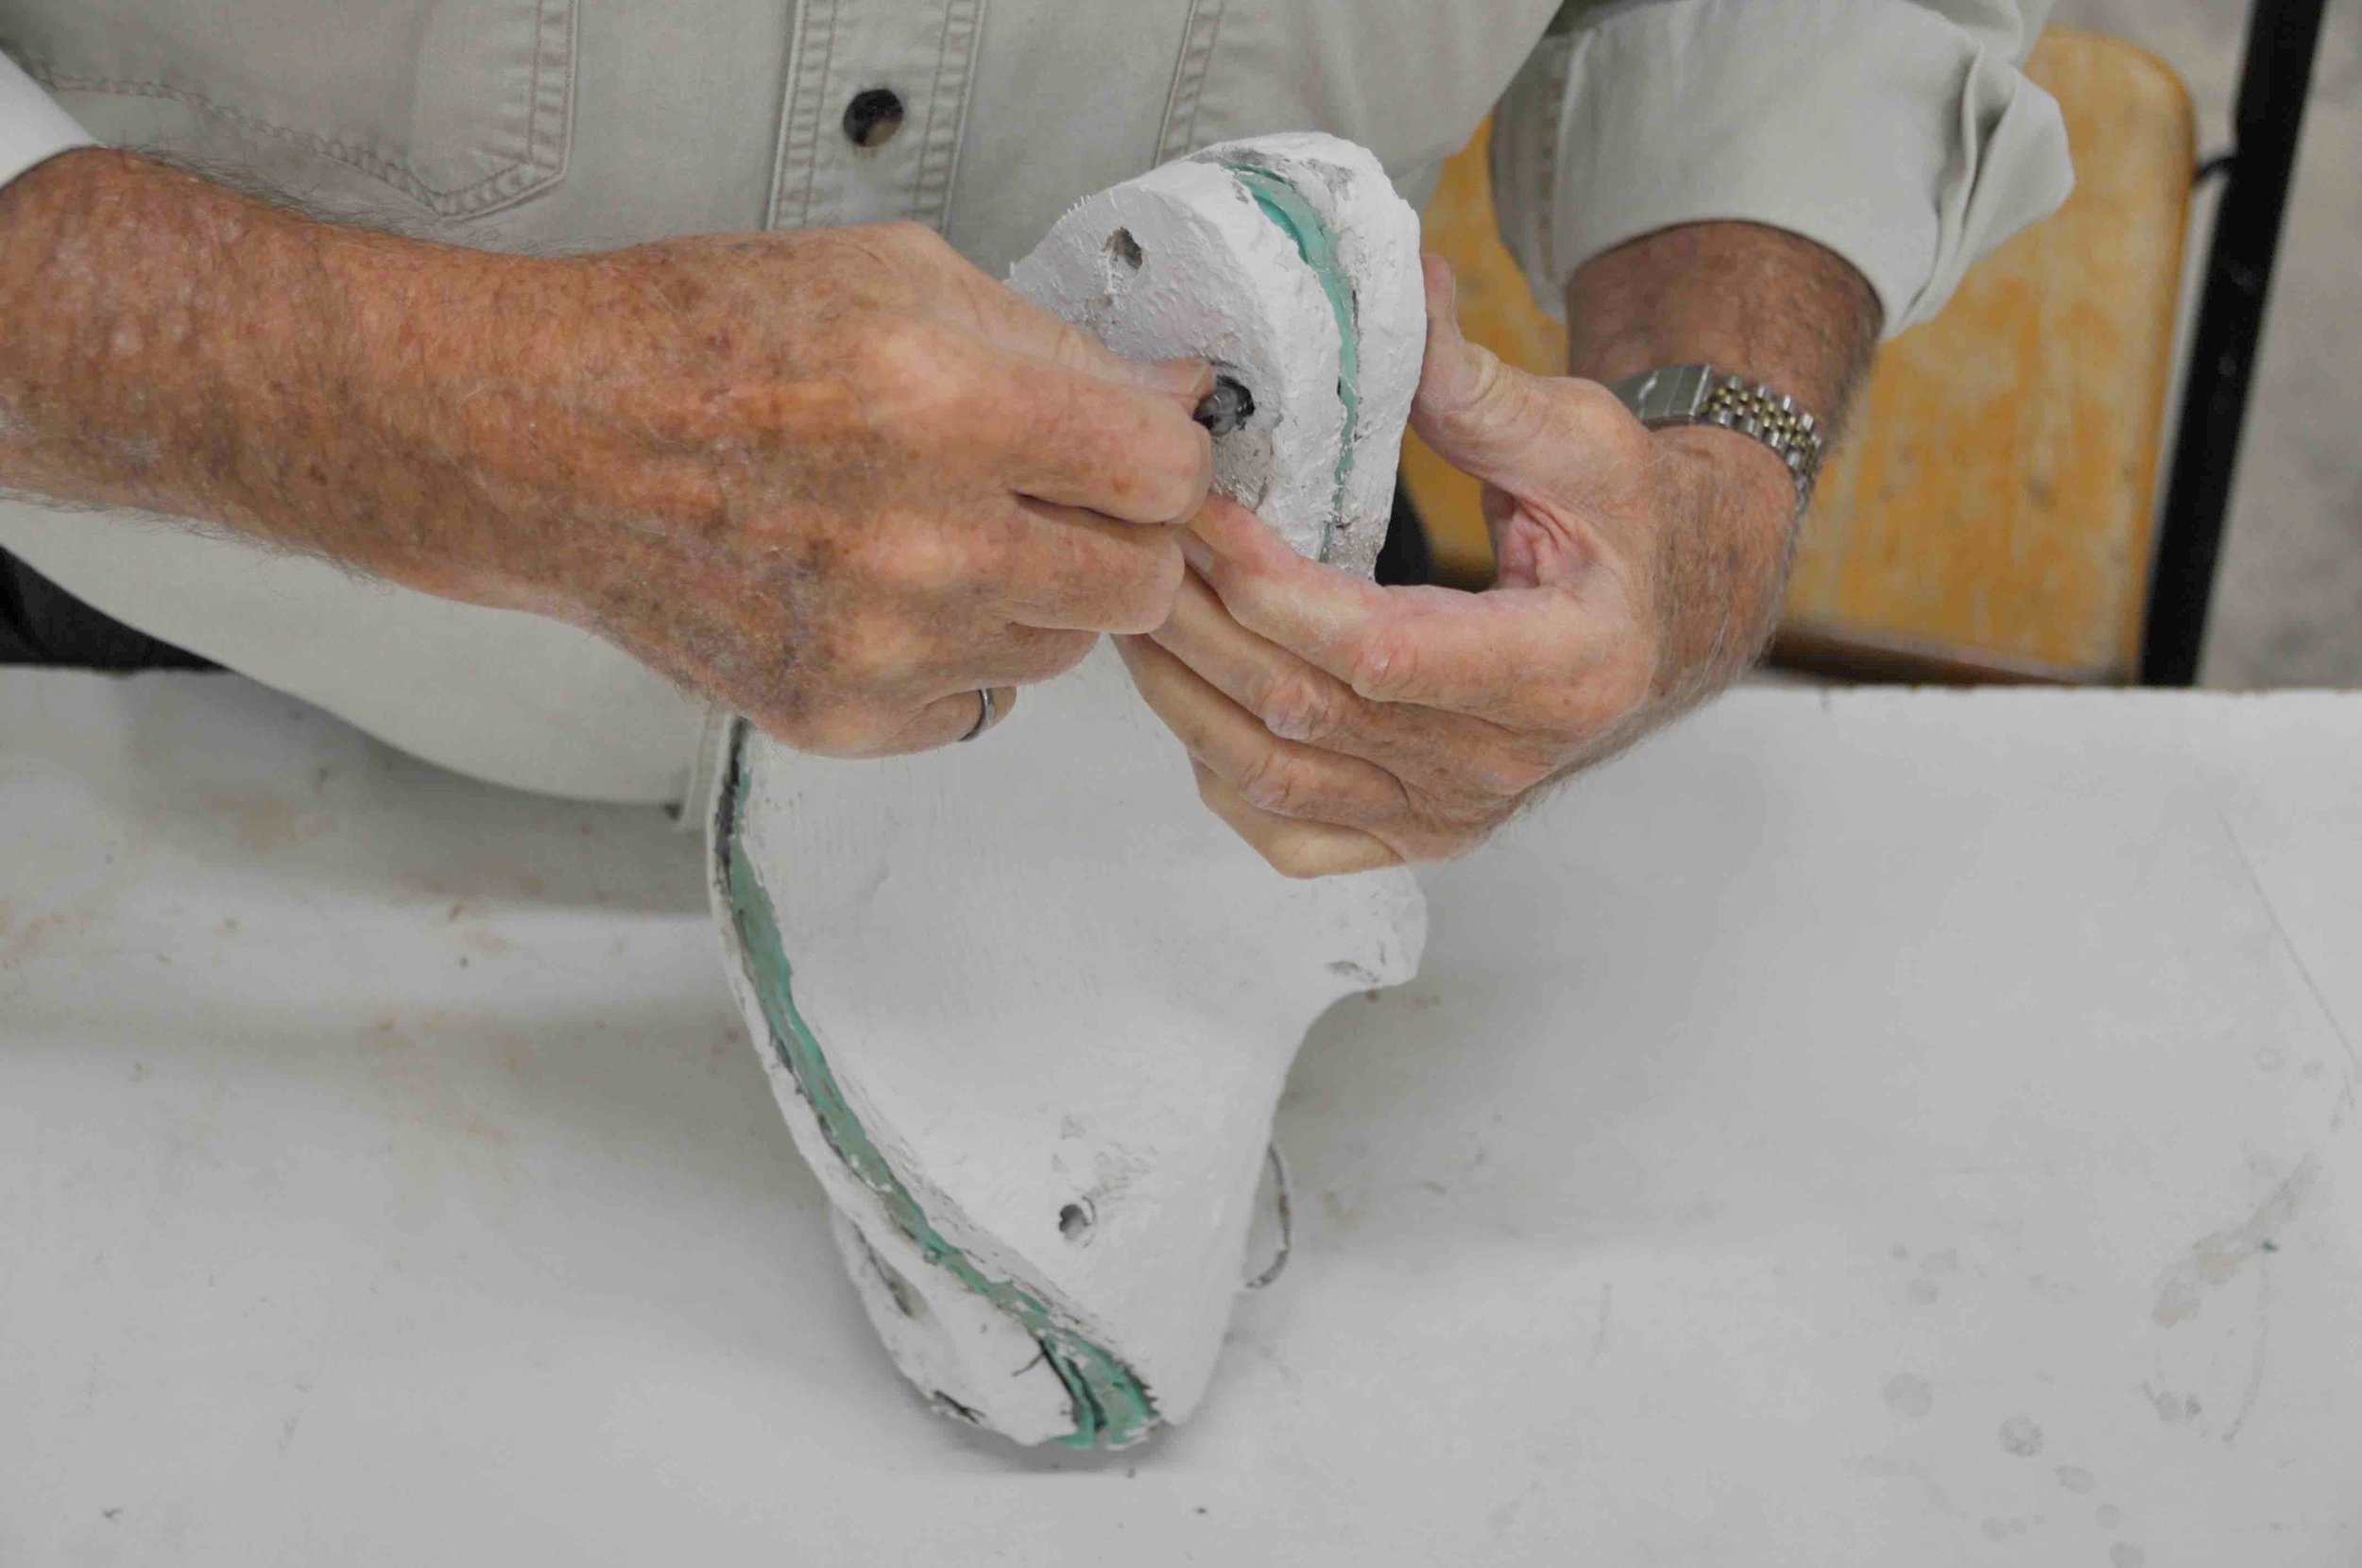
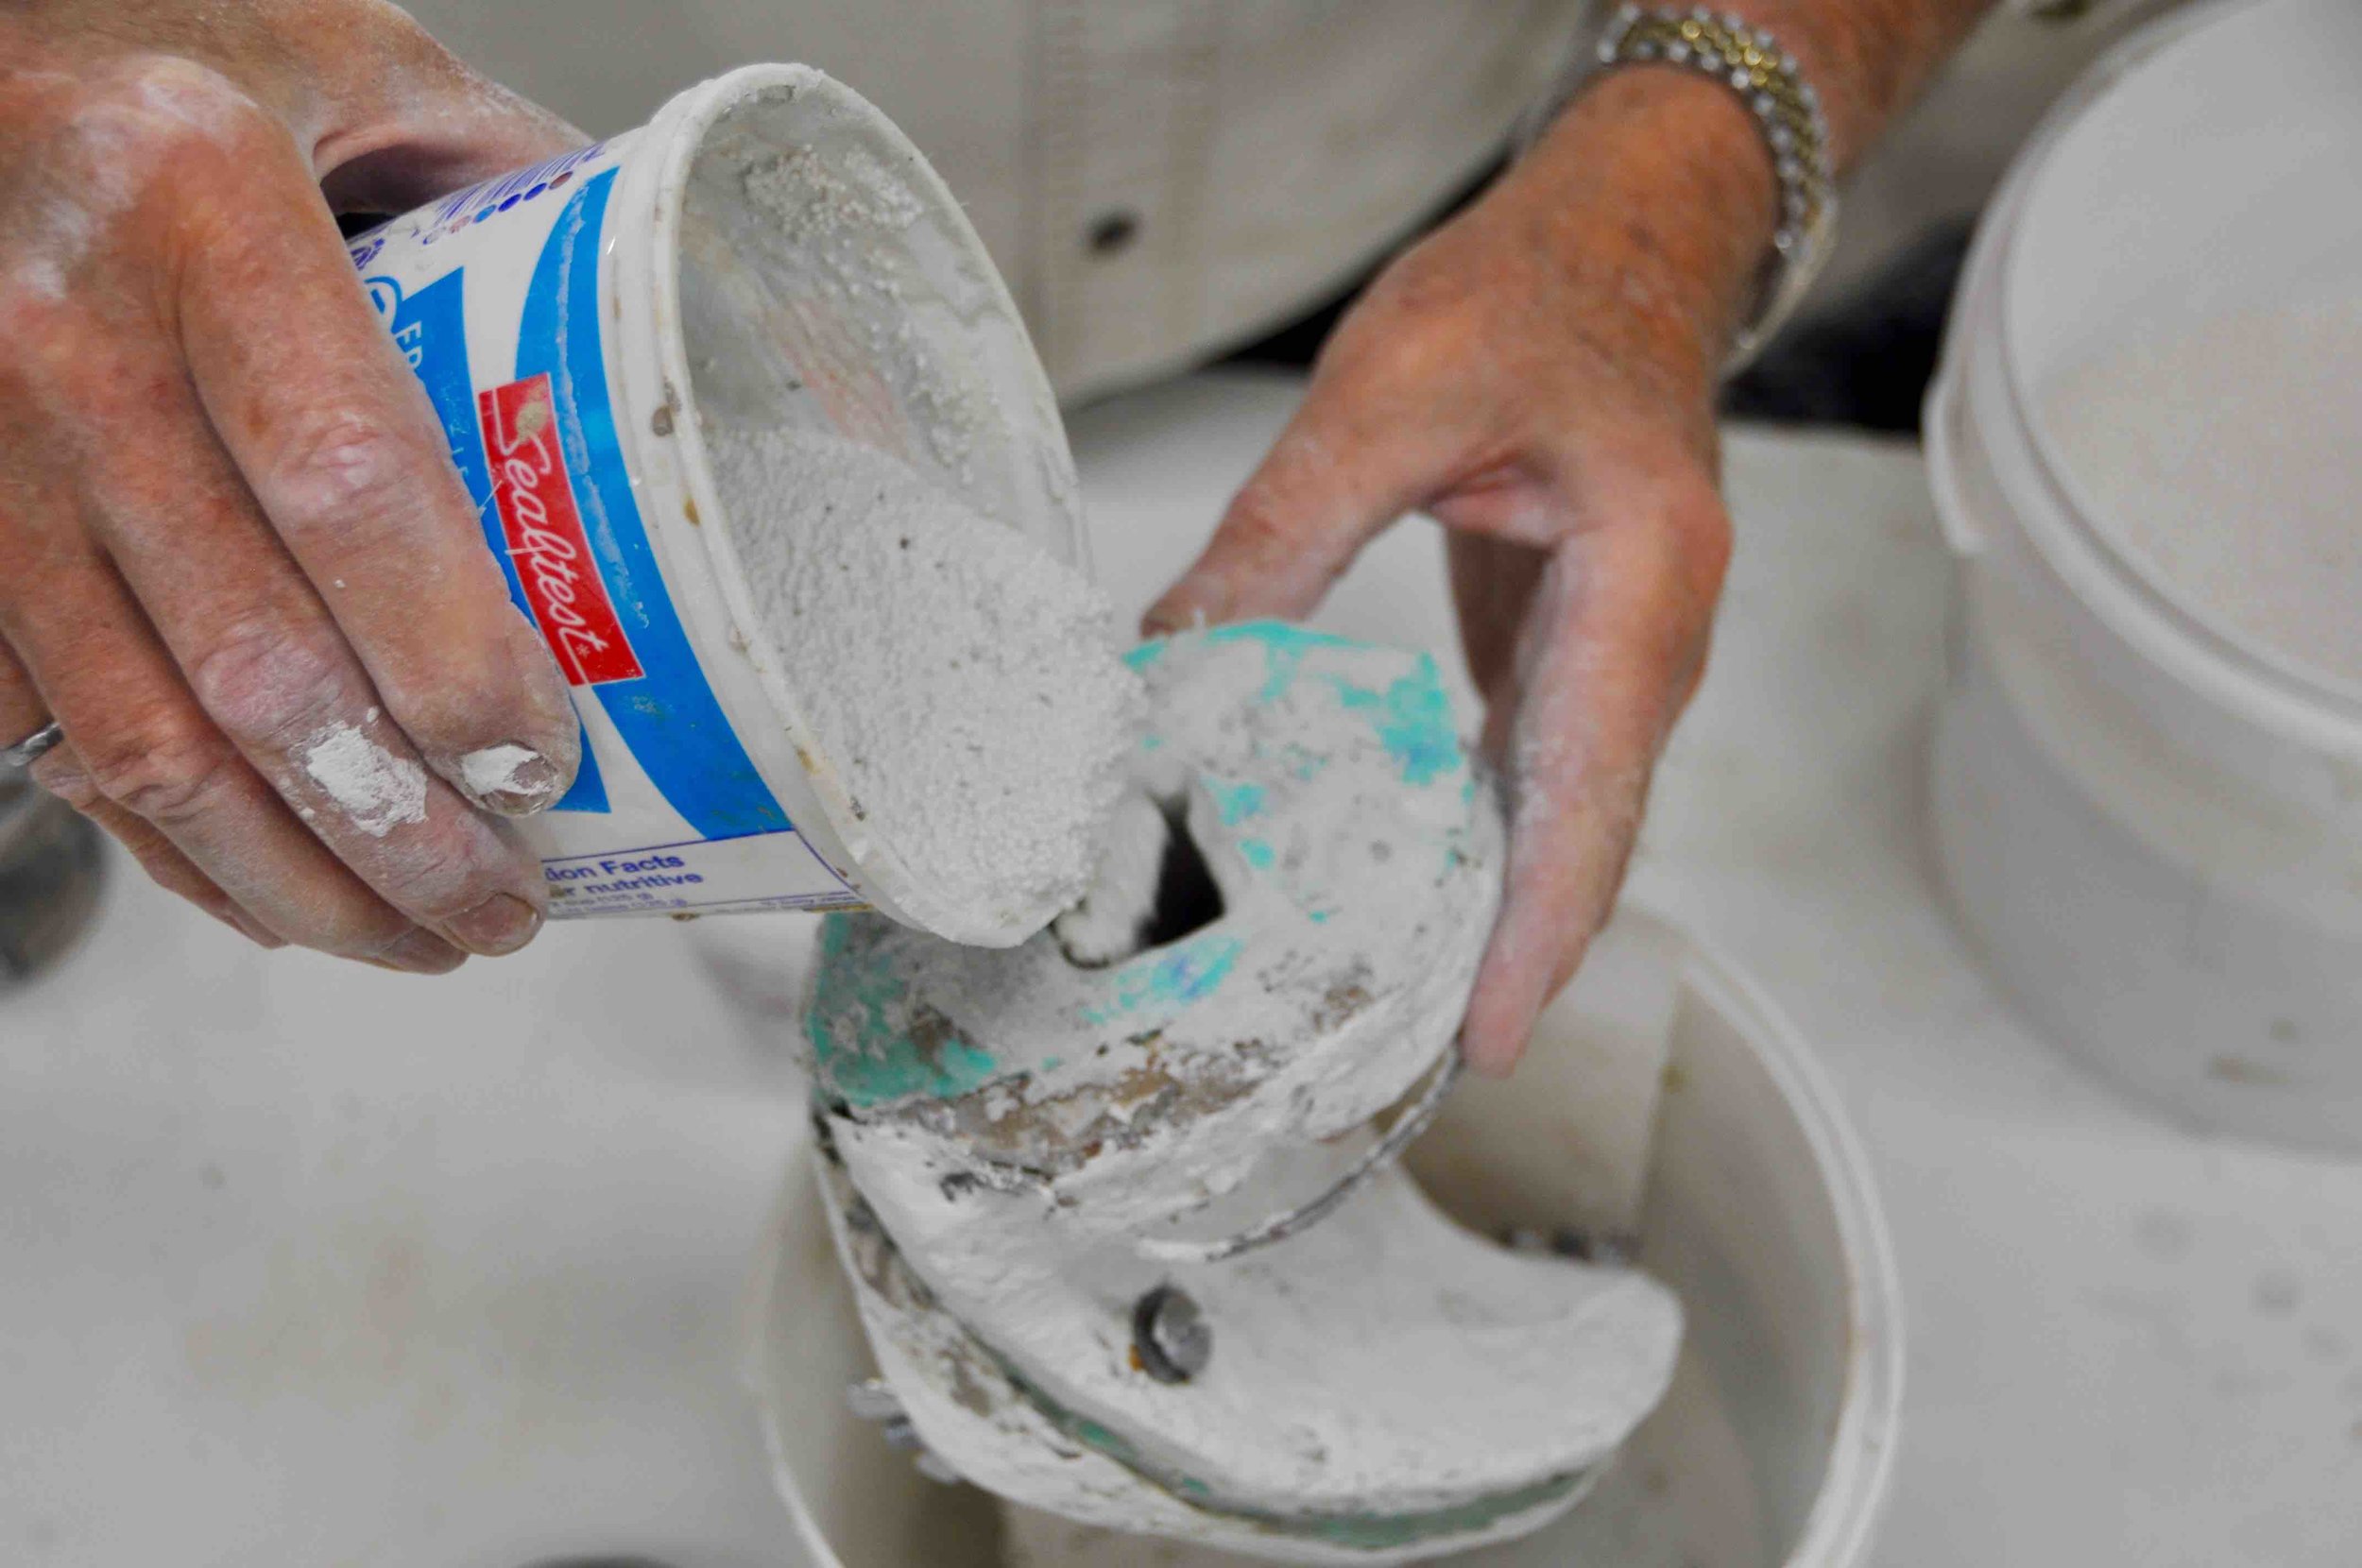
1. Prepare the mold
- Casting Mix works with all kinds of molds. (Polyurethane, silicone, etc.). Ensure the mold is clean. Apply appropriate releasing agent to the mold.
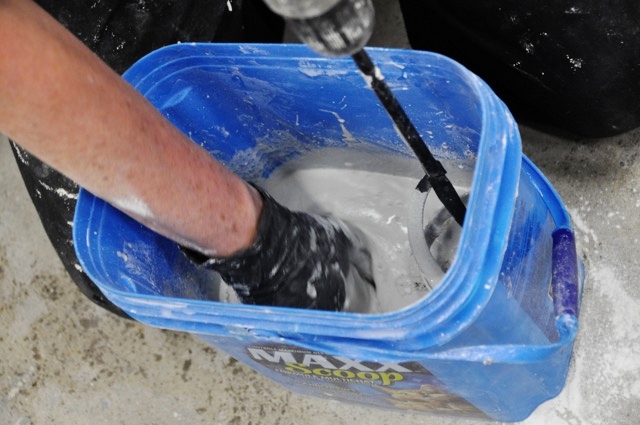
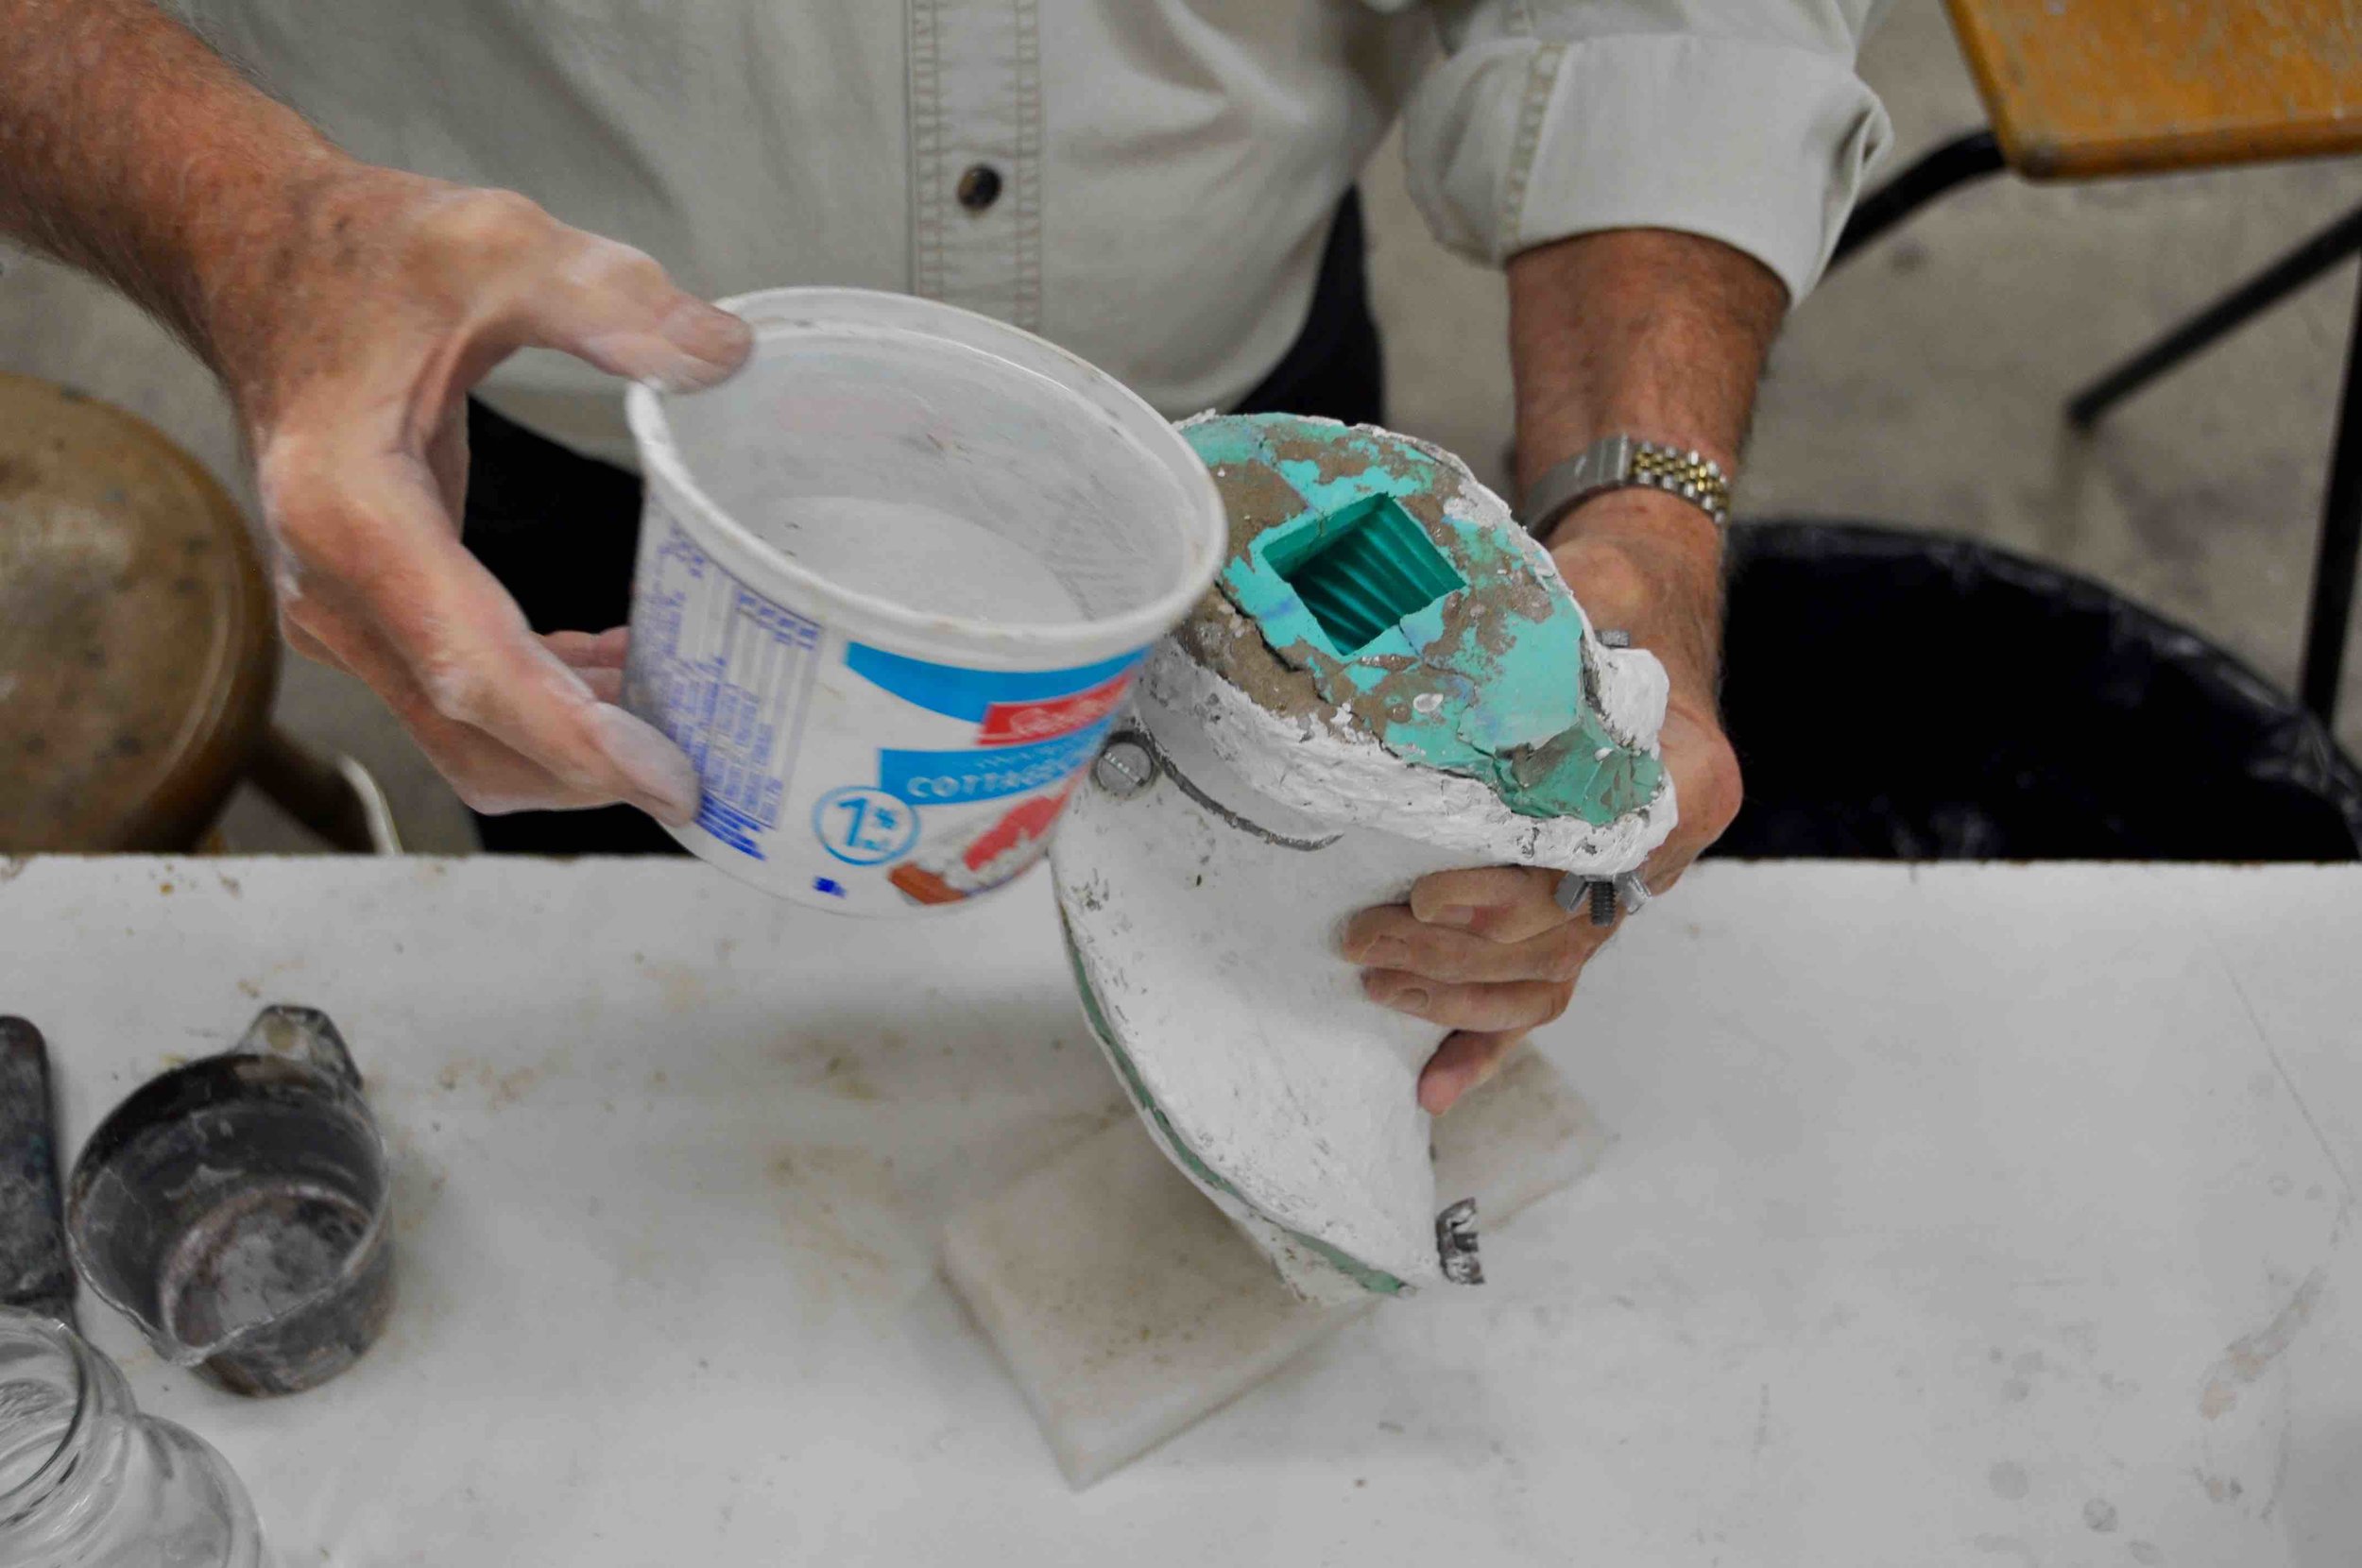
2. Mix the face coat batch of Casting Mix
- The initial batch should be small enough to use within its open pouring time and yet sufficiient to cover the mold surface to a thickness of 1/16" to 1/8". Brush in and/or pour the Casting Mix into the mold, slushing it around to completely cover . Pour out any excess. Allow the face coat to harden for 10-15 minutes. (NOTE: Ultra mix can replace Casting Mix for this face coat but an additive will be required to increase fluidity of the Ultra Mix.)


3. Prepare the second batch of Casting Mix
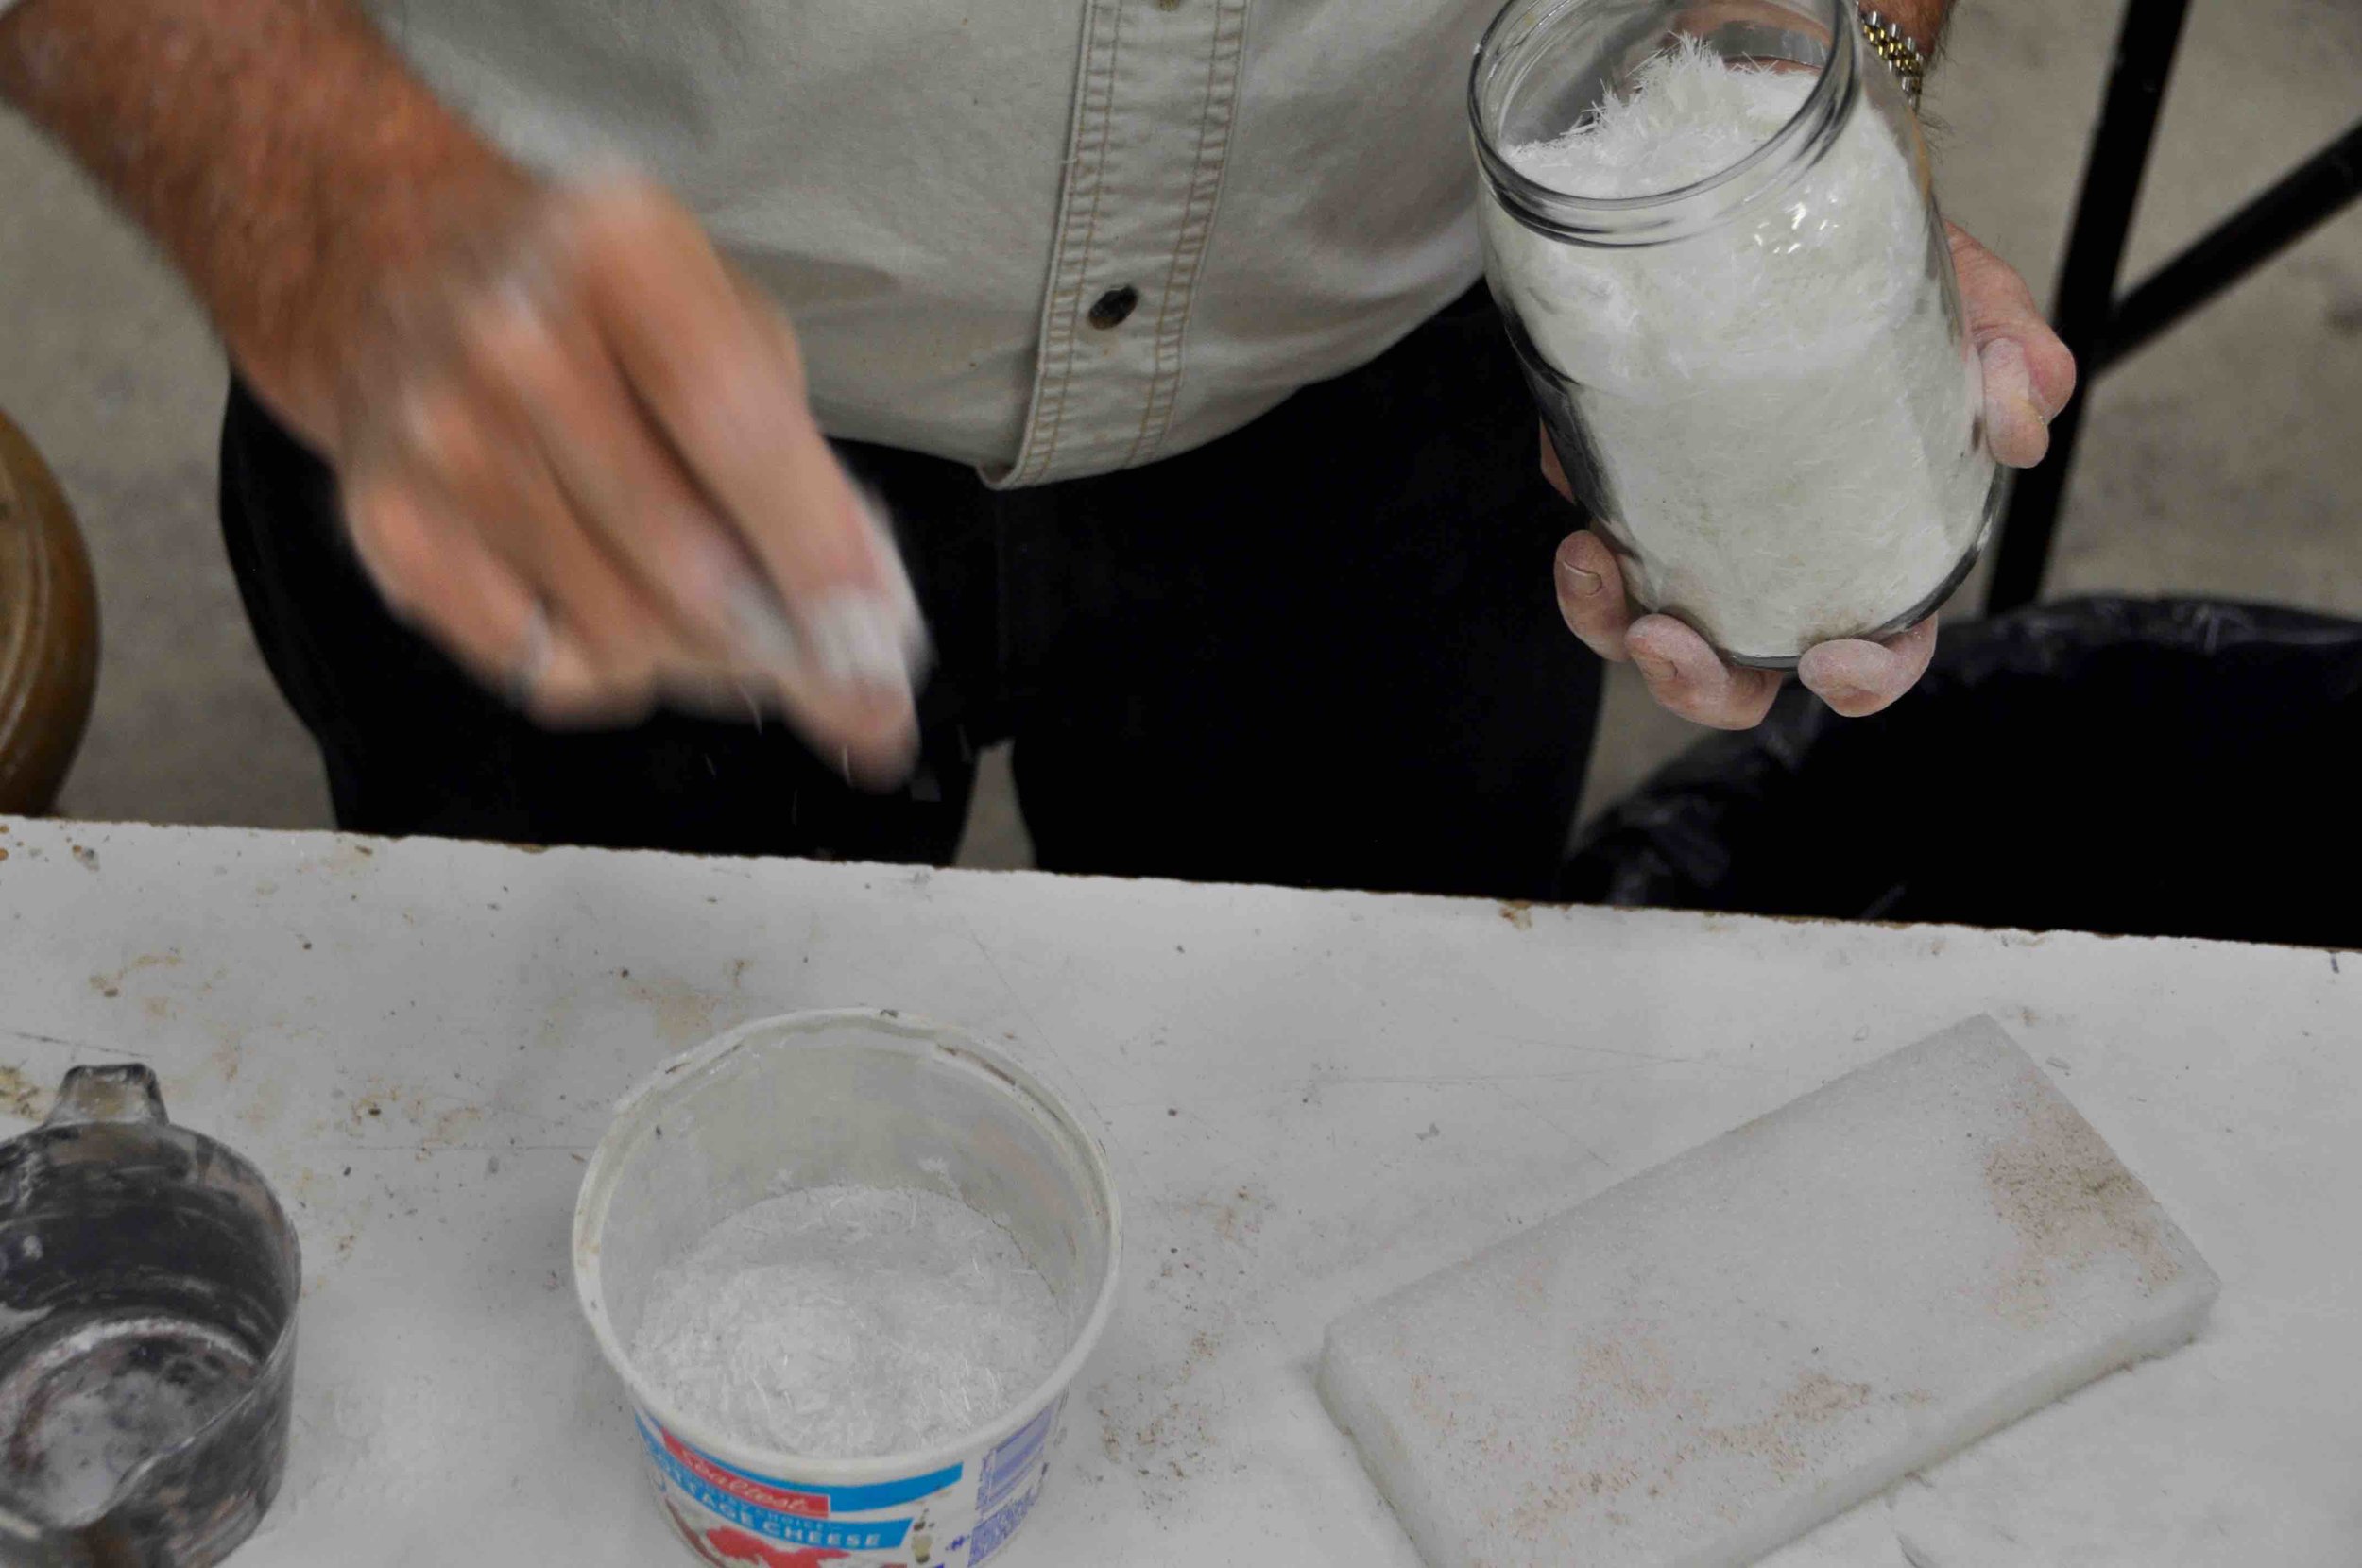
- Mix the second batch and include chopped strand (up to 1.5% by weight) for additional strength. Pour the second batch into the cast and slush it around as before.
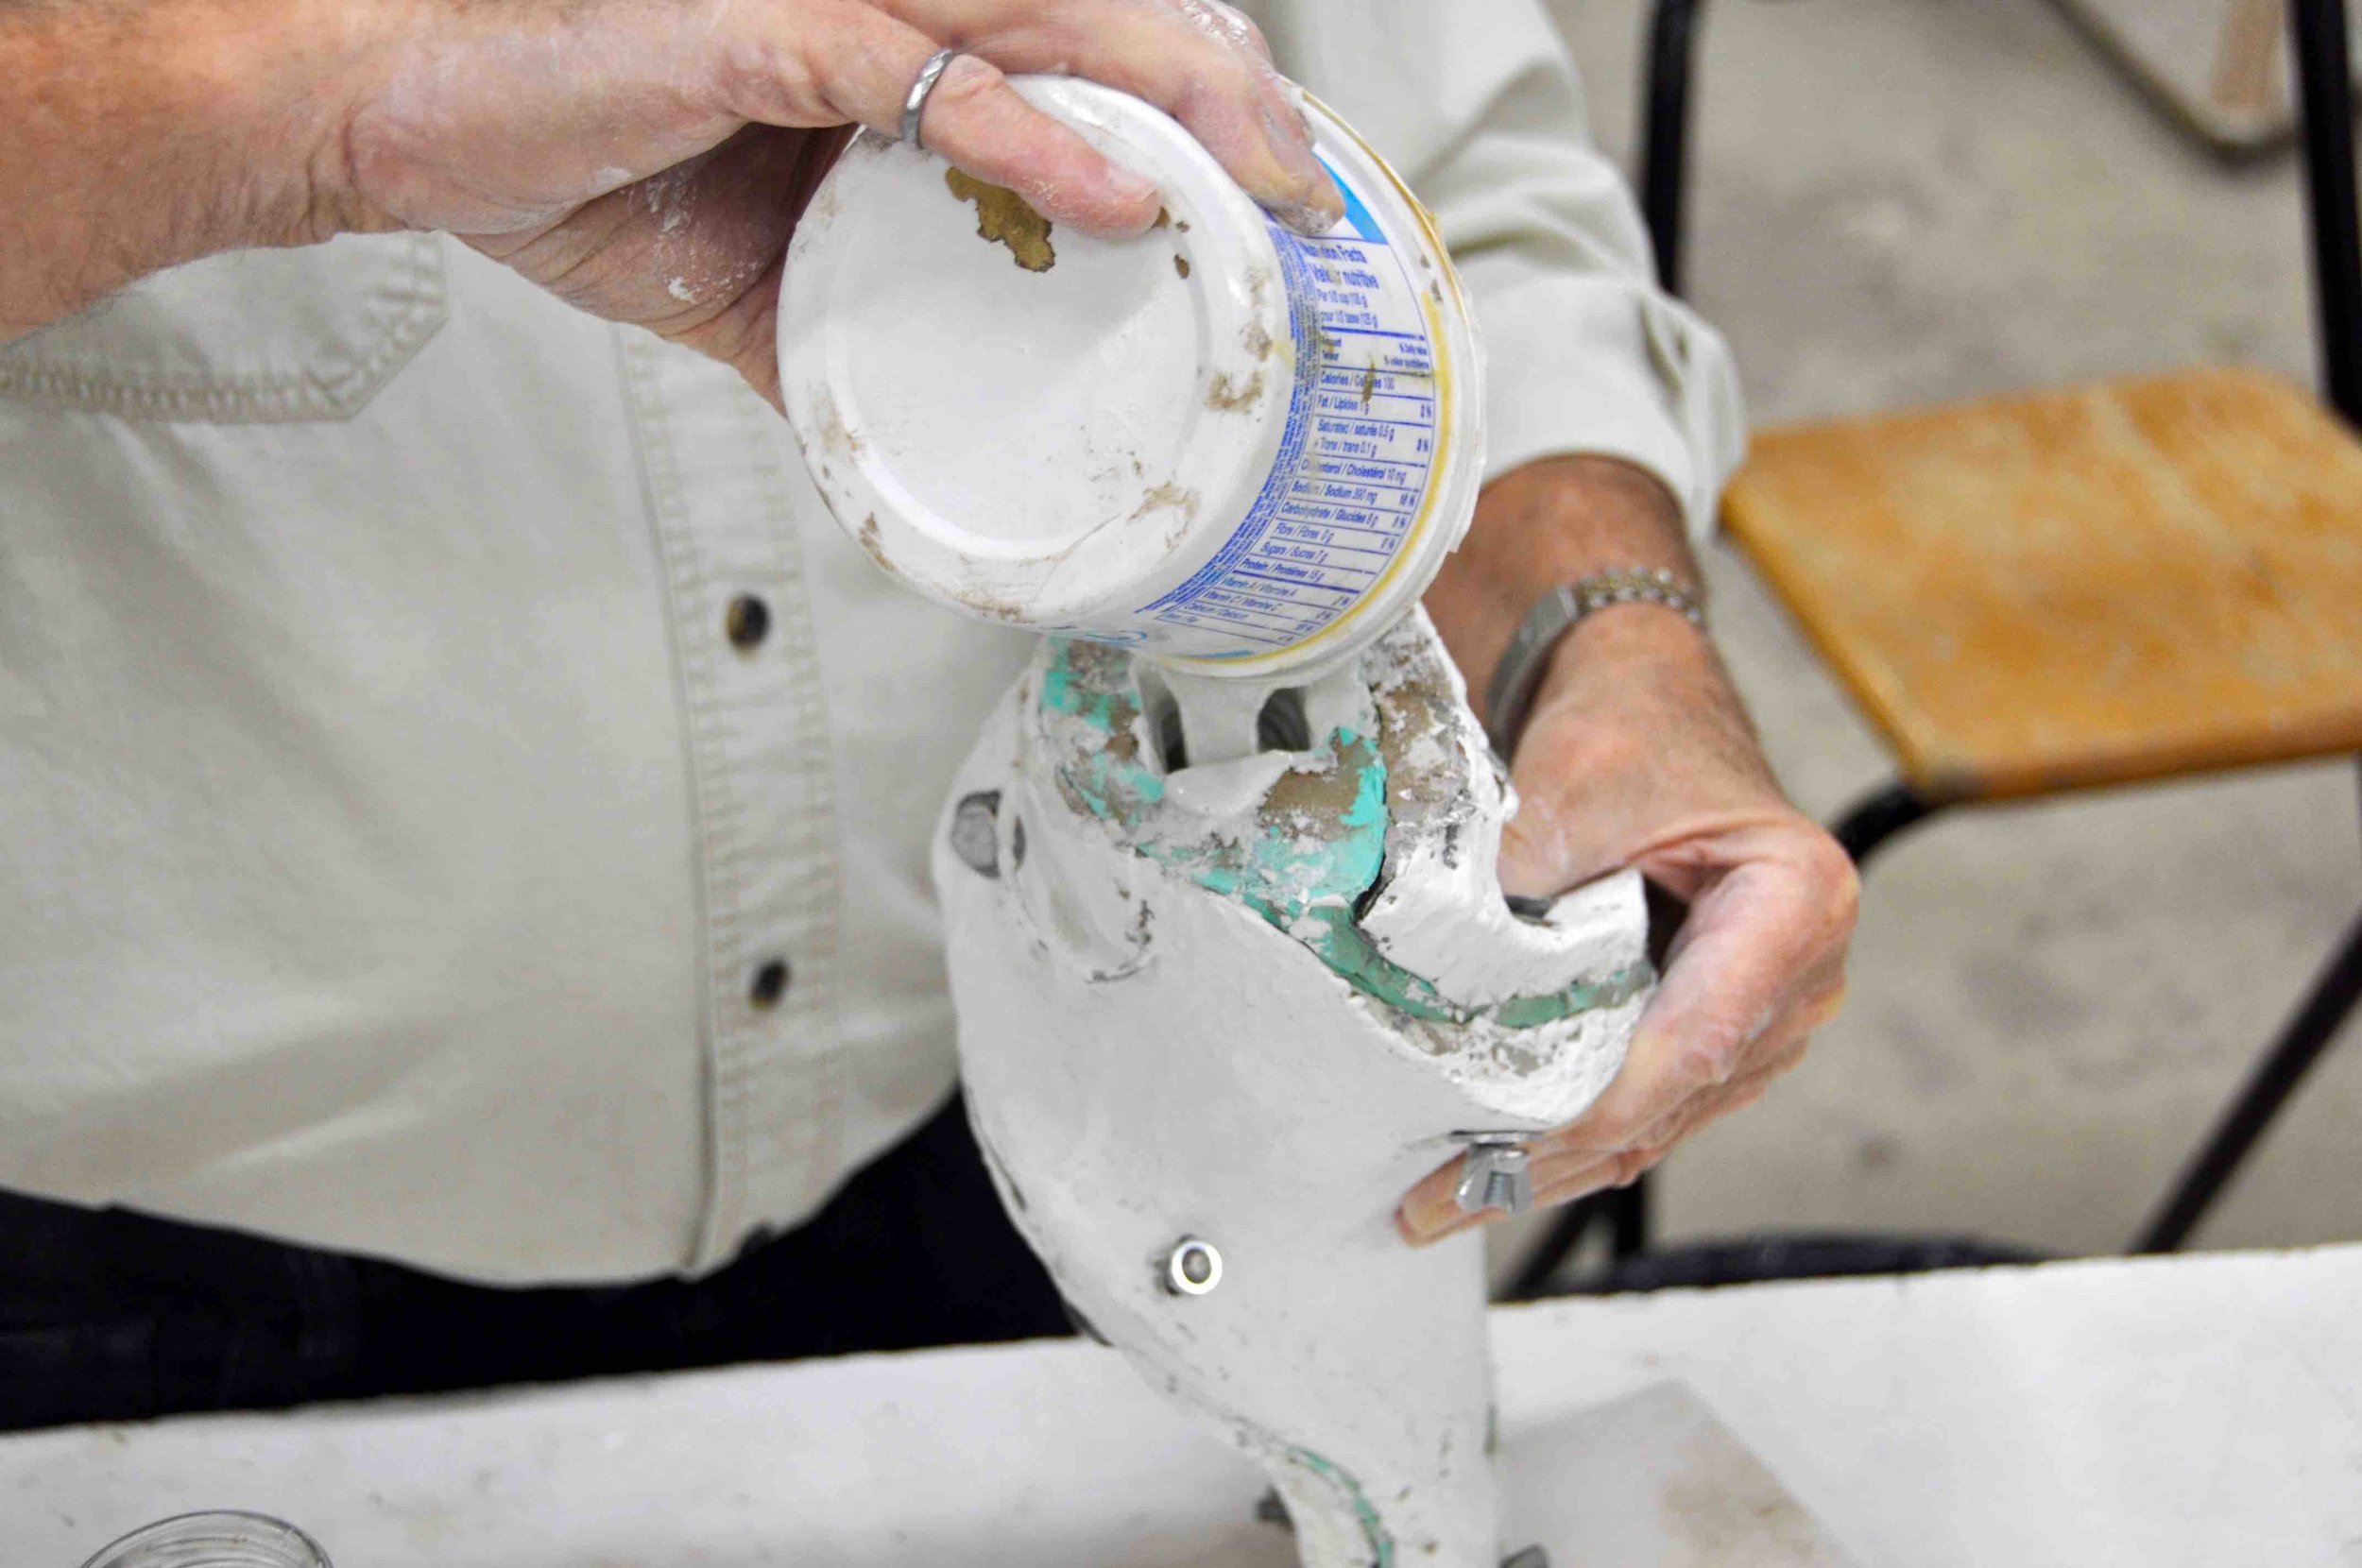
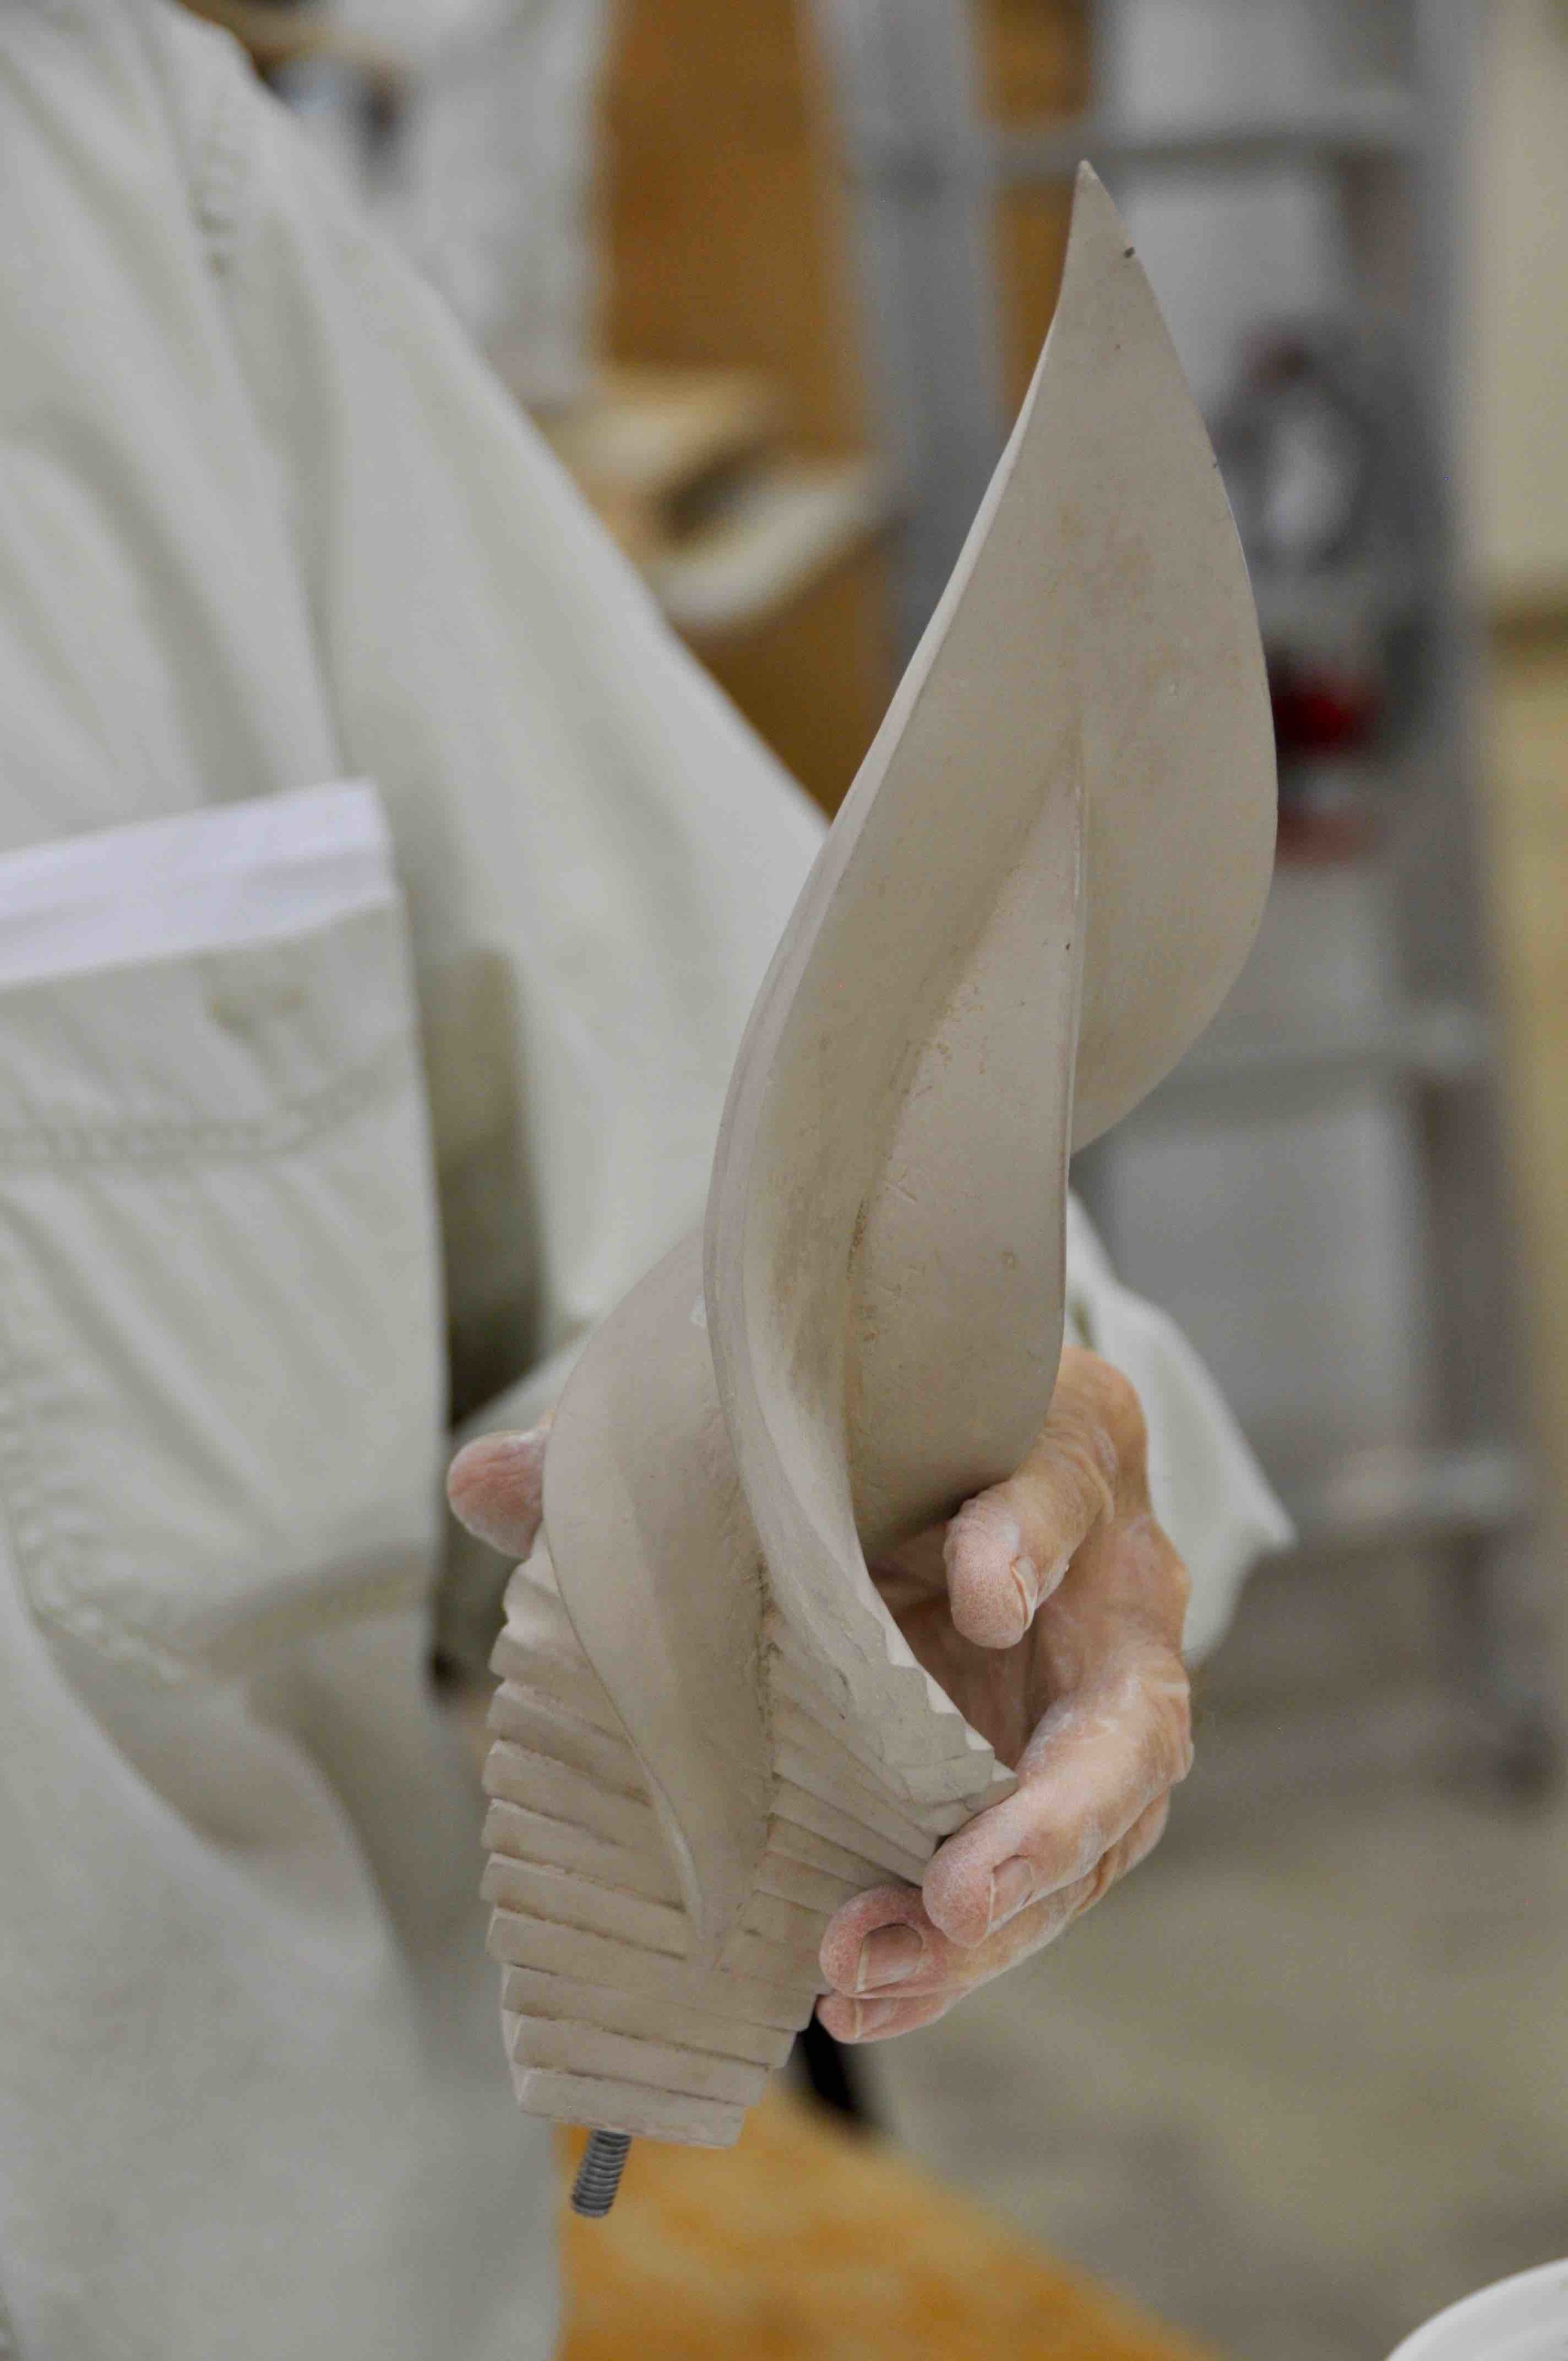
4. Additional layers
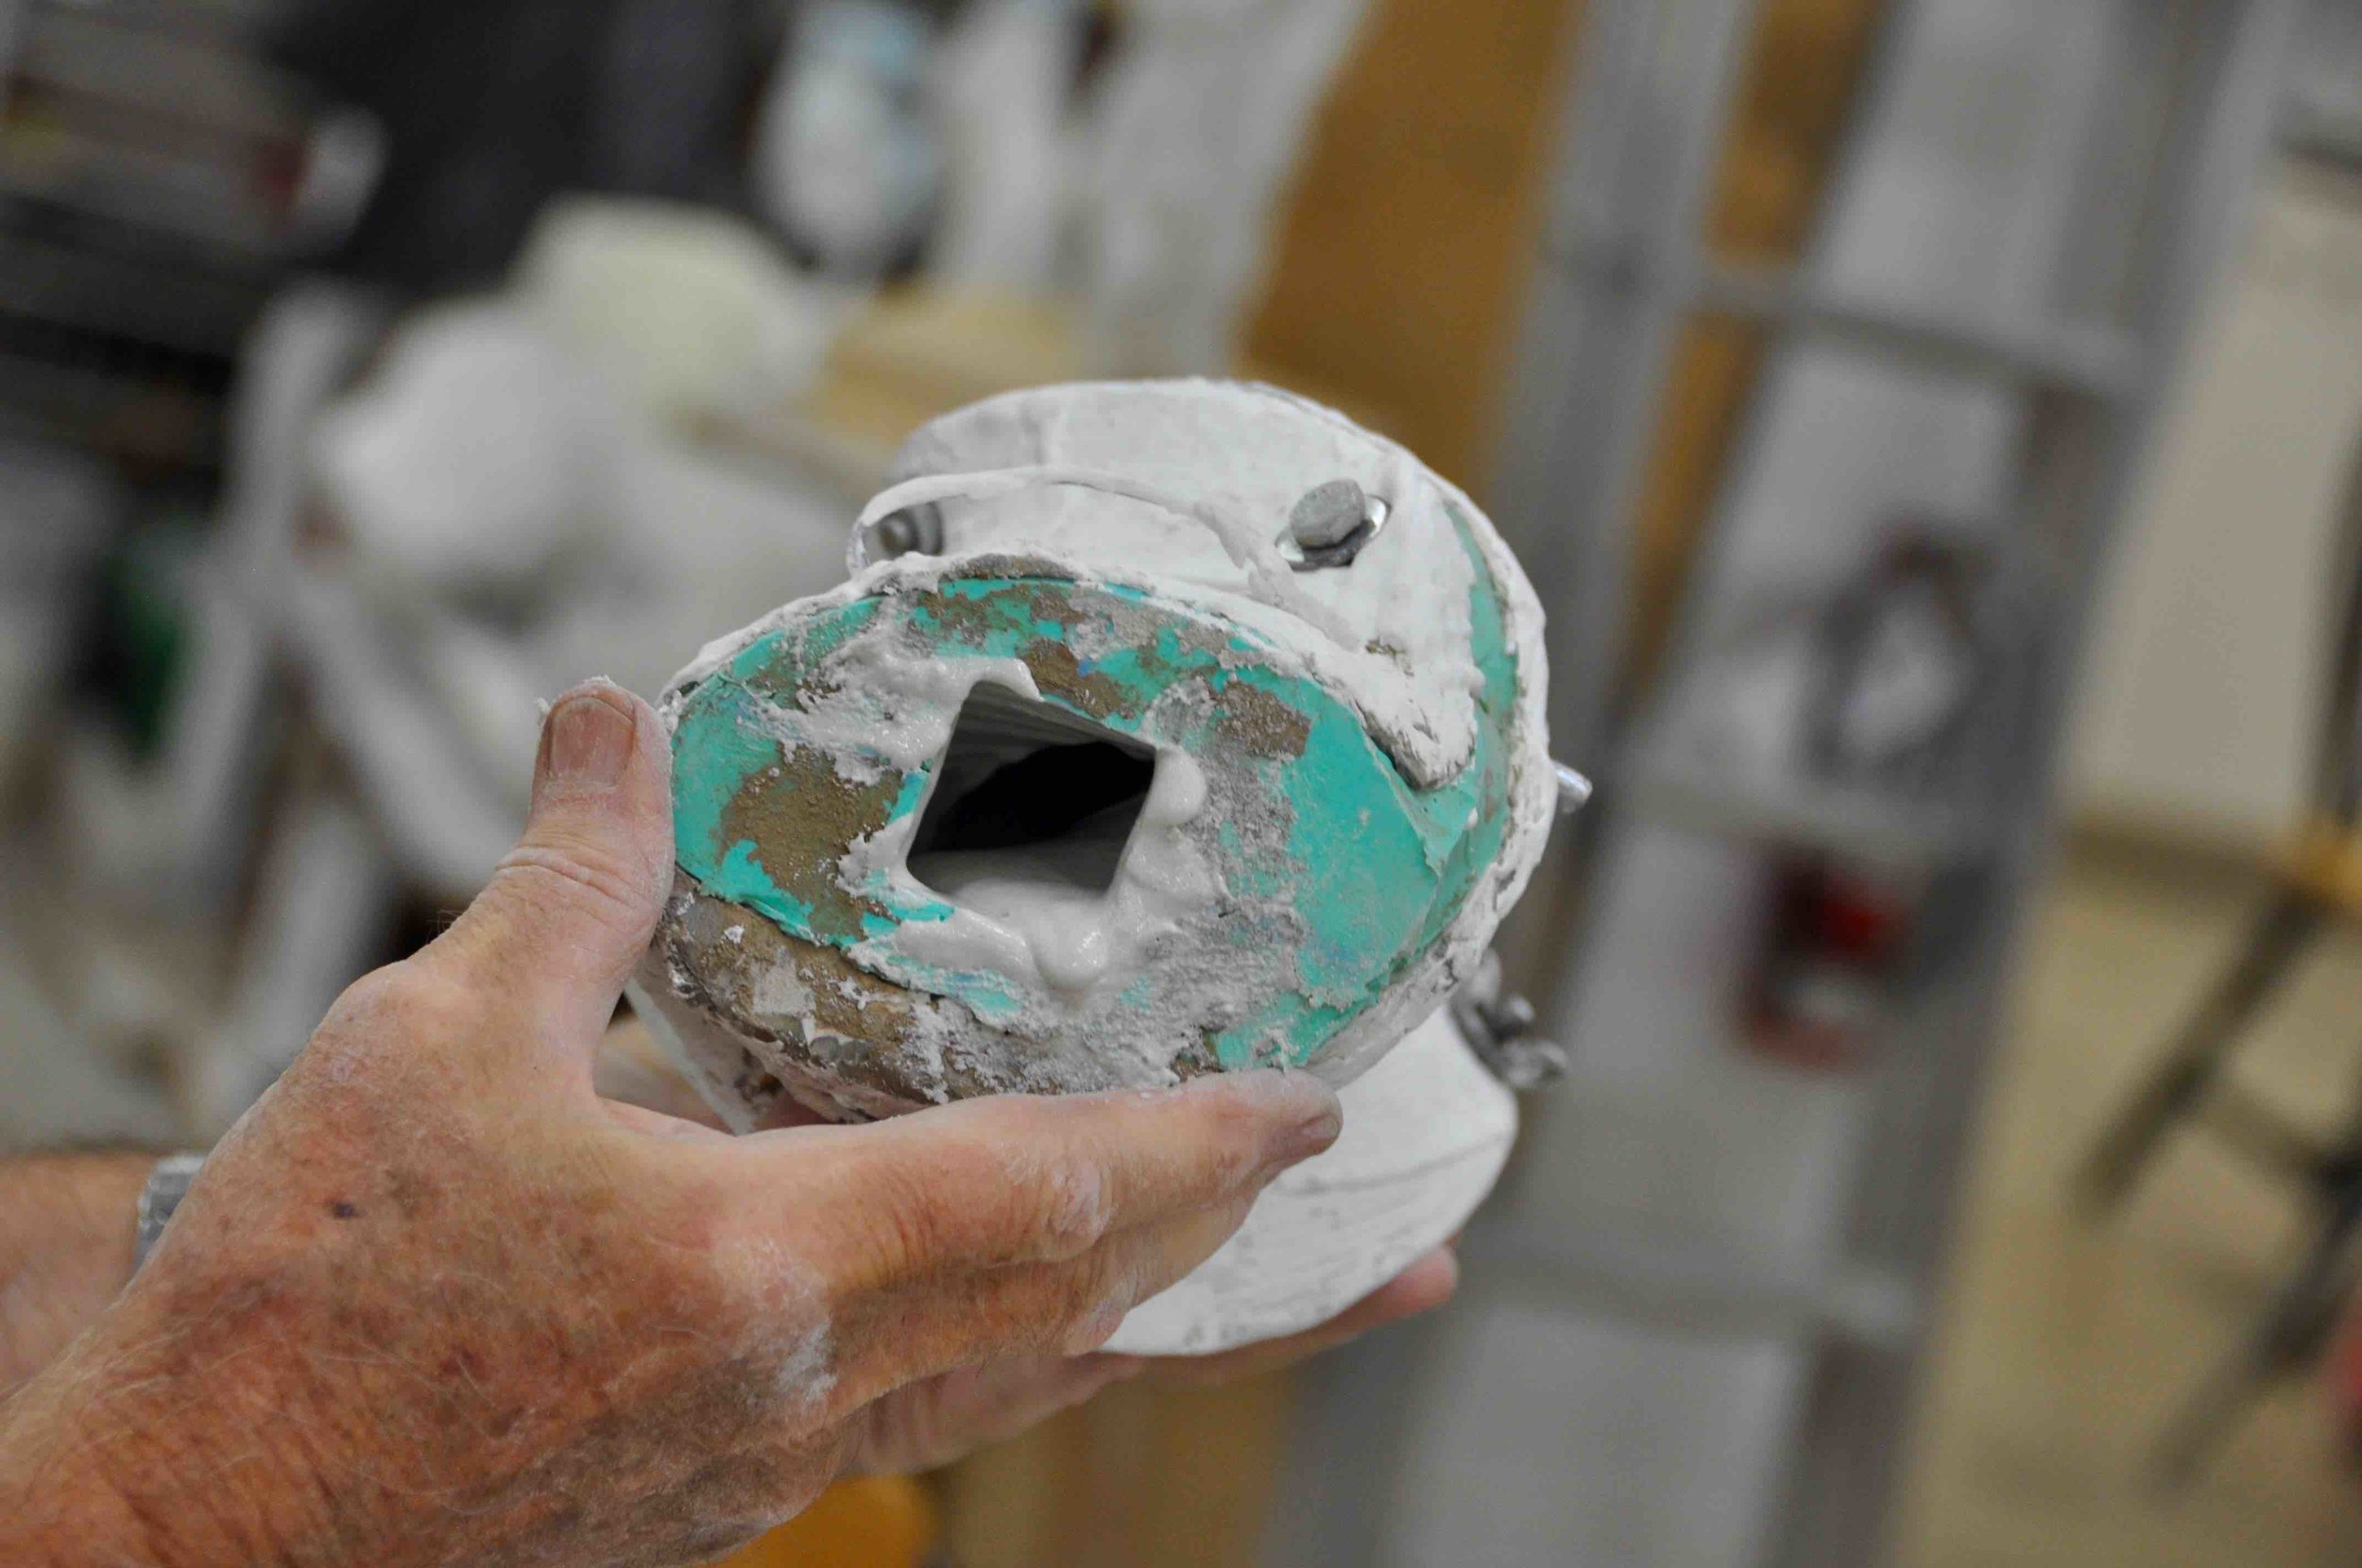
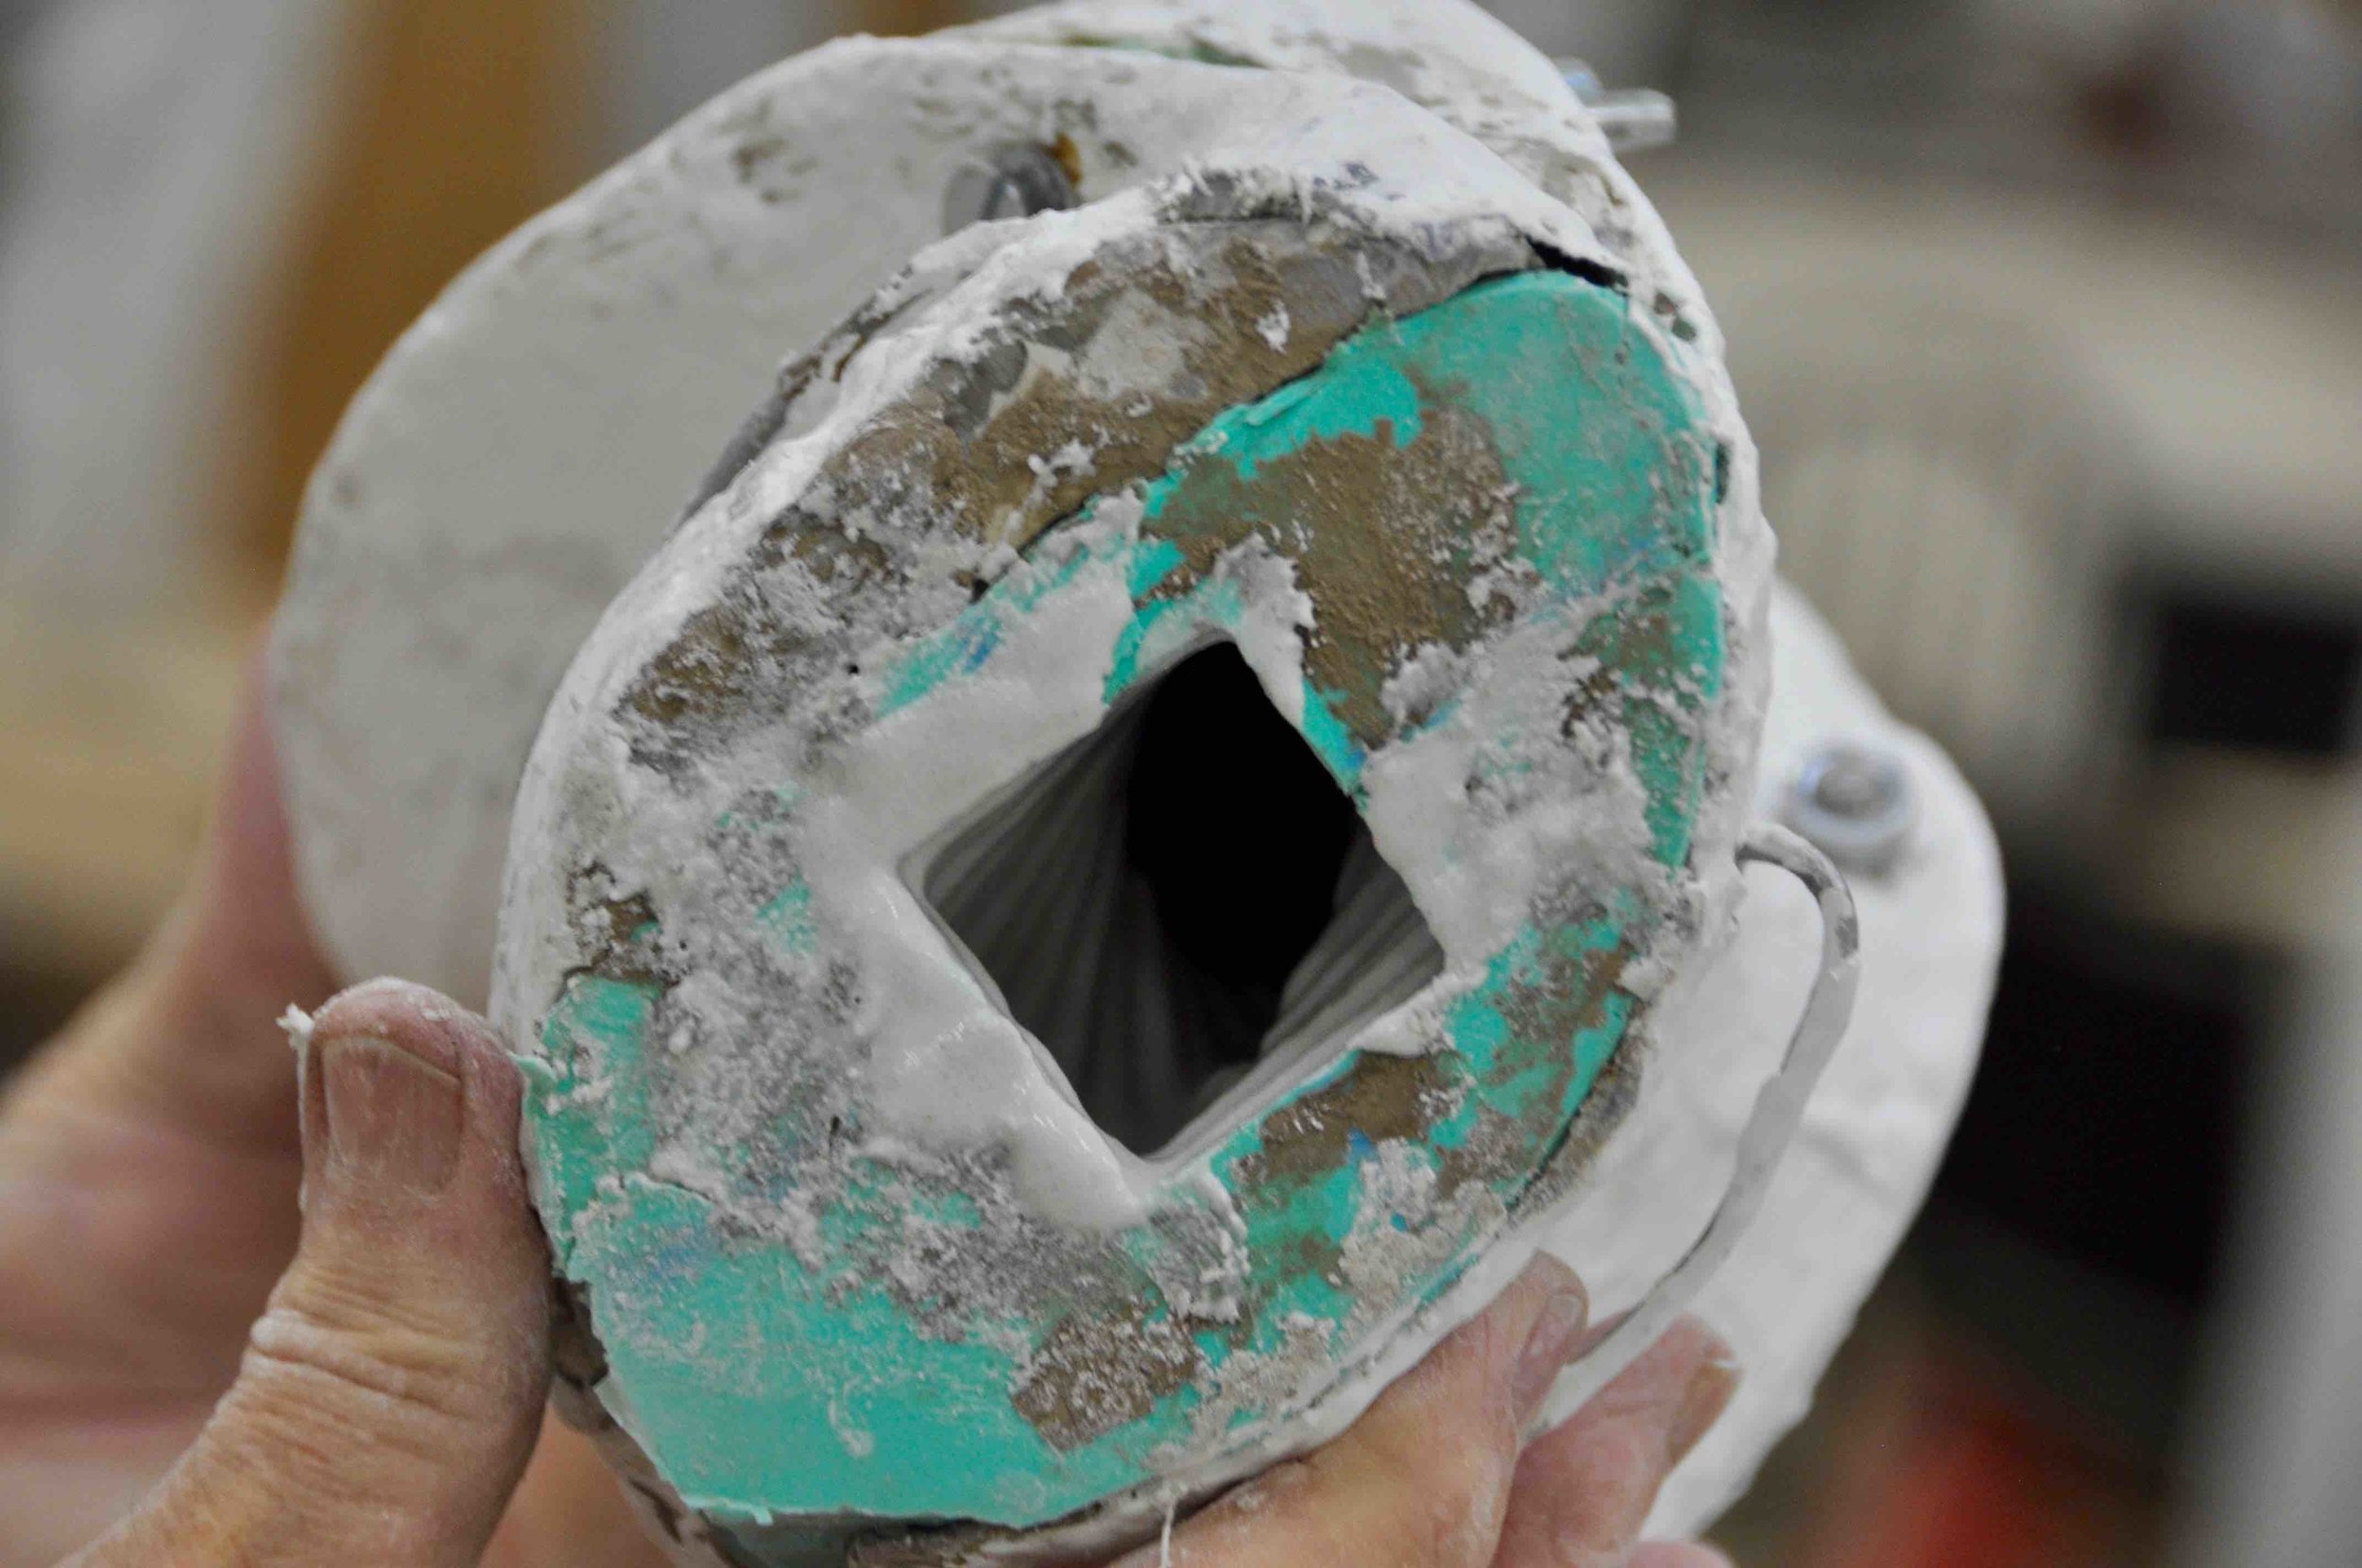
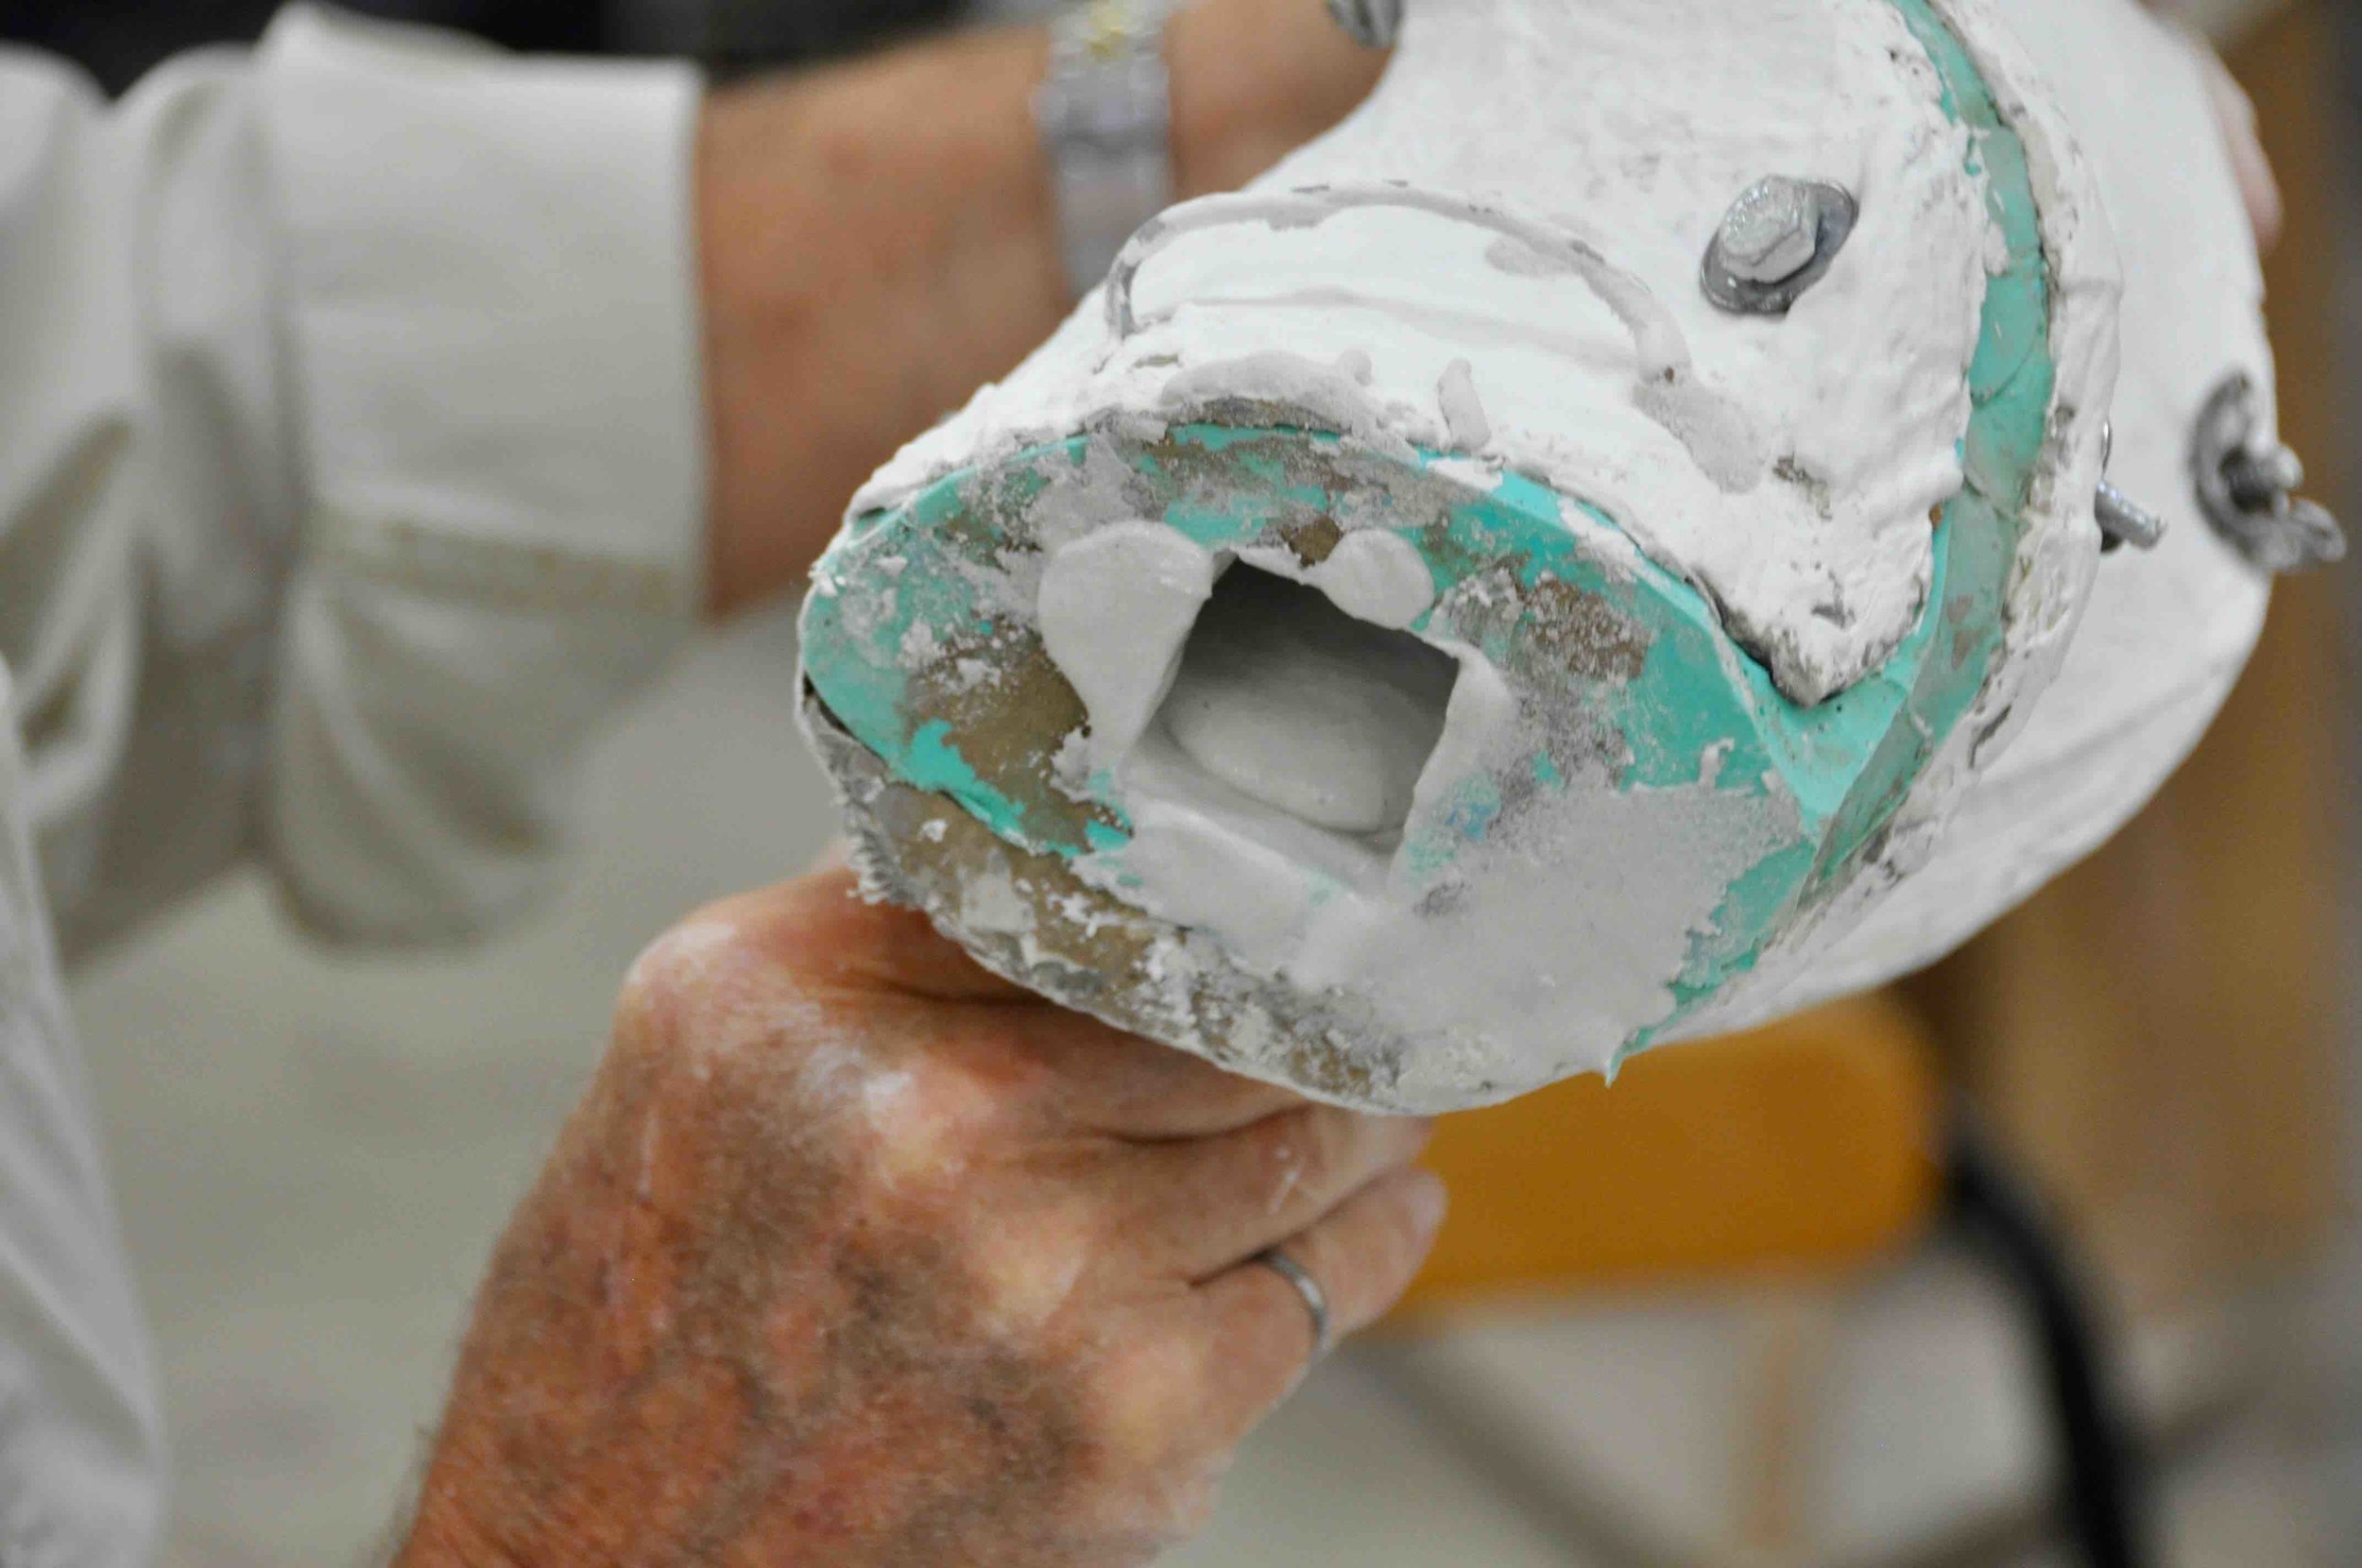
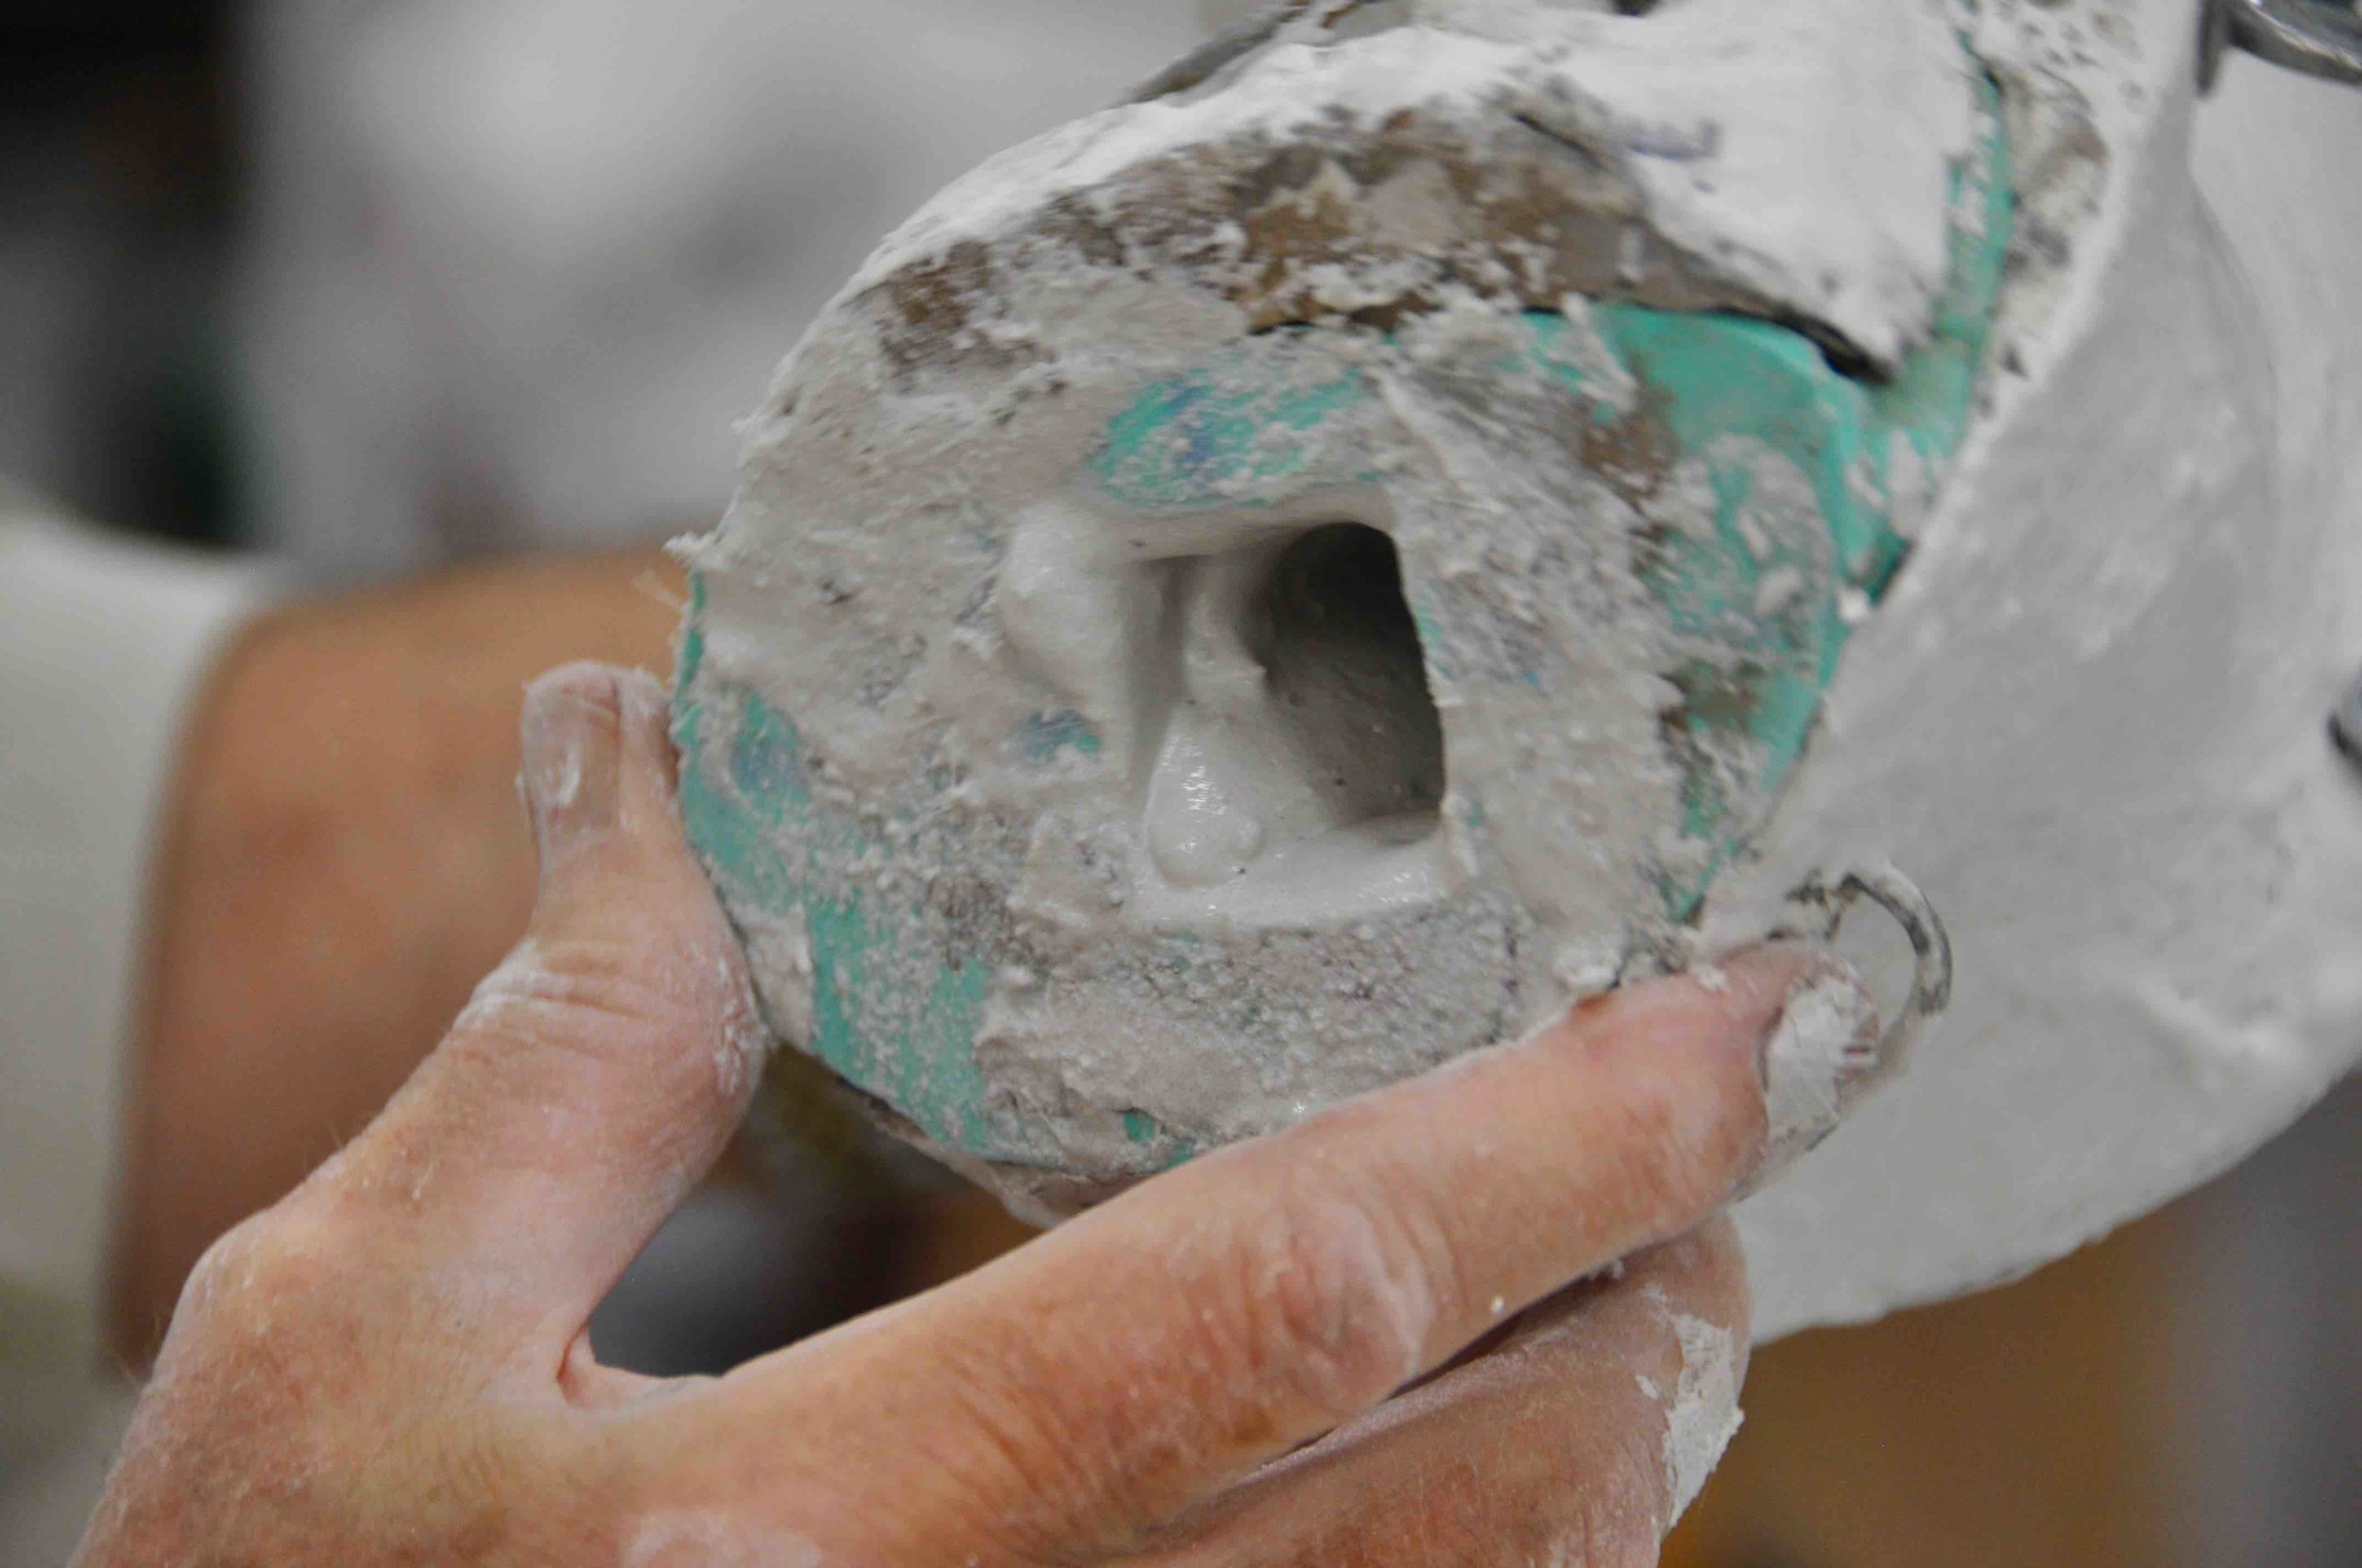
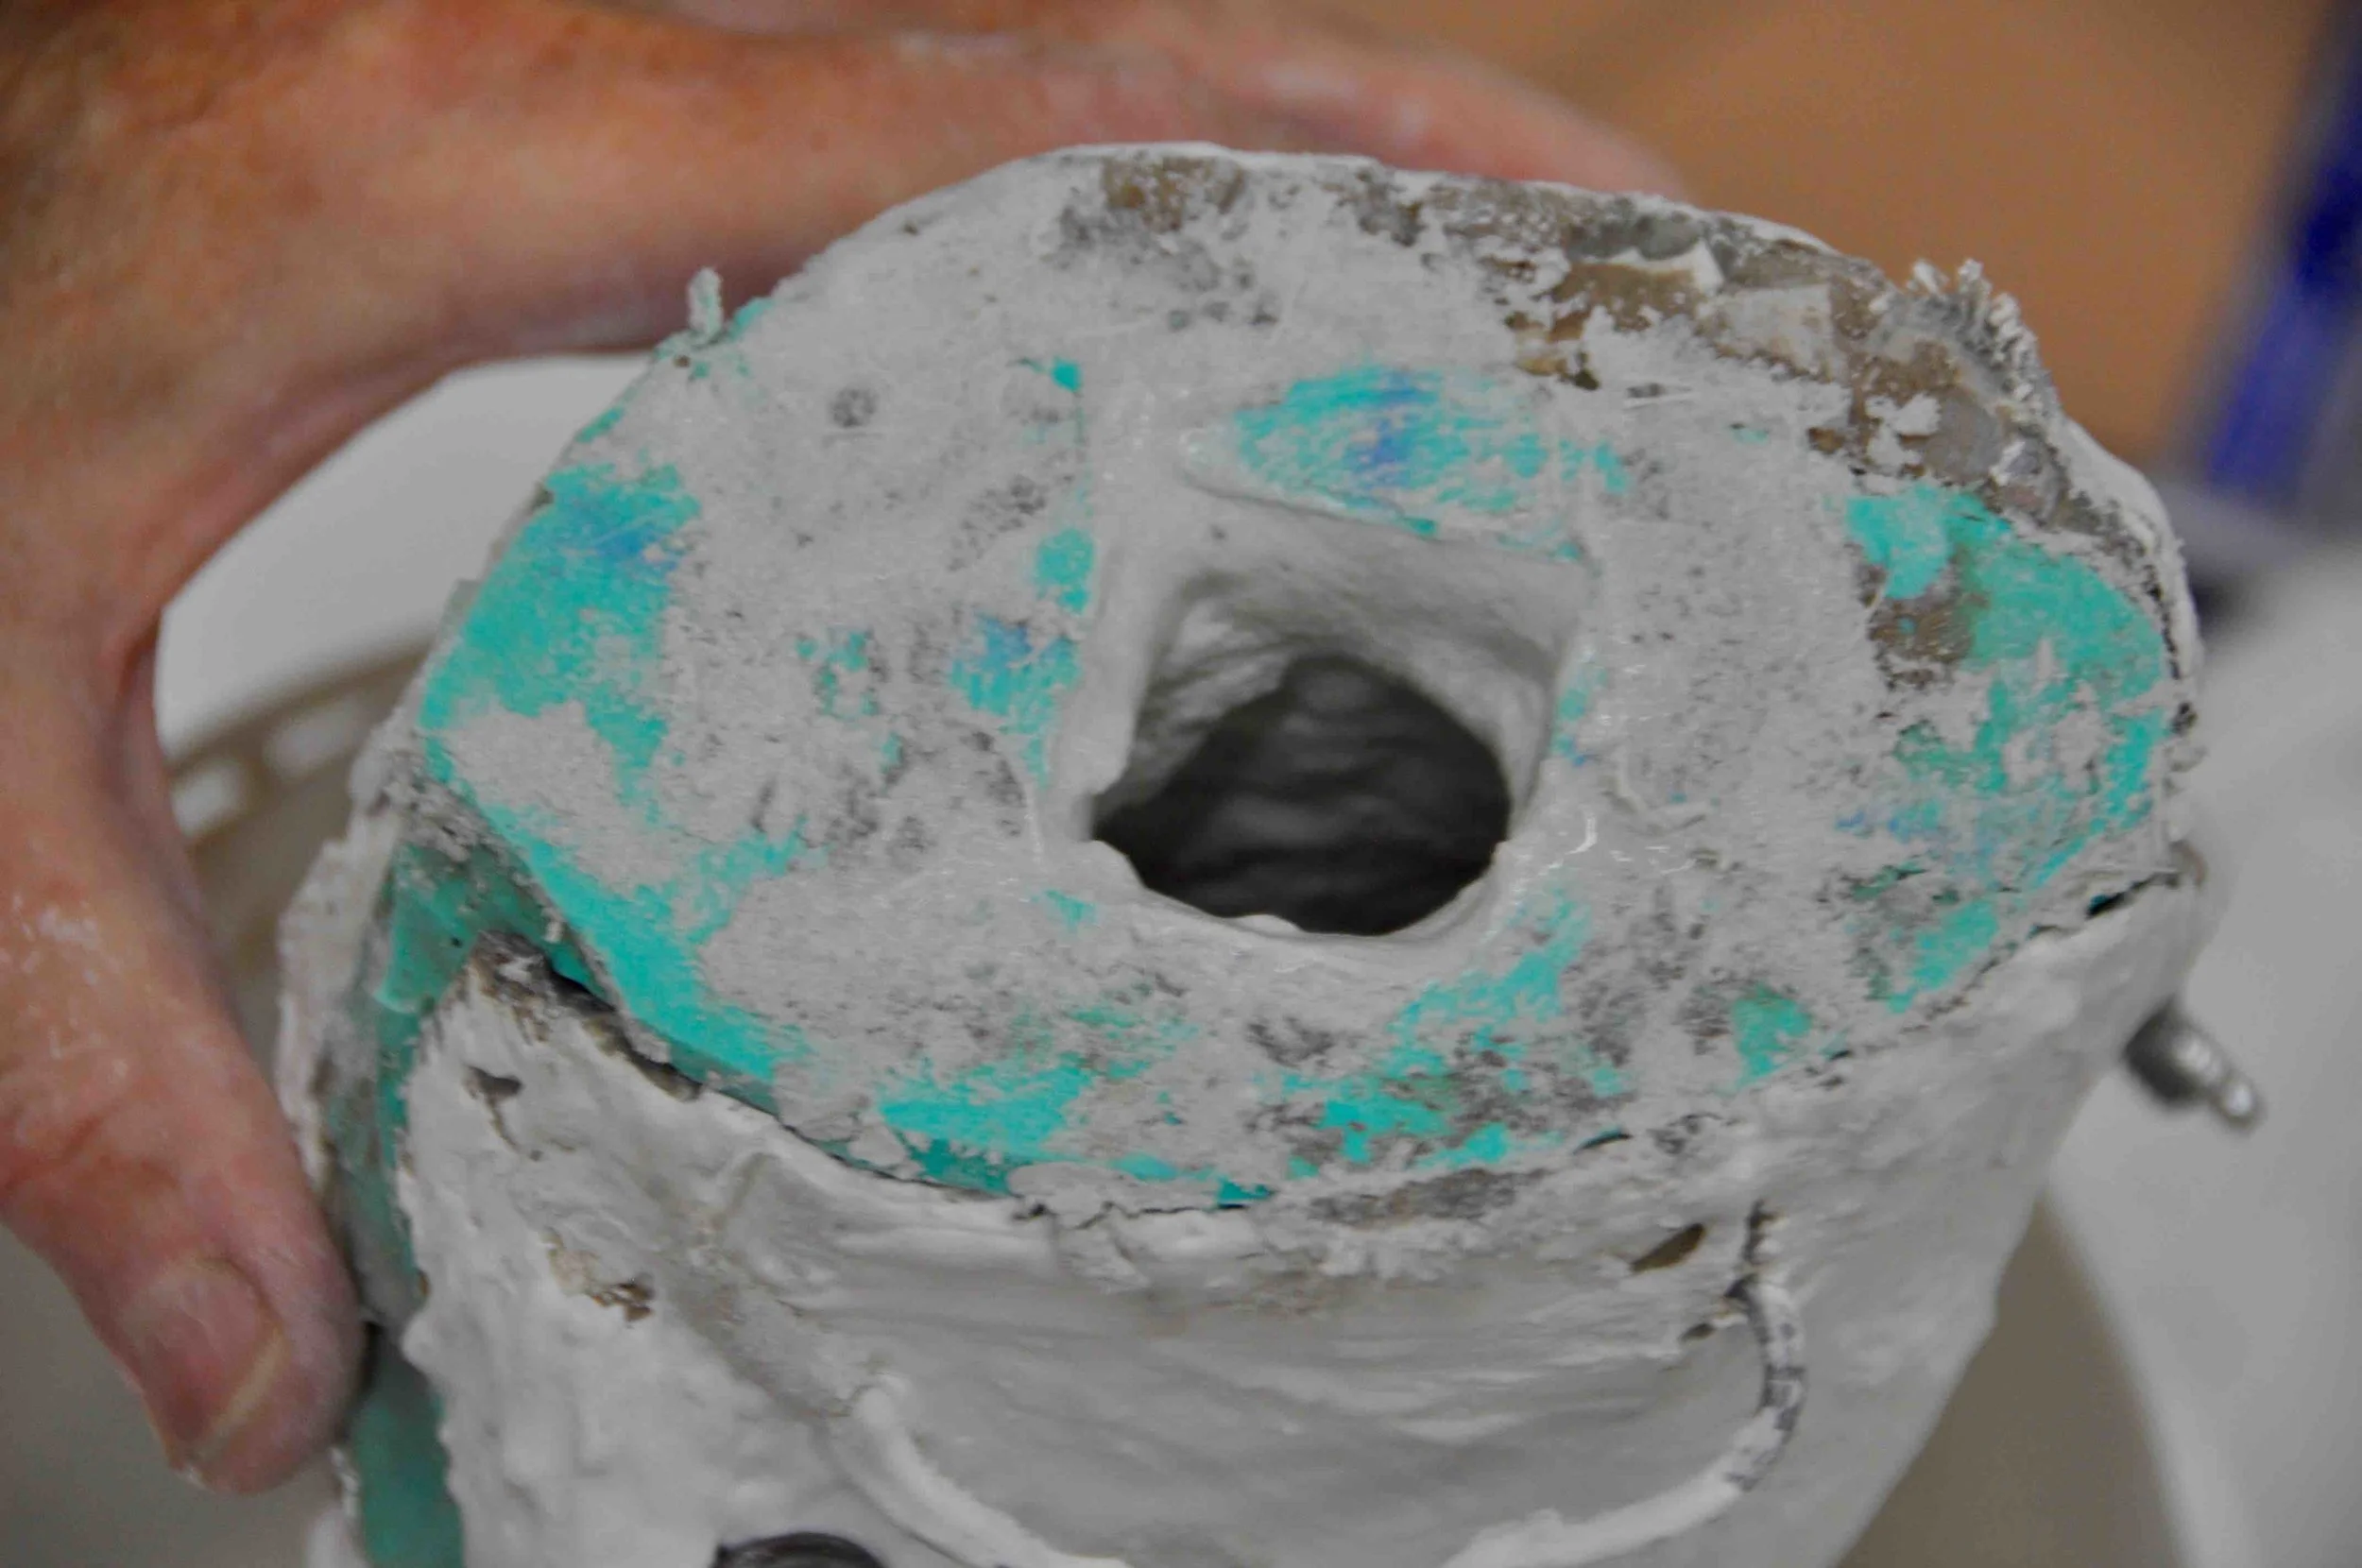
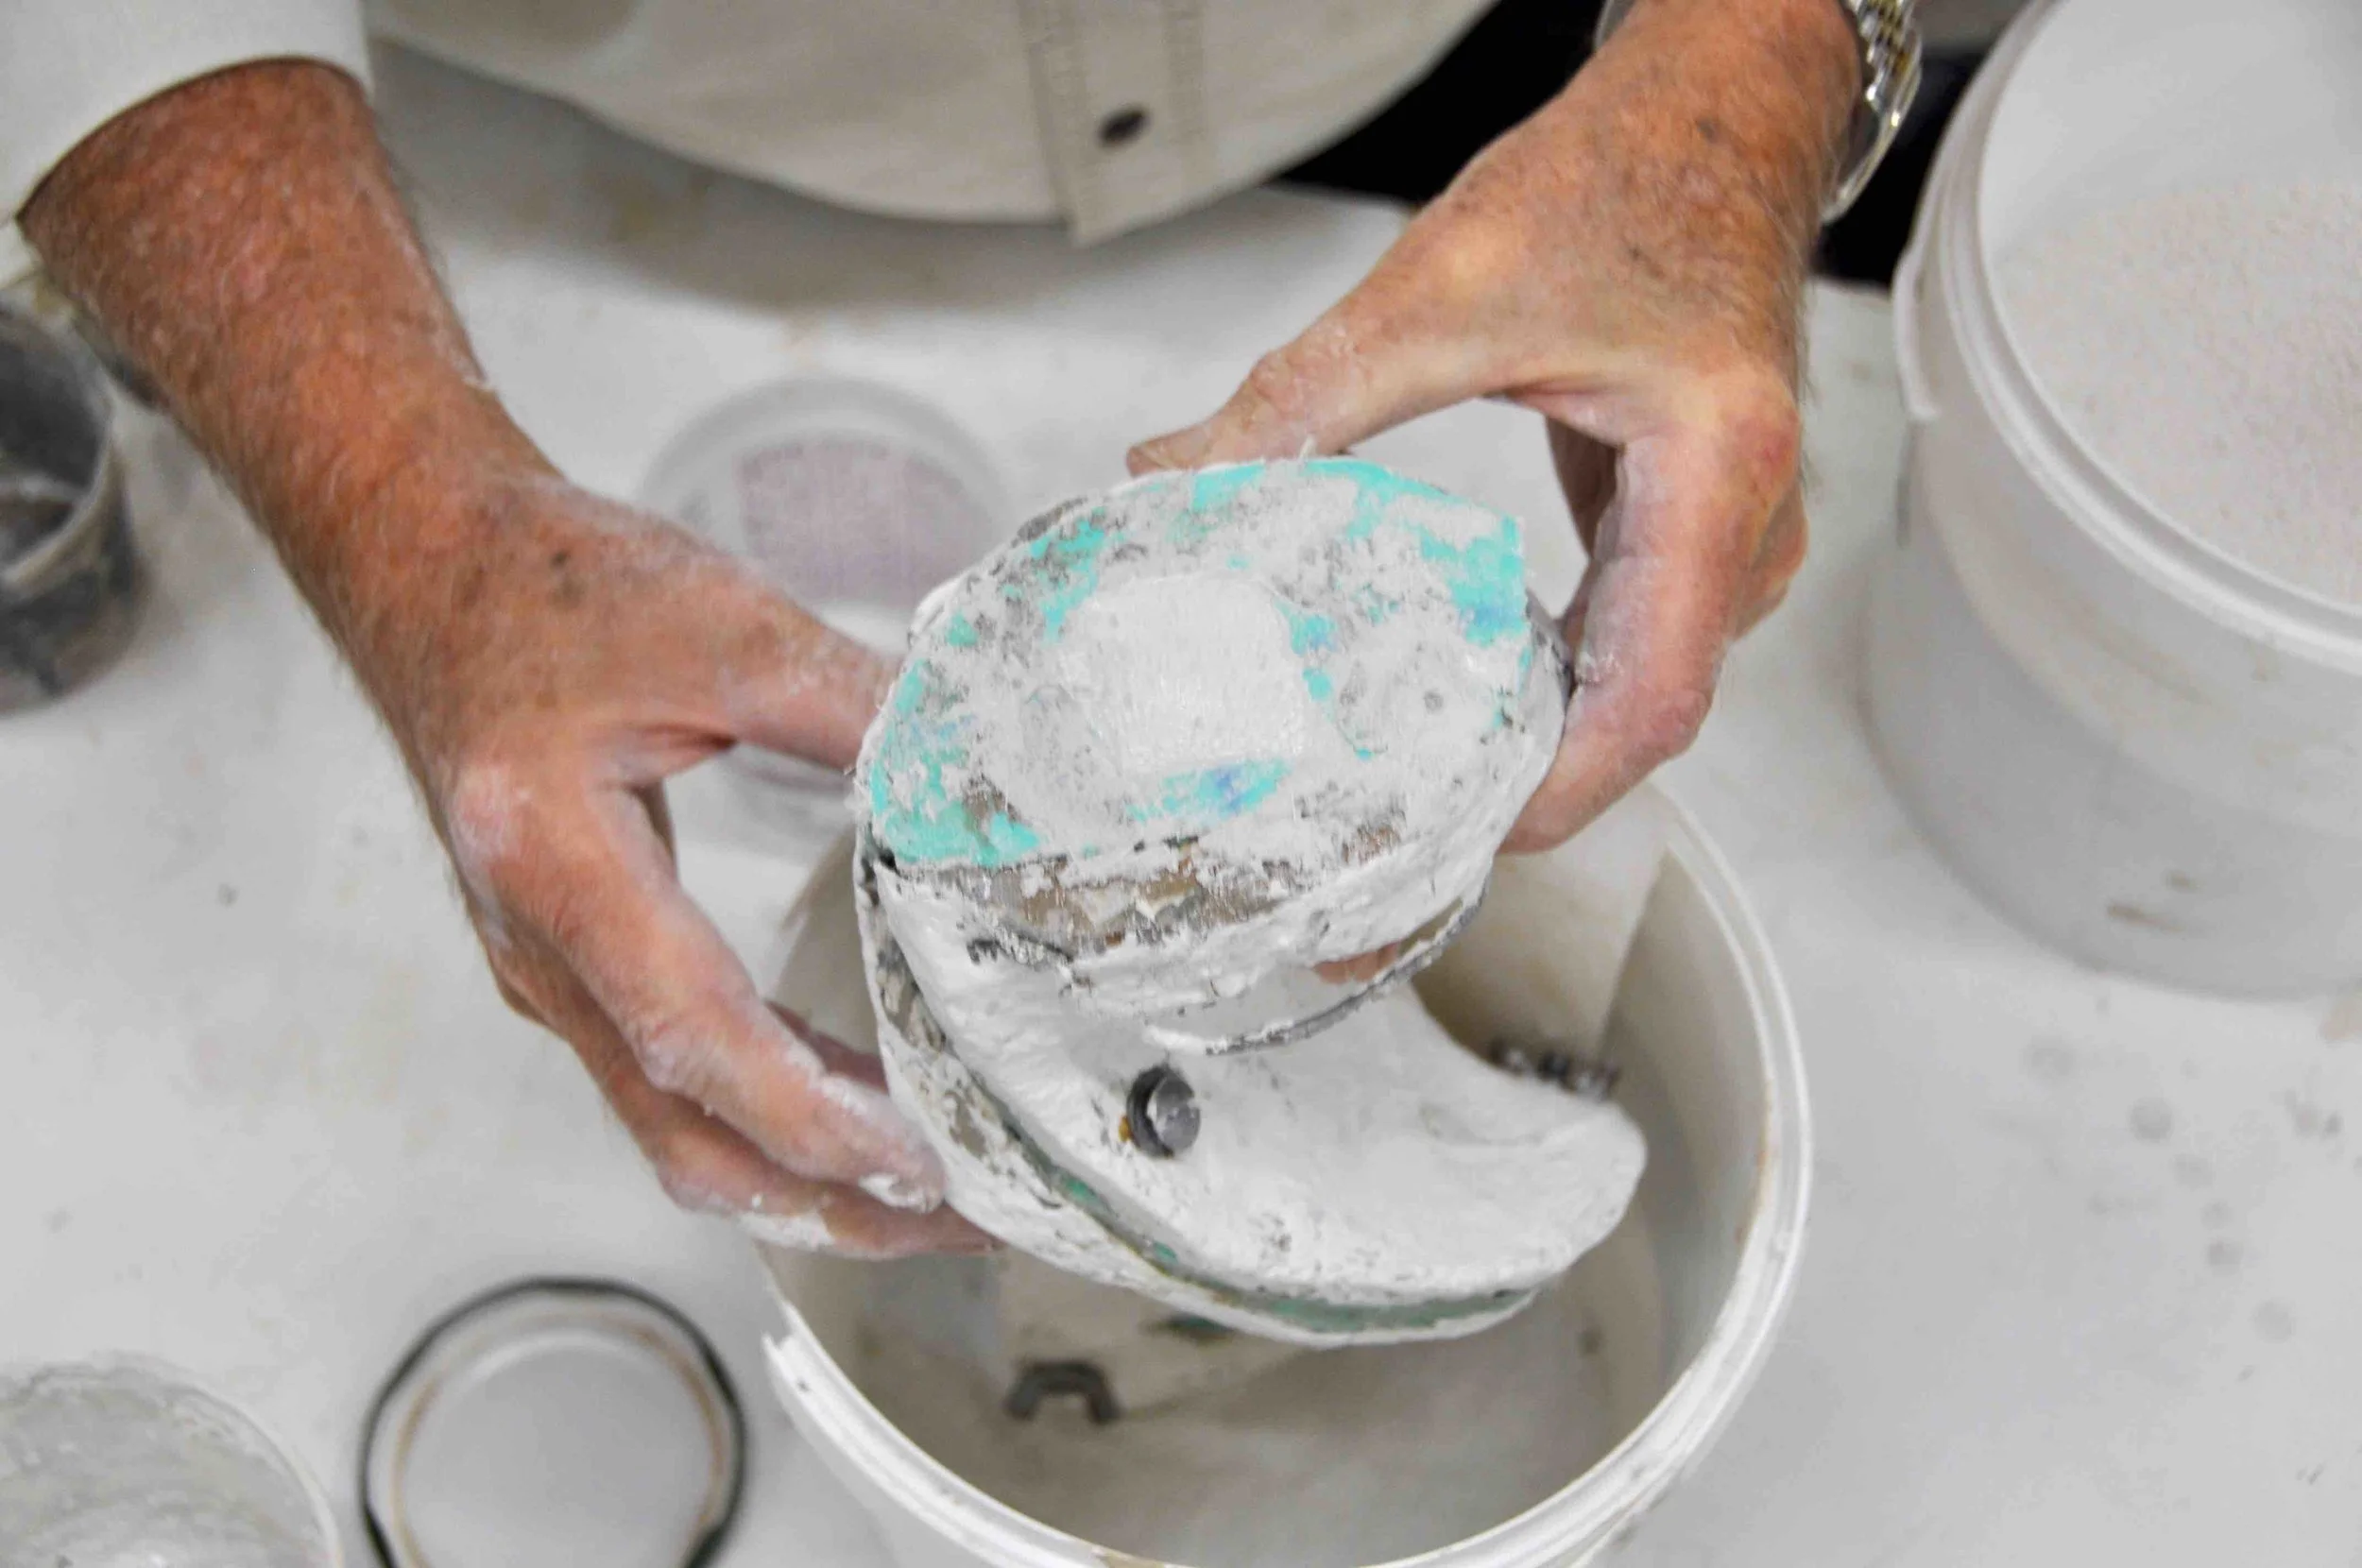
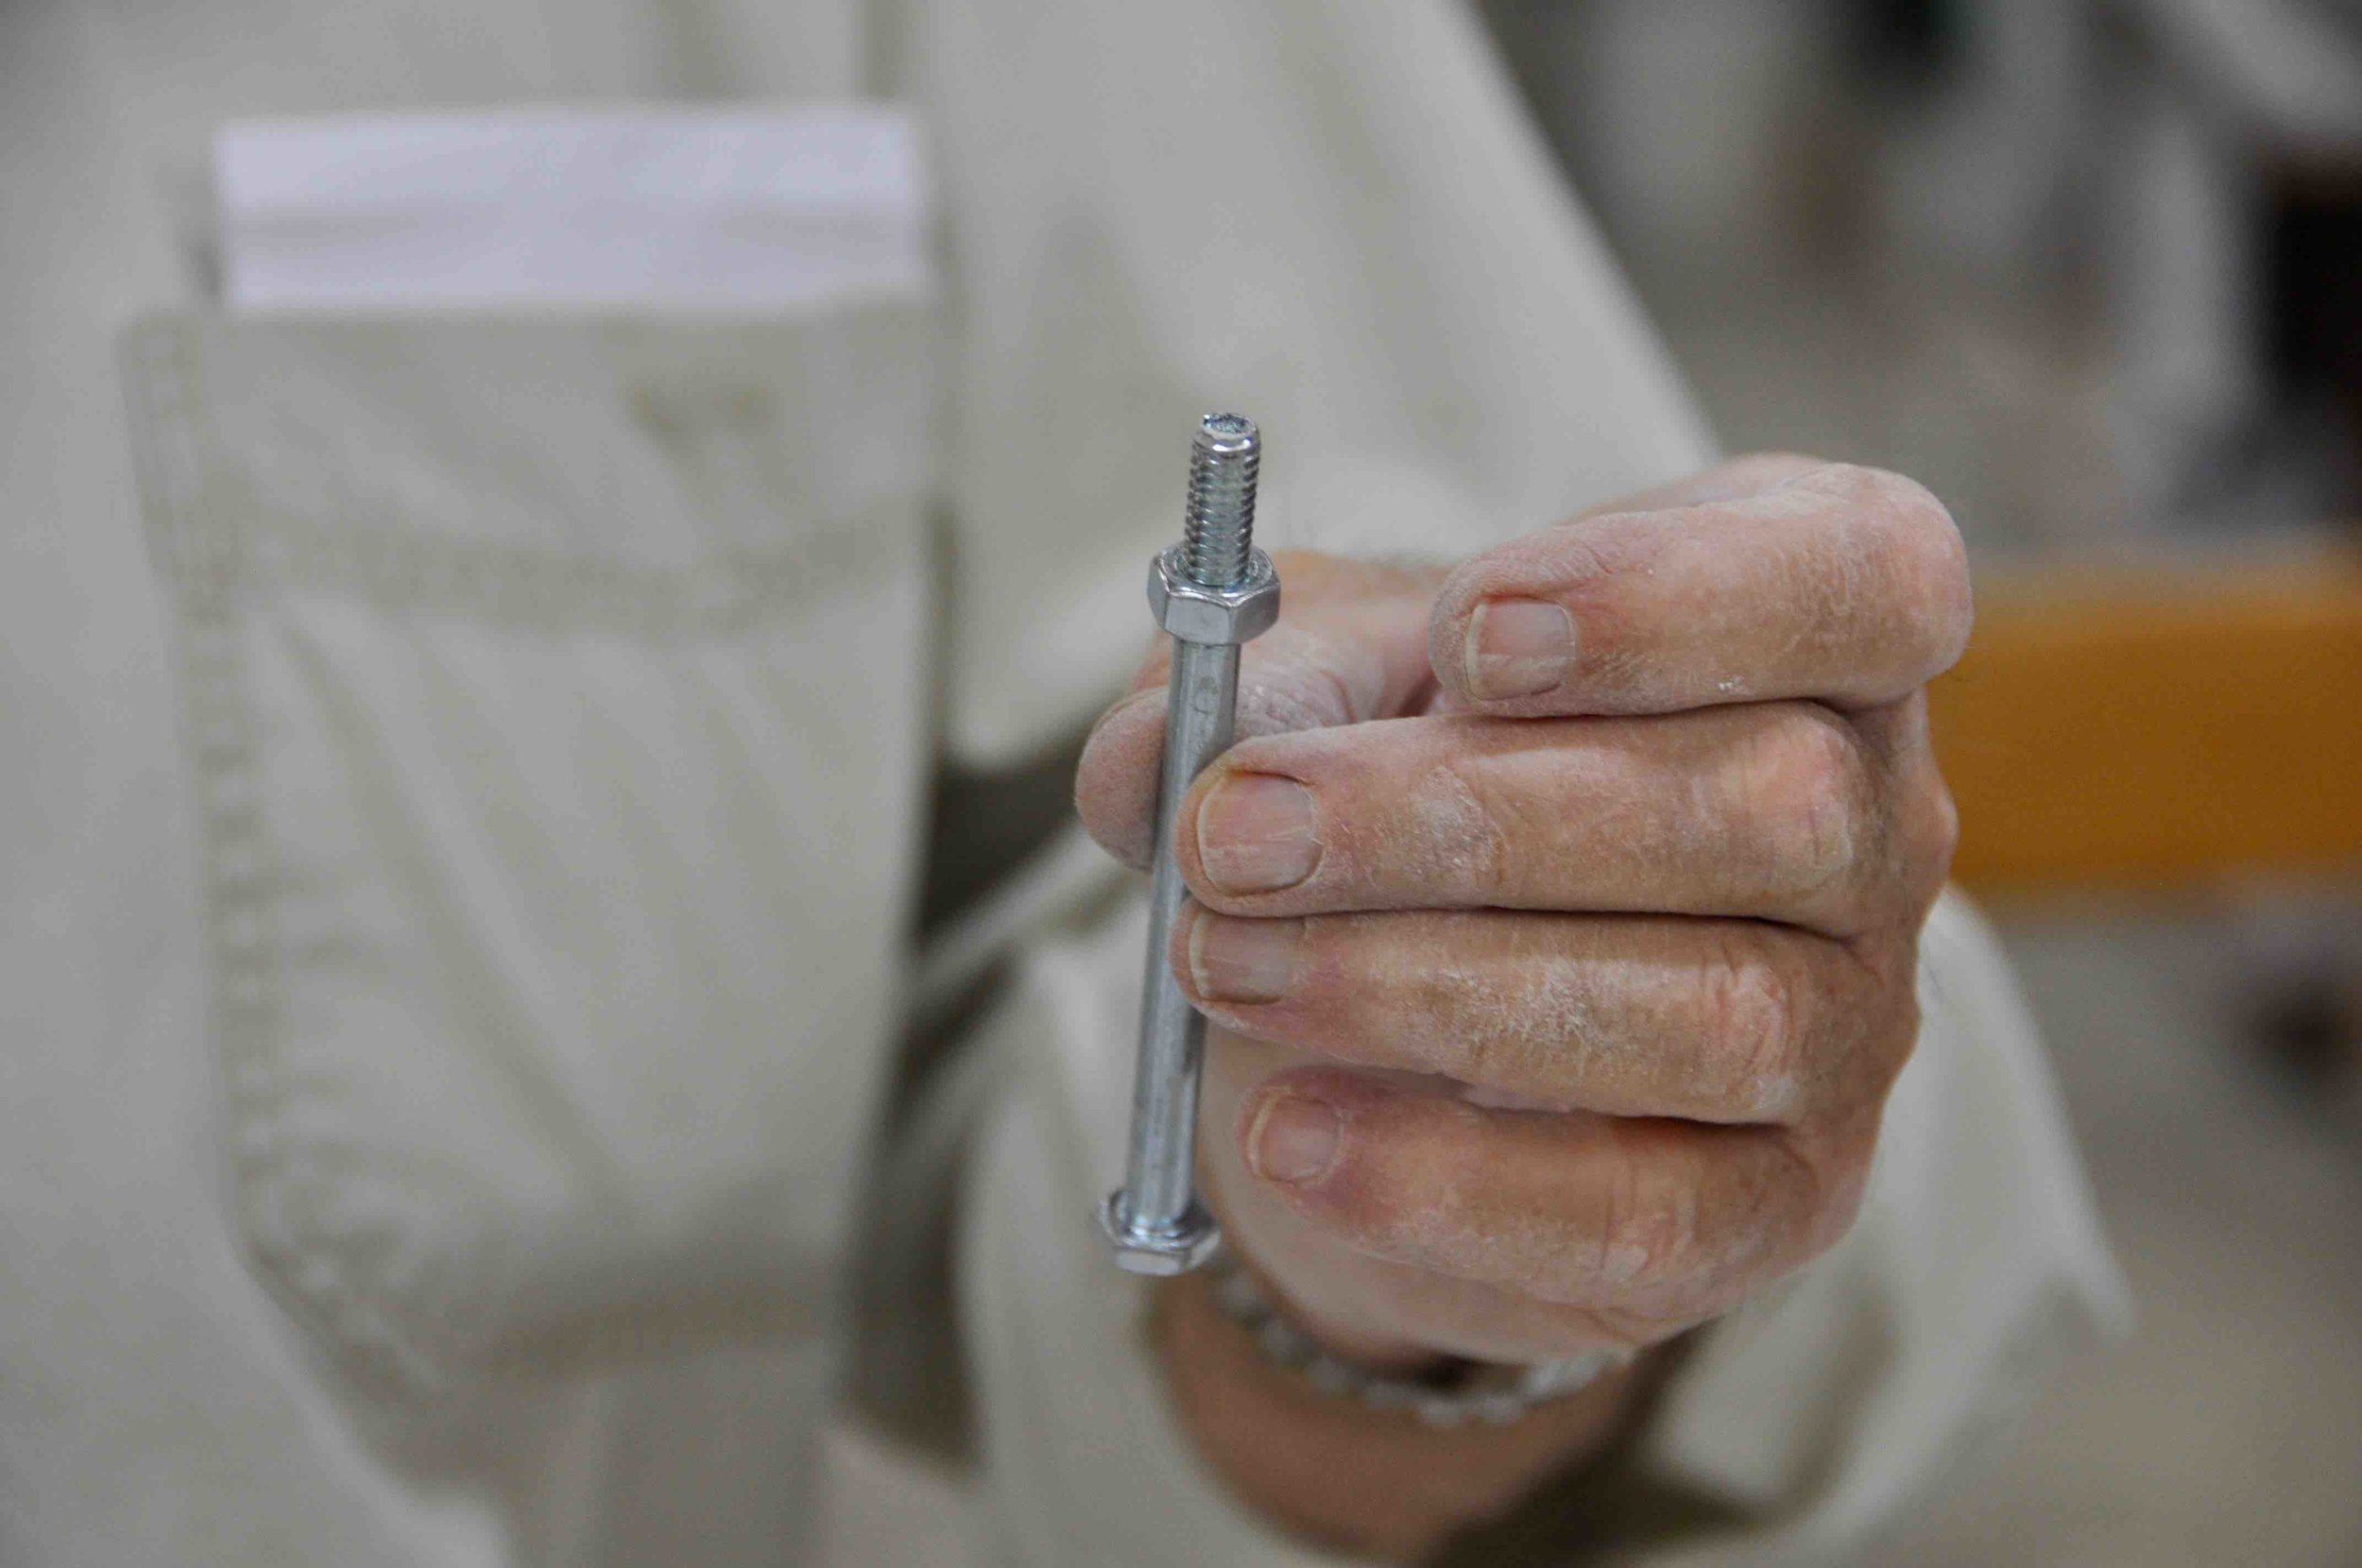
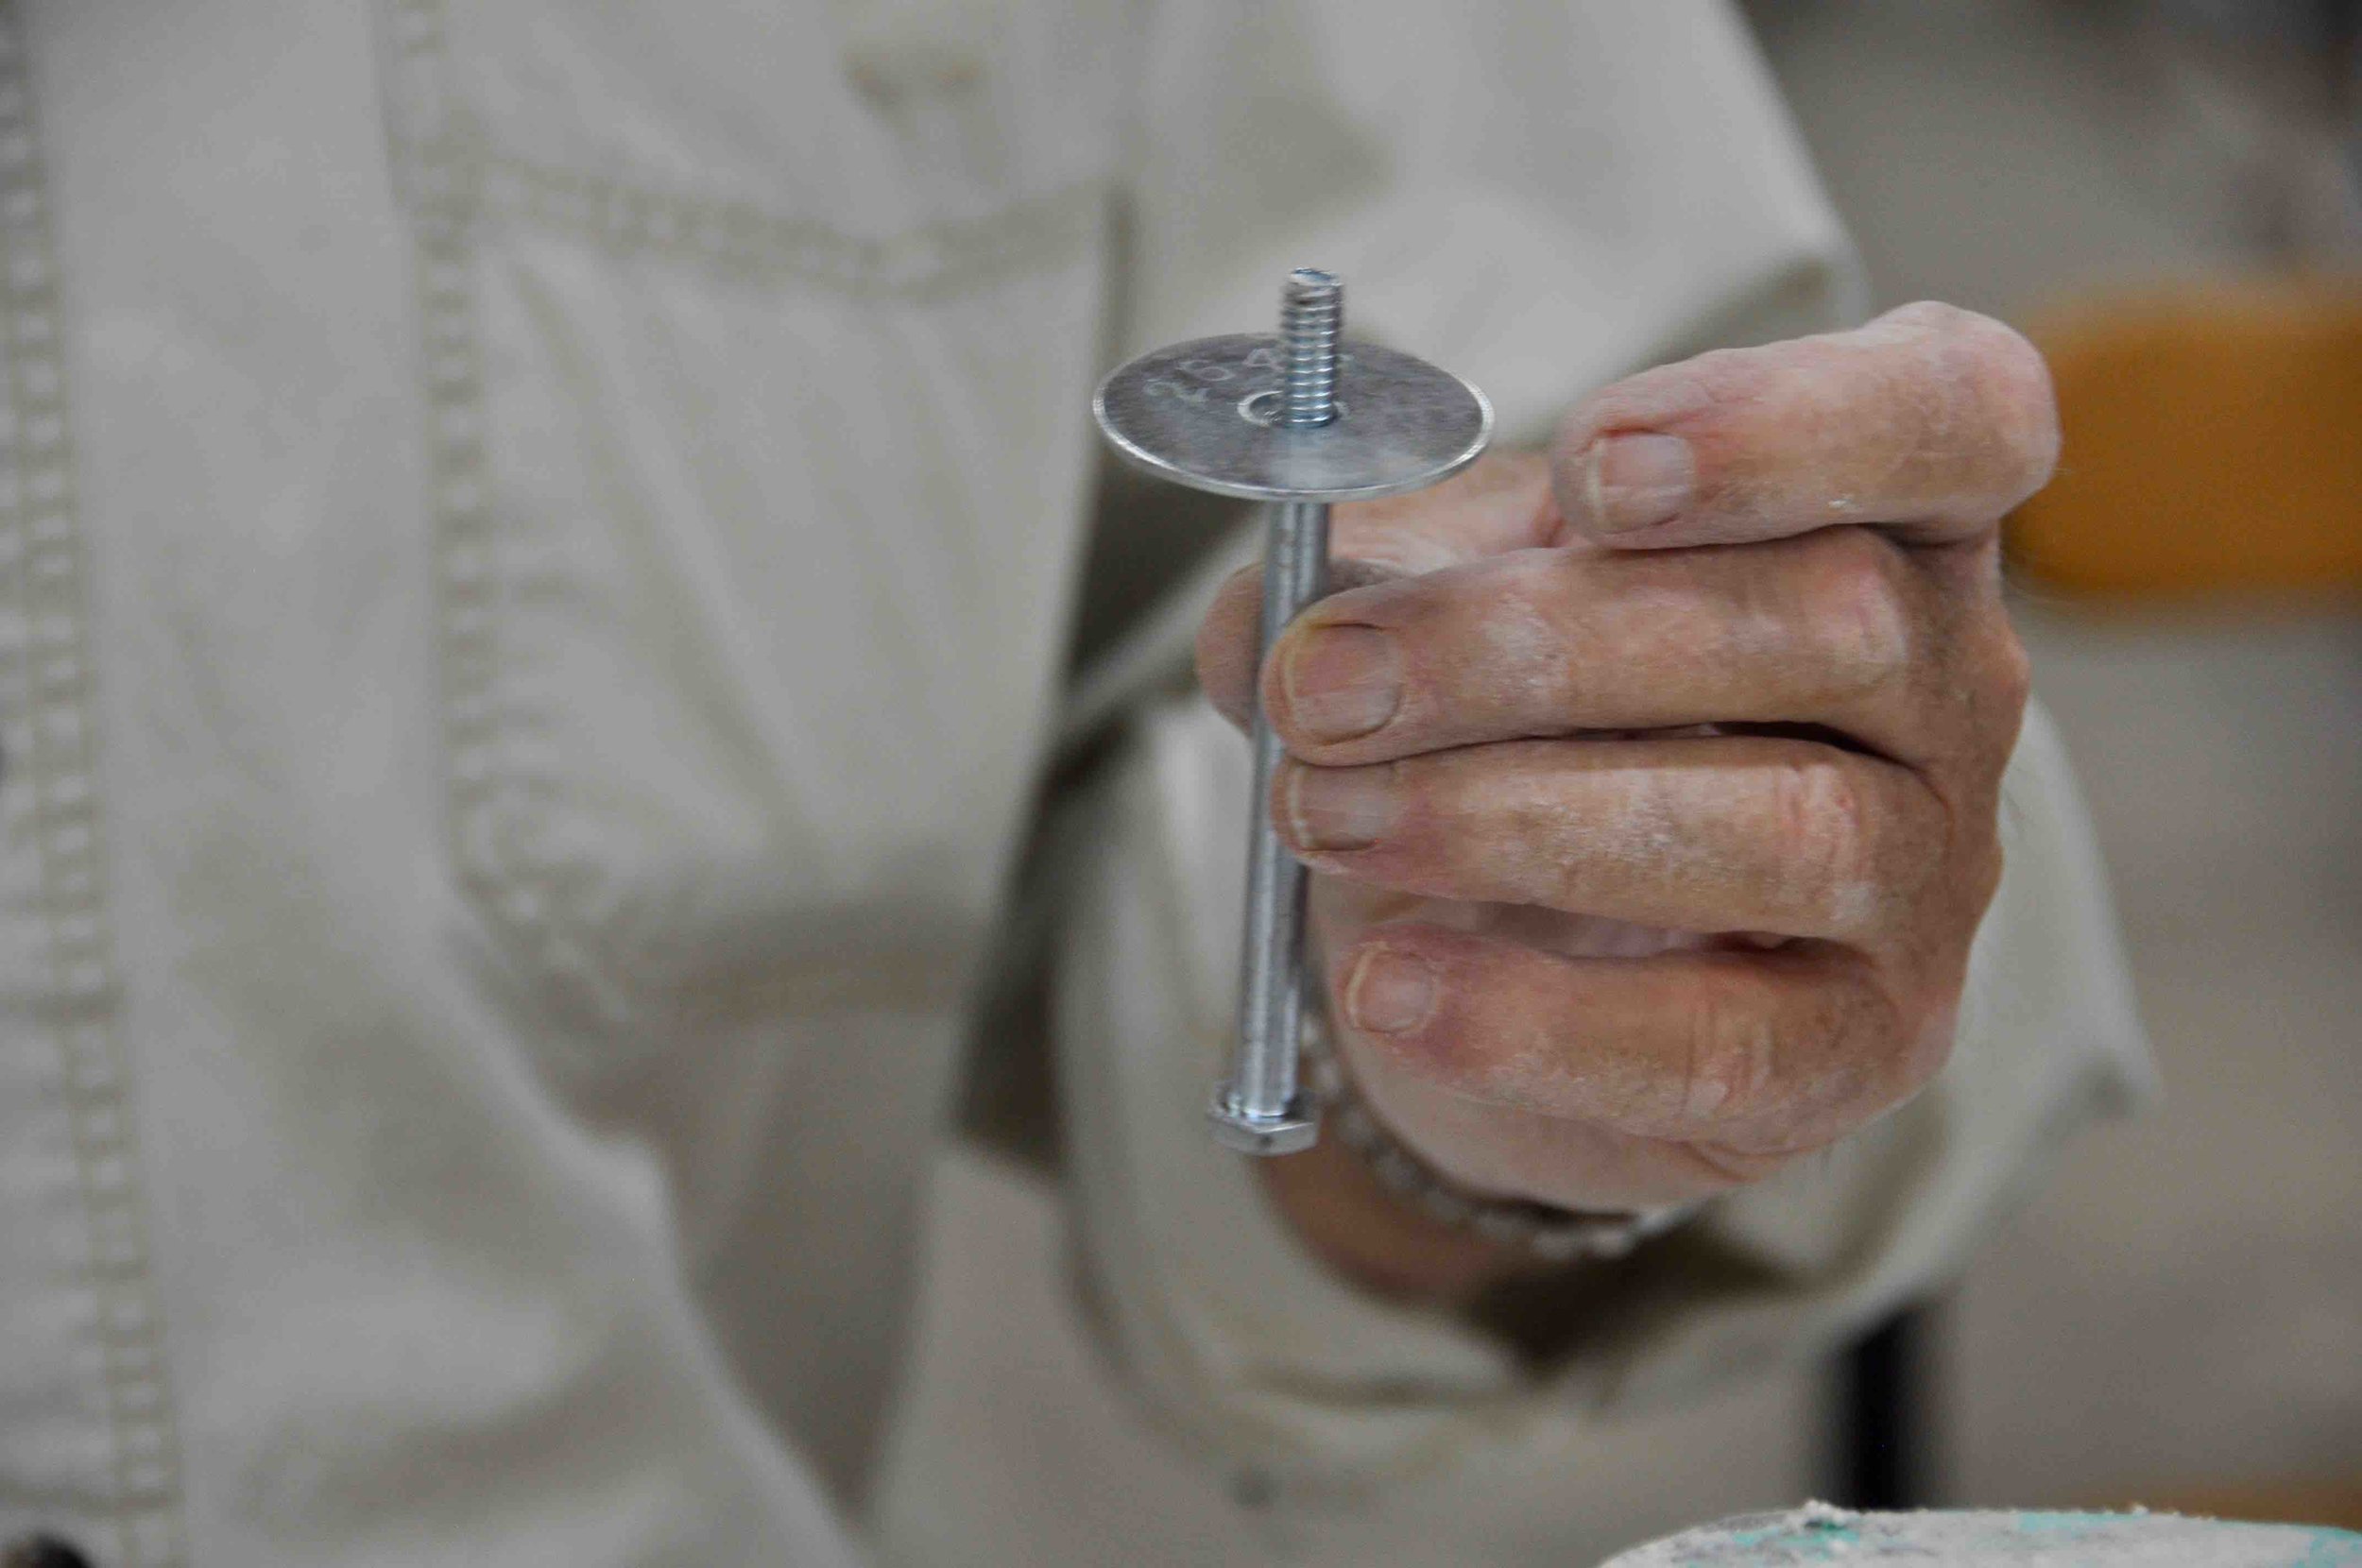
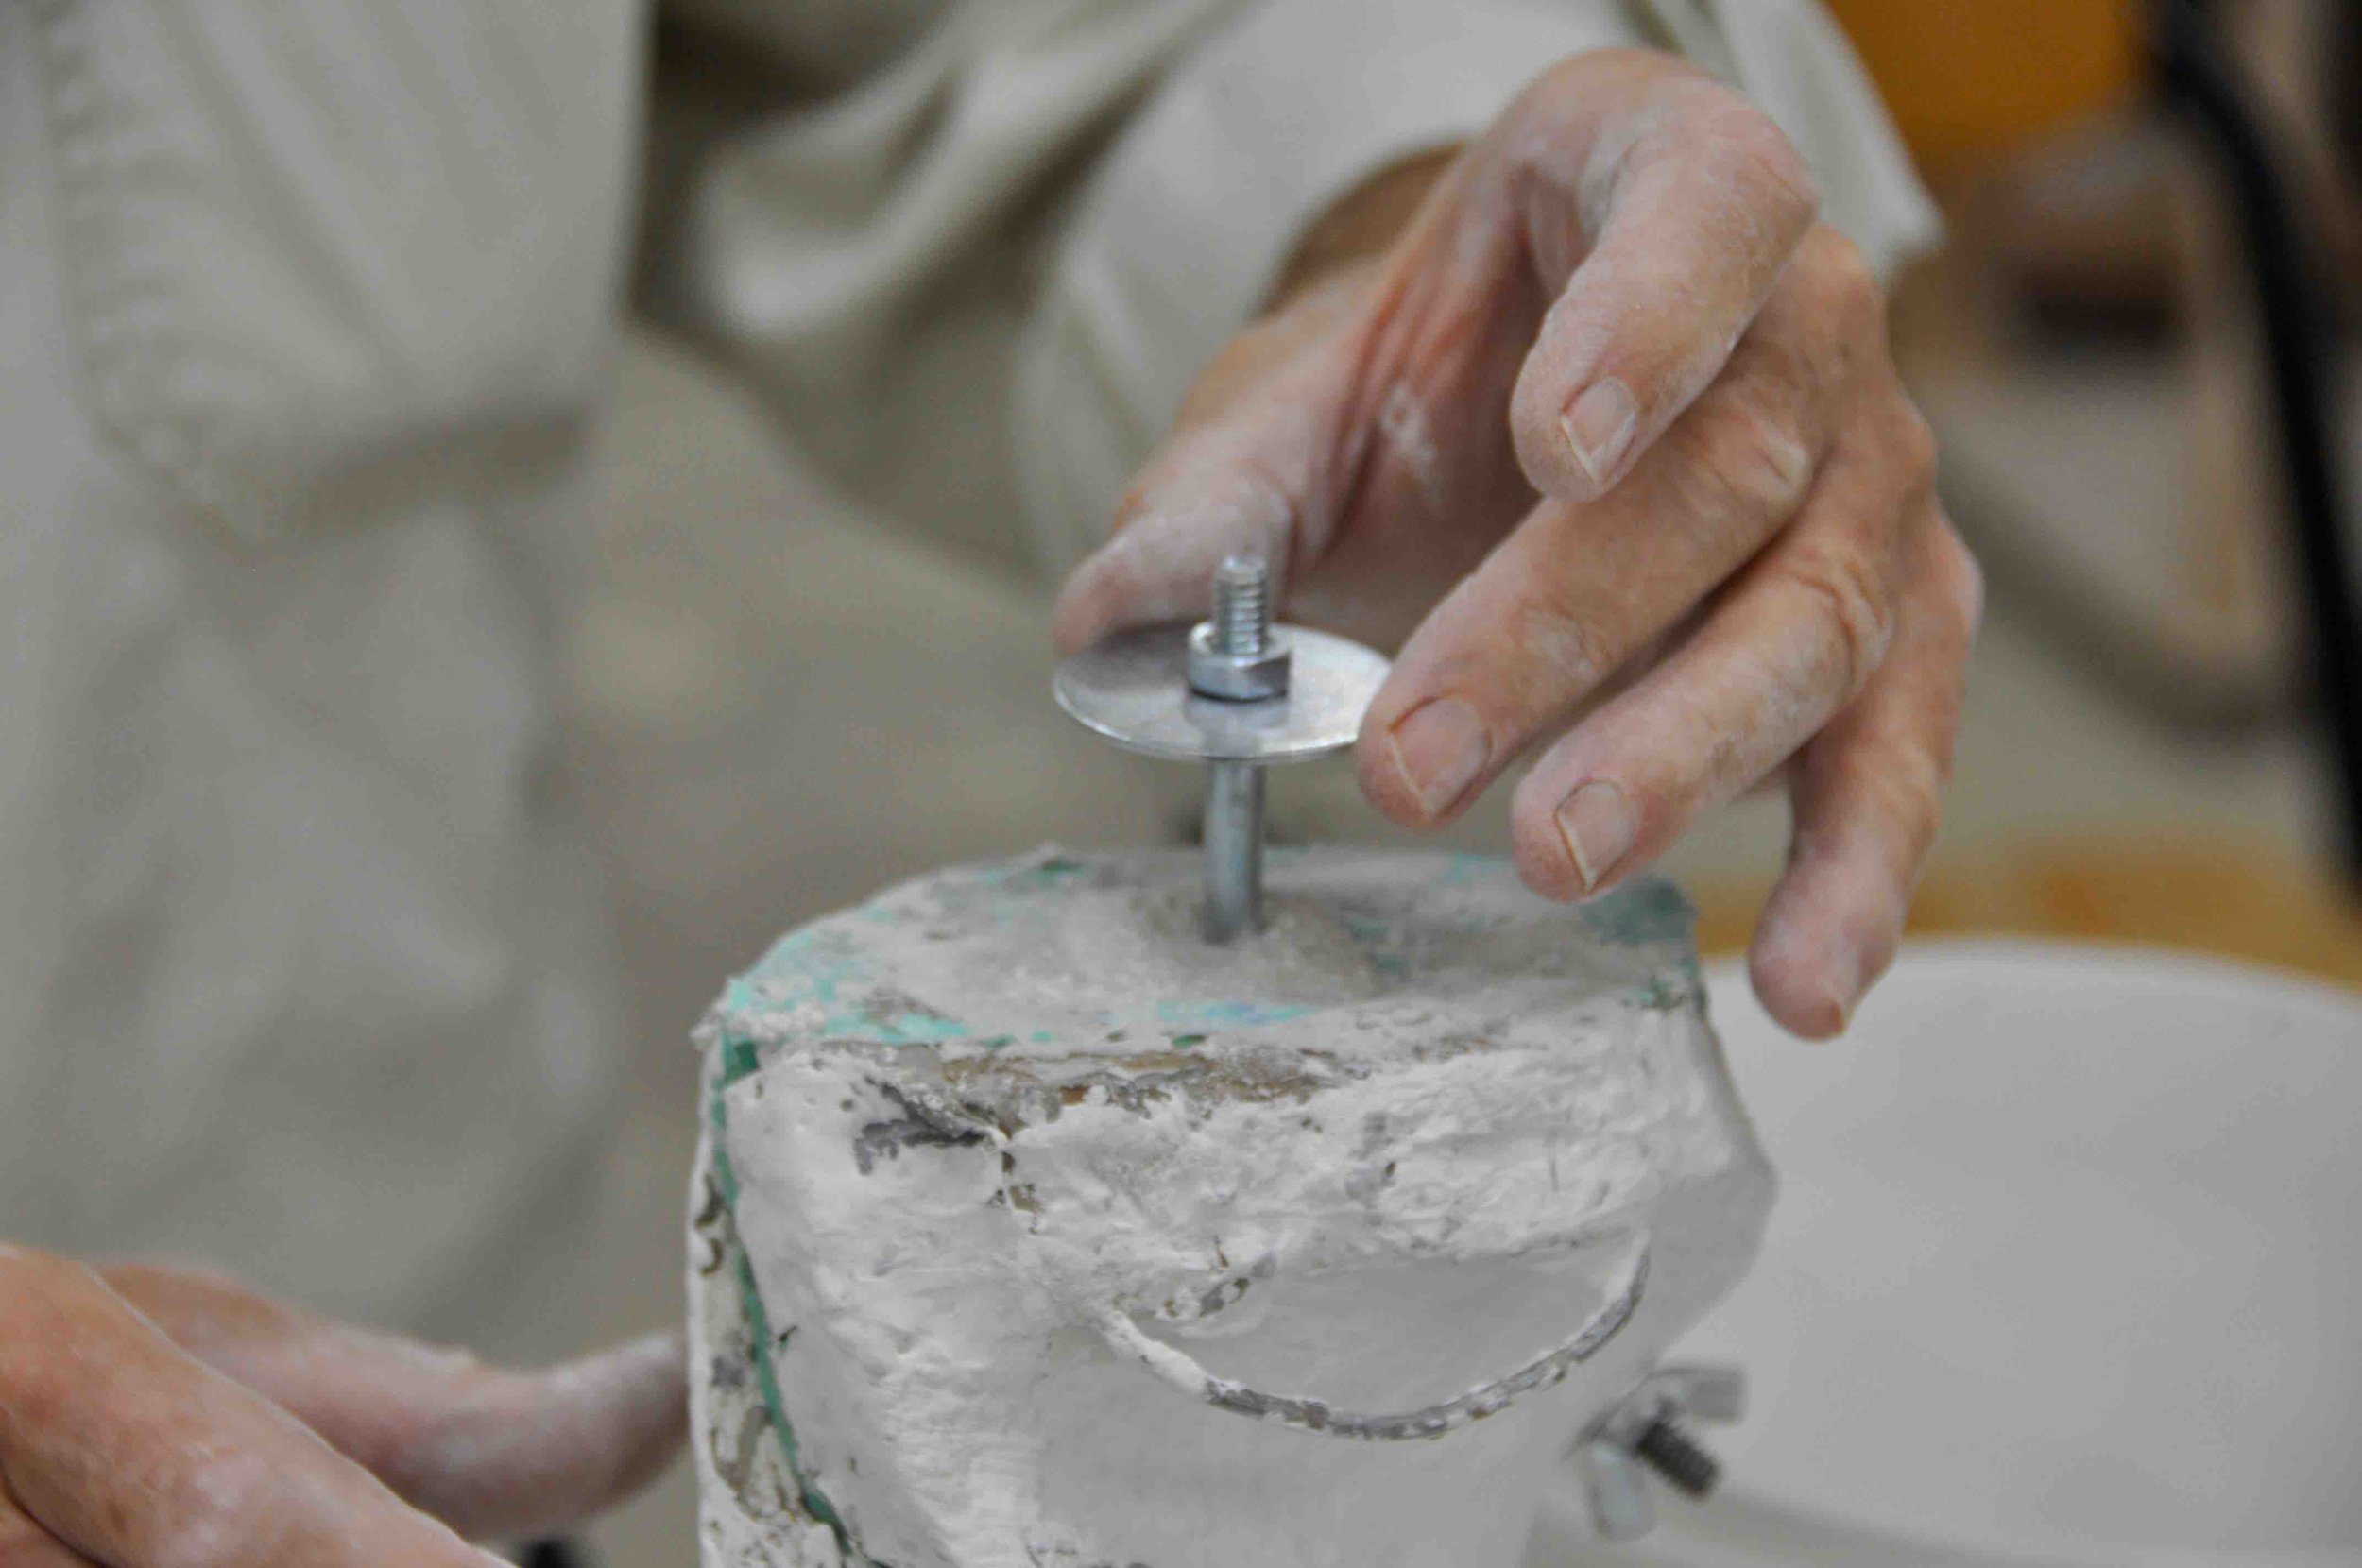
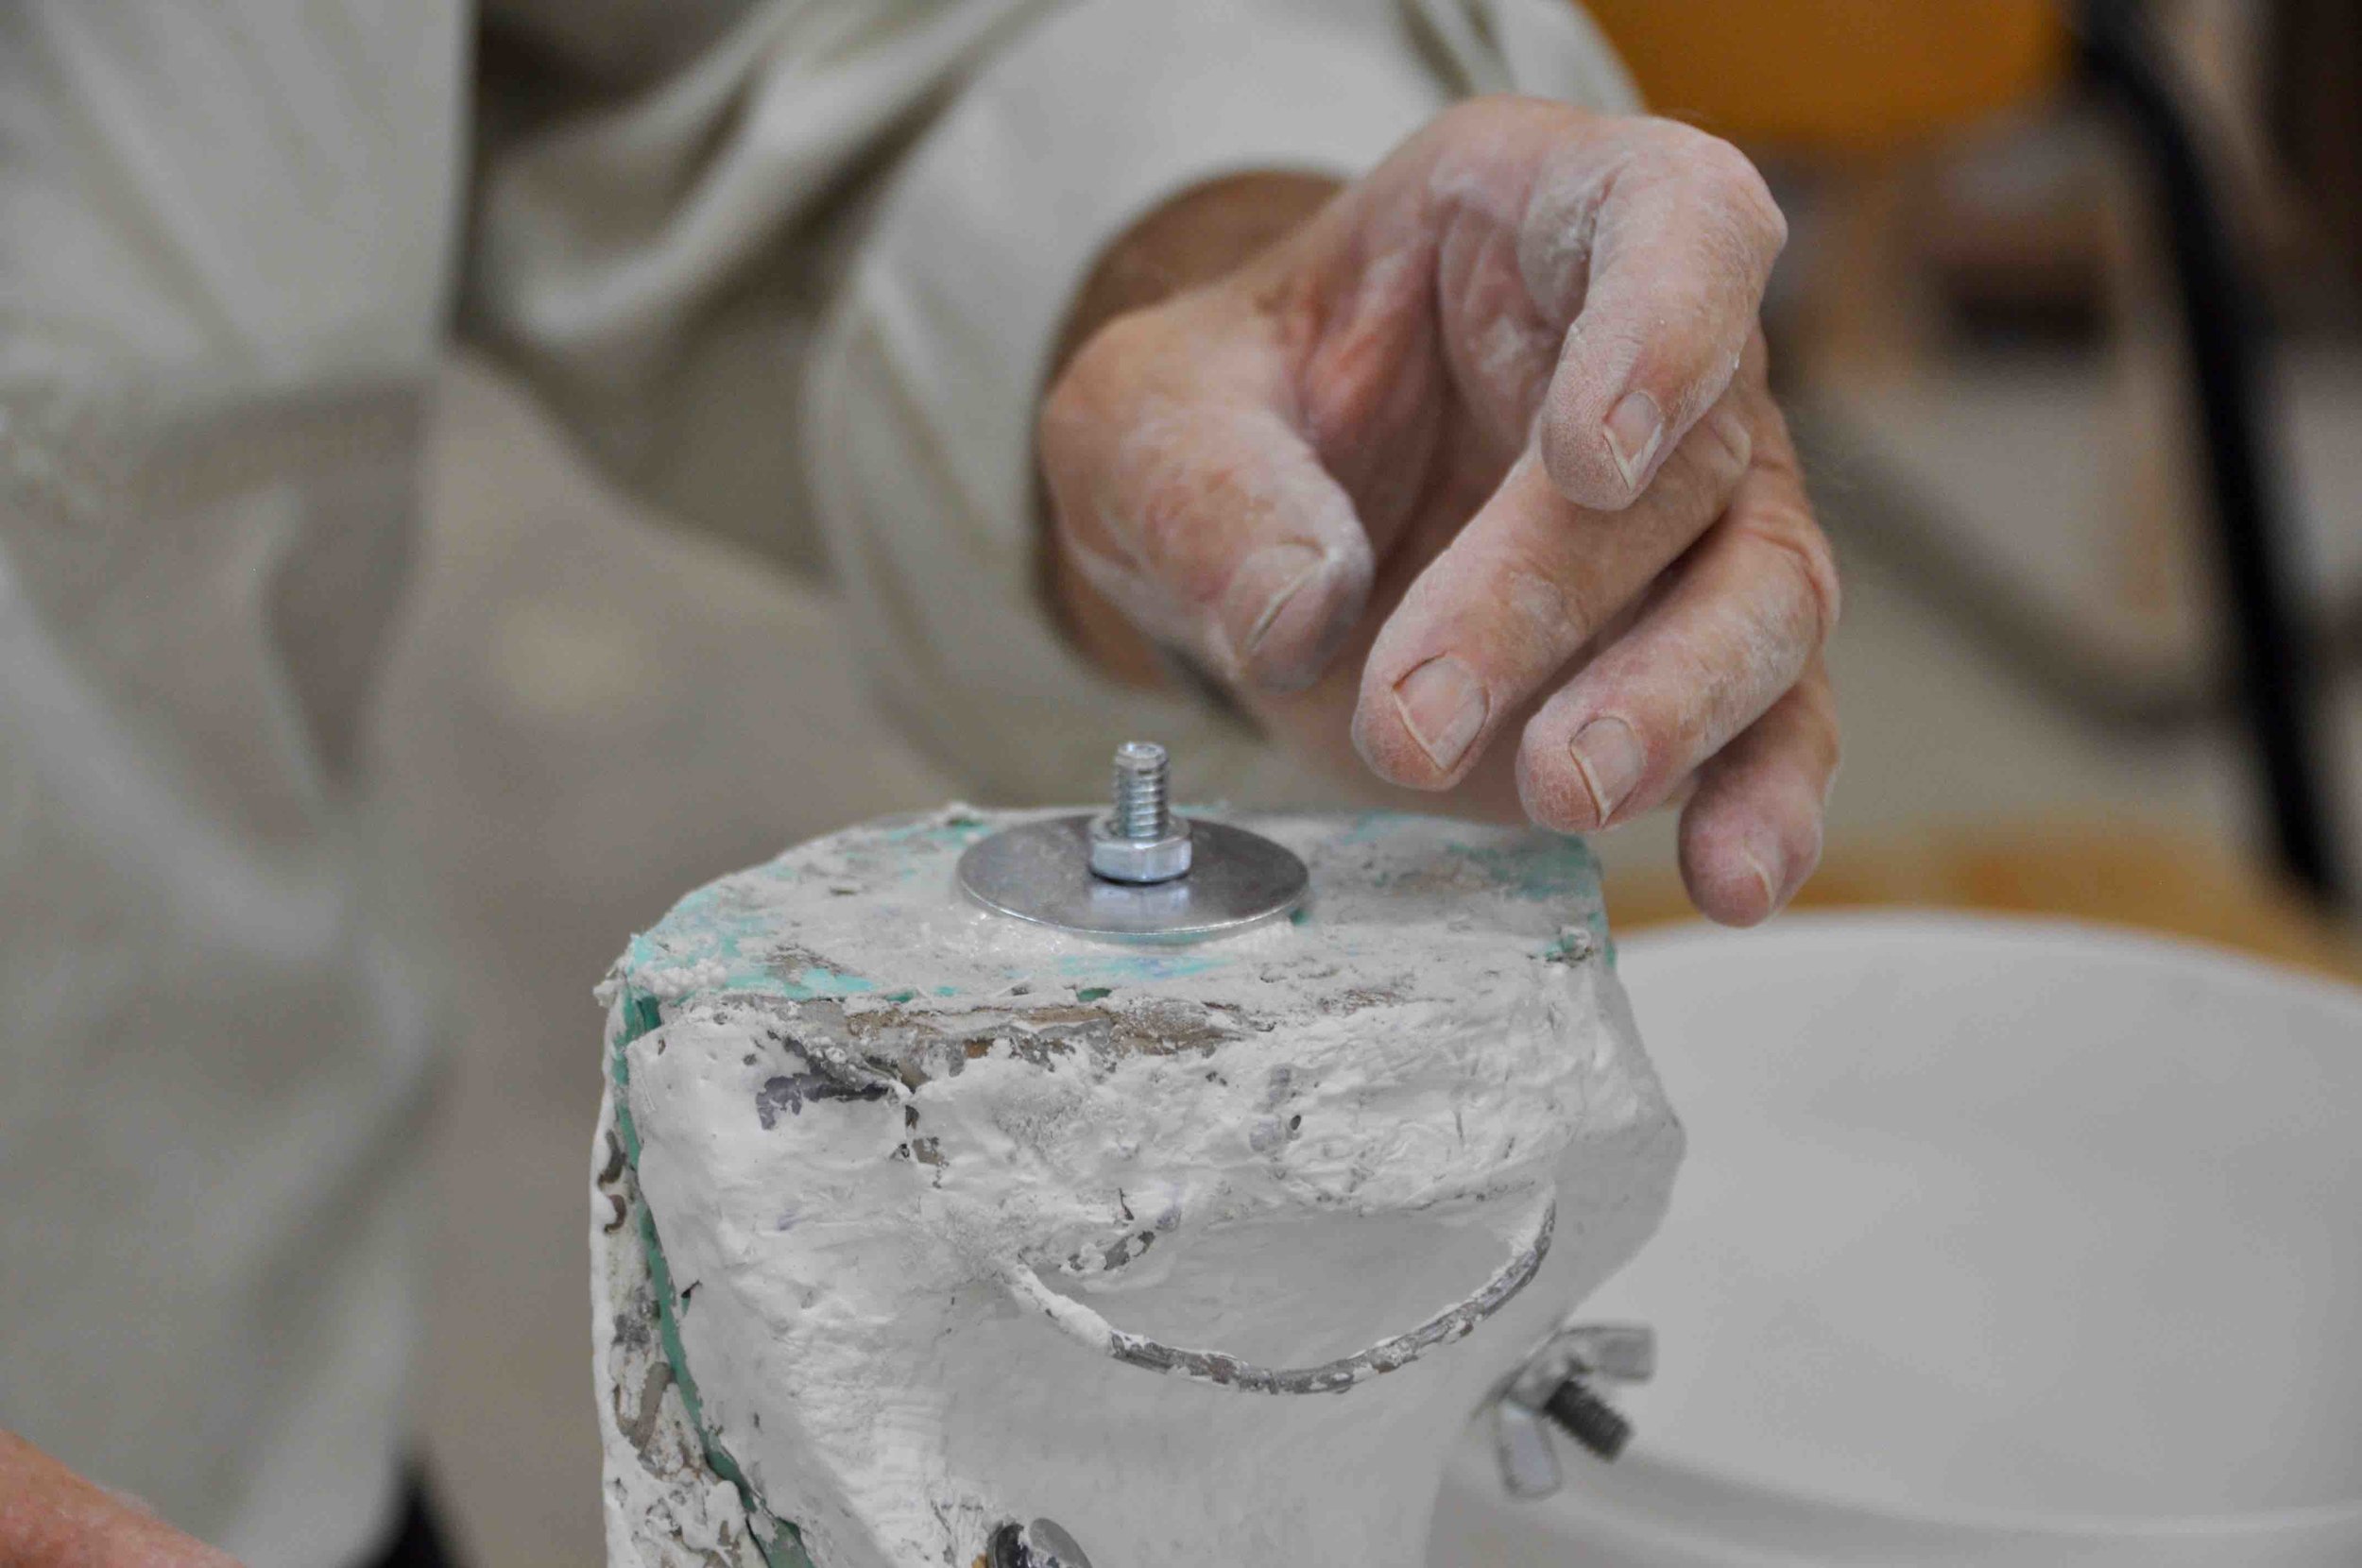
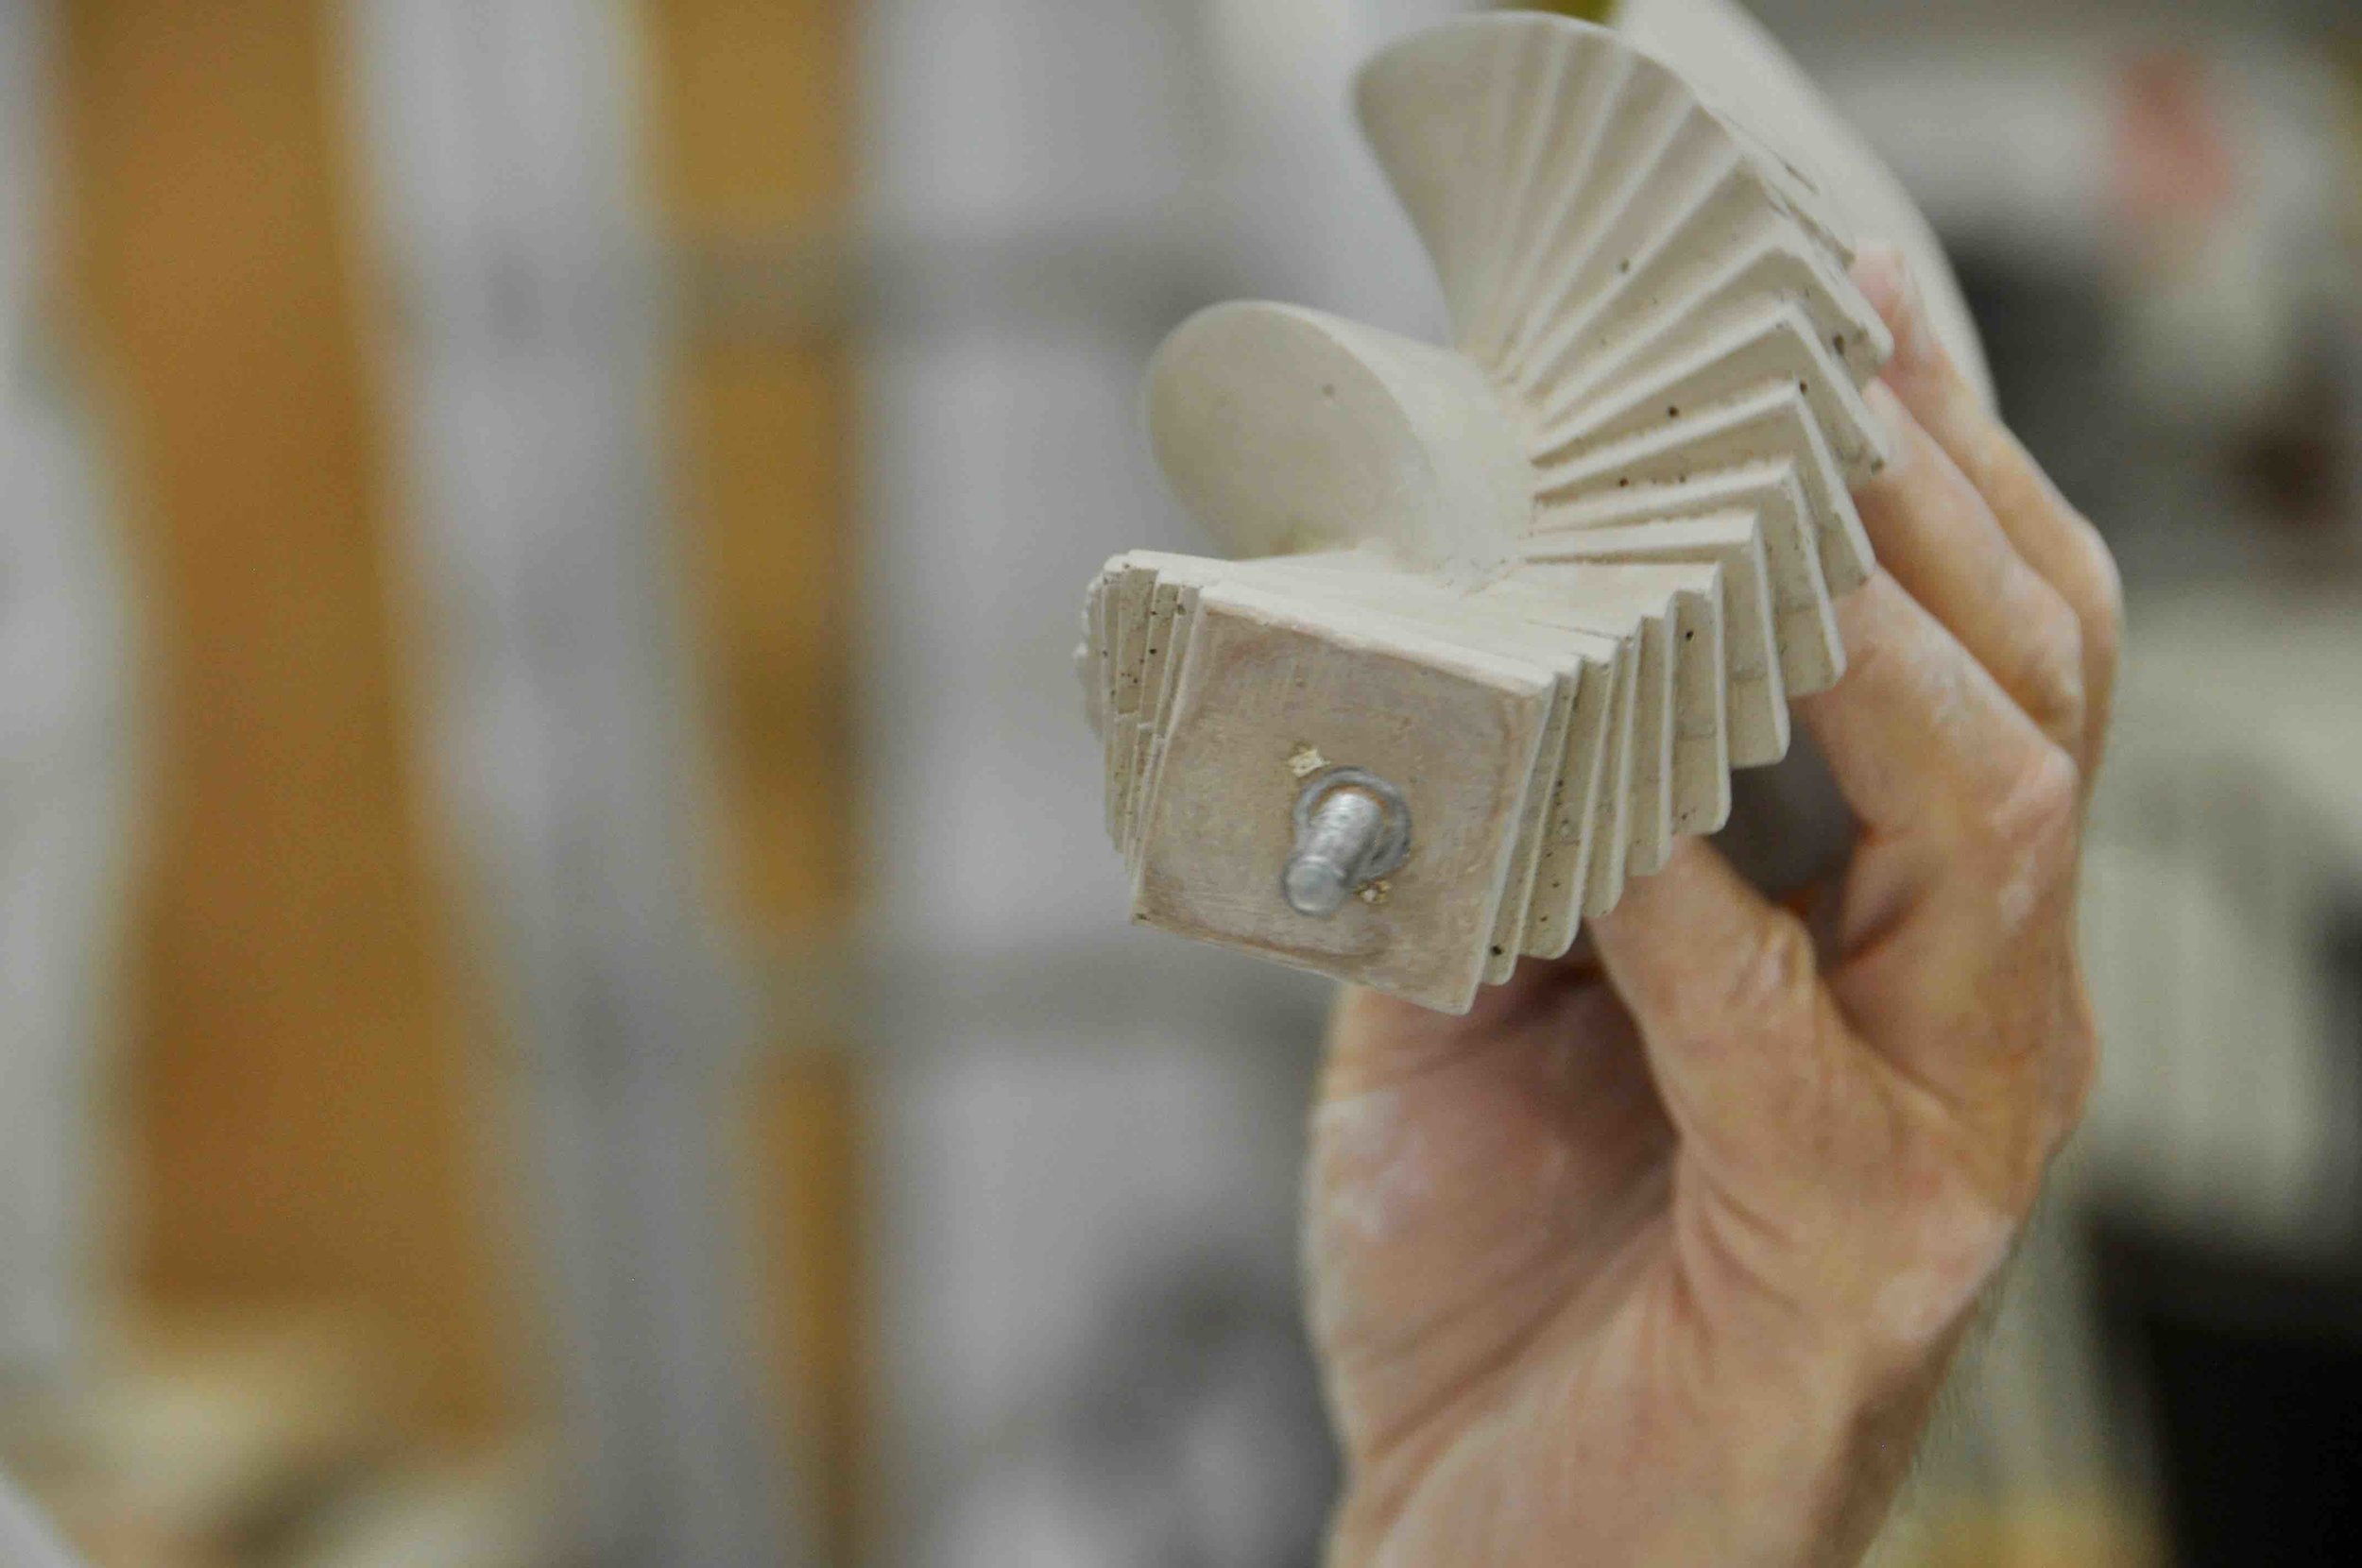
- The build up can be repeated layer upon layer until the desired thickness is achieved. The overall thickness need not be greater than 1/4" to 3/8" for smaller pieces, 1/2" to 3/4" for life size pieces. This sample was poured solid. In this case Urefil micro balloons were added as a filler to reduce material and weight. Also, when still wet, a threaded rod was added so mounting later is a breeze.

5. Drying/Demolding
- Once finished casting cover the entire piece in plastic for even curing.
- The piece may be demolded after 16 to 24 hours, depending on the shape and fragiity of the detail and the flexibility of the mold.
- If it is demolded before 24 hours, the demolded piece should be re-covered in plastic until the total cure time under plastic is 24 hrs.
- After 24 hours, remove plastic and allow to air dry.
- With this sample the cast is mounted on a temporary base for repairing imperfections and patinating.
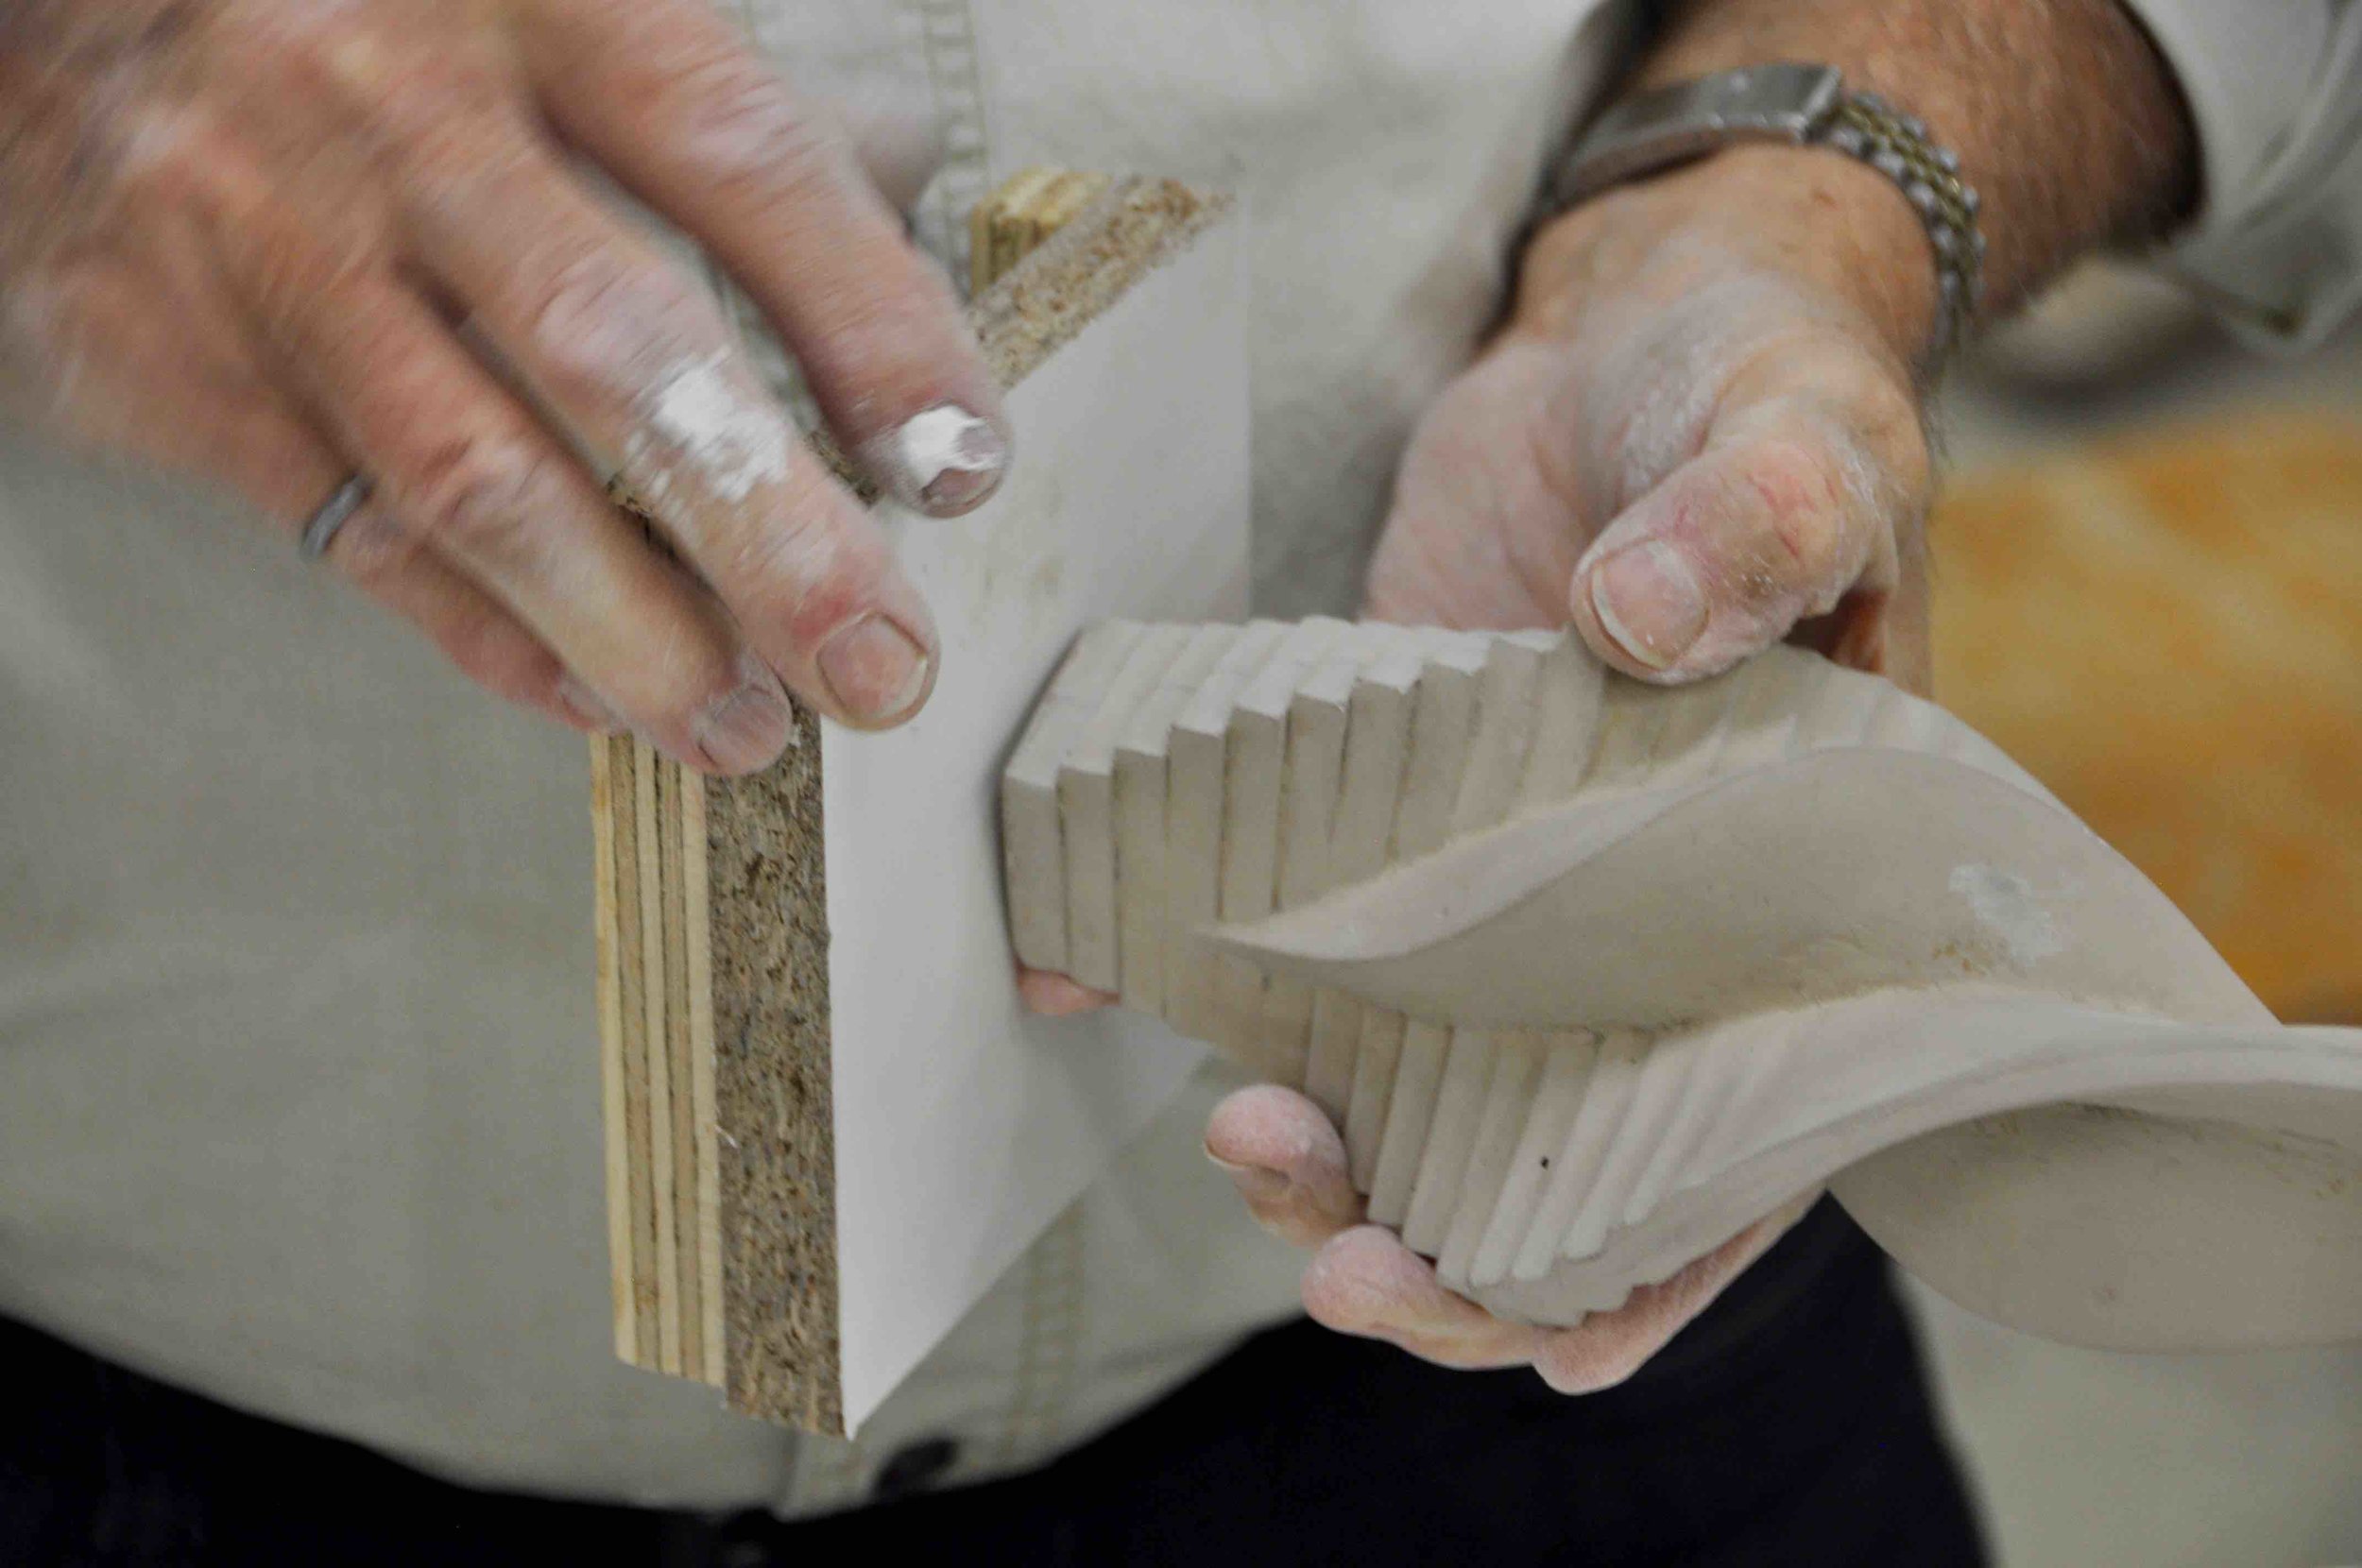
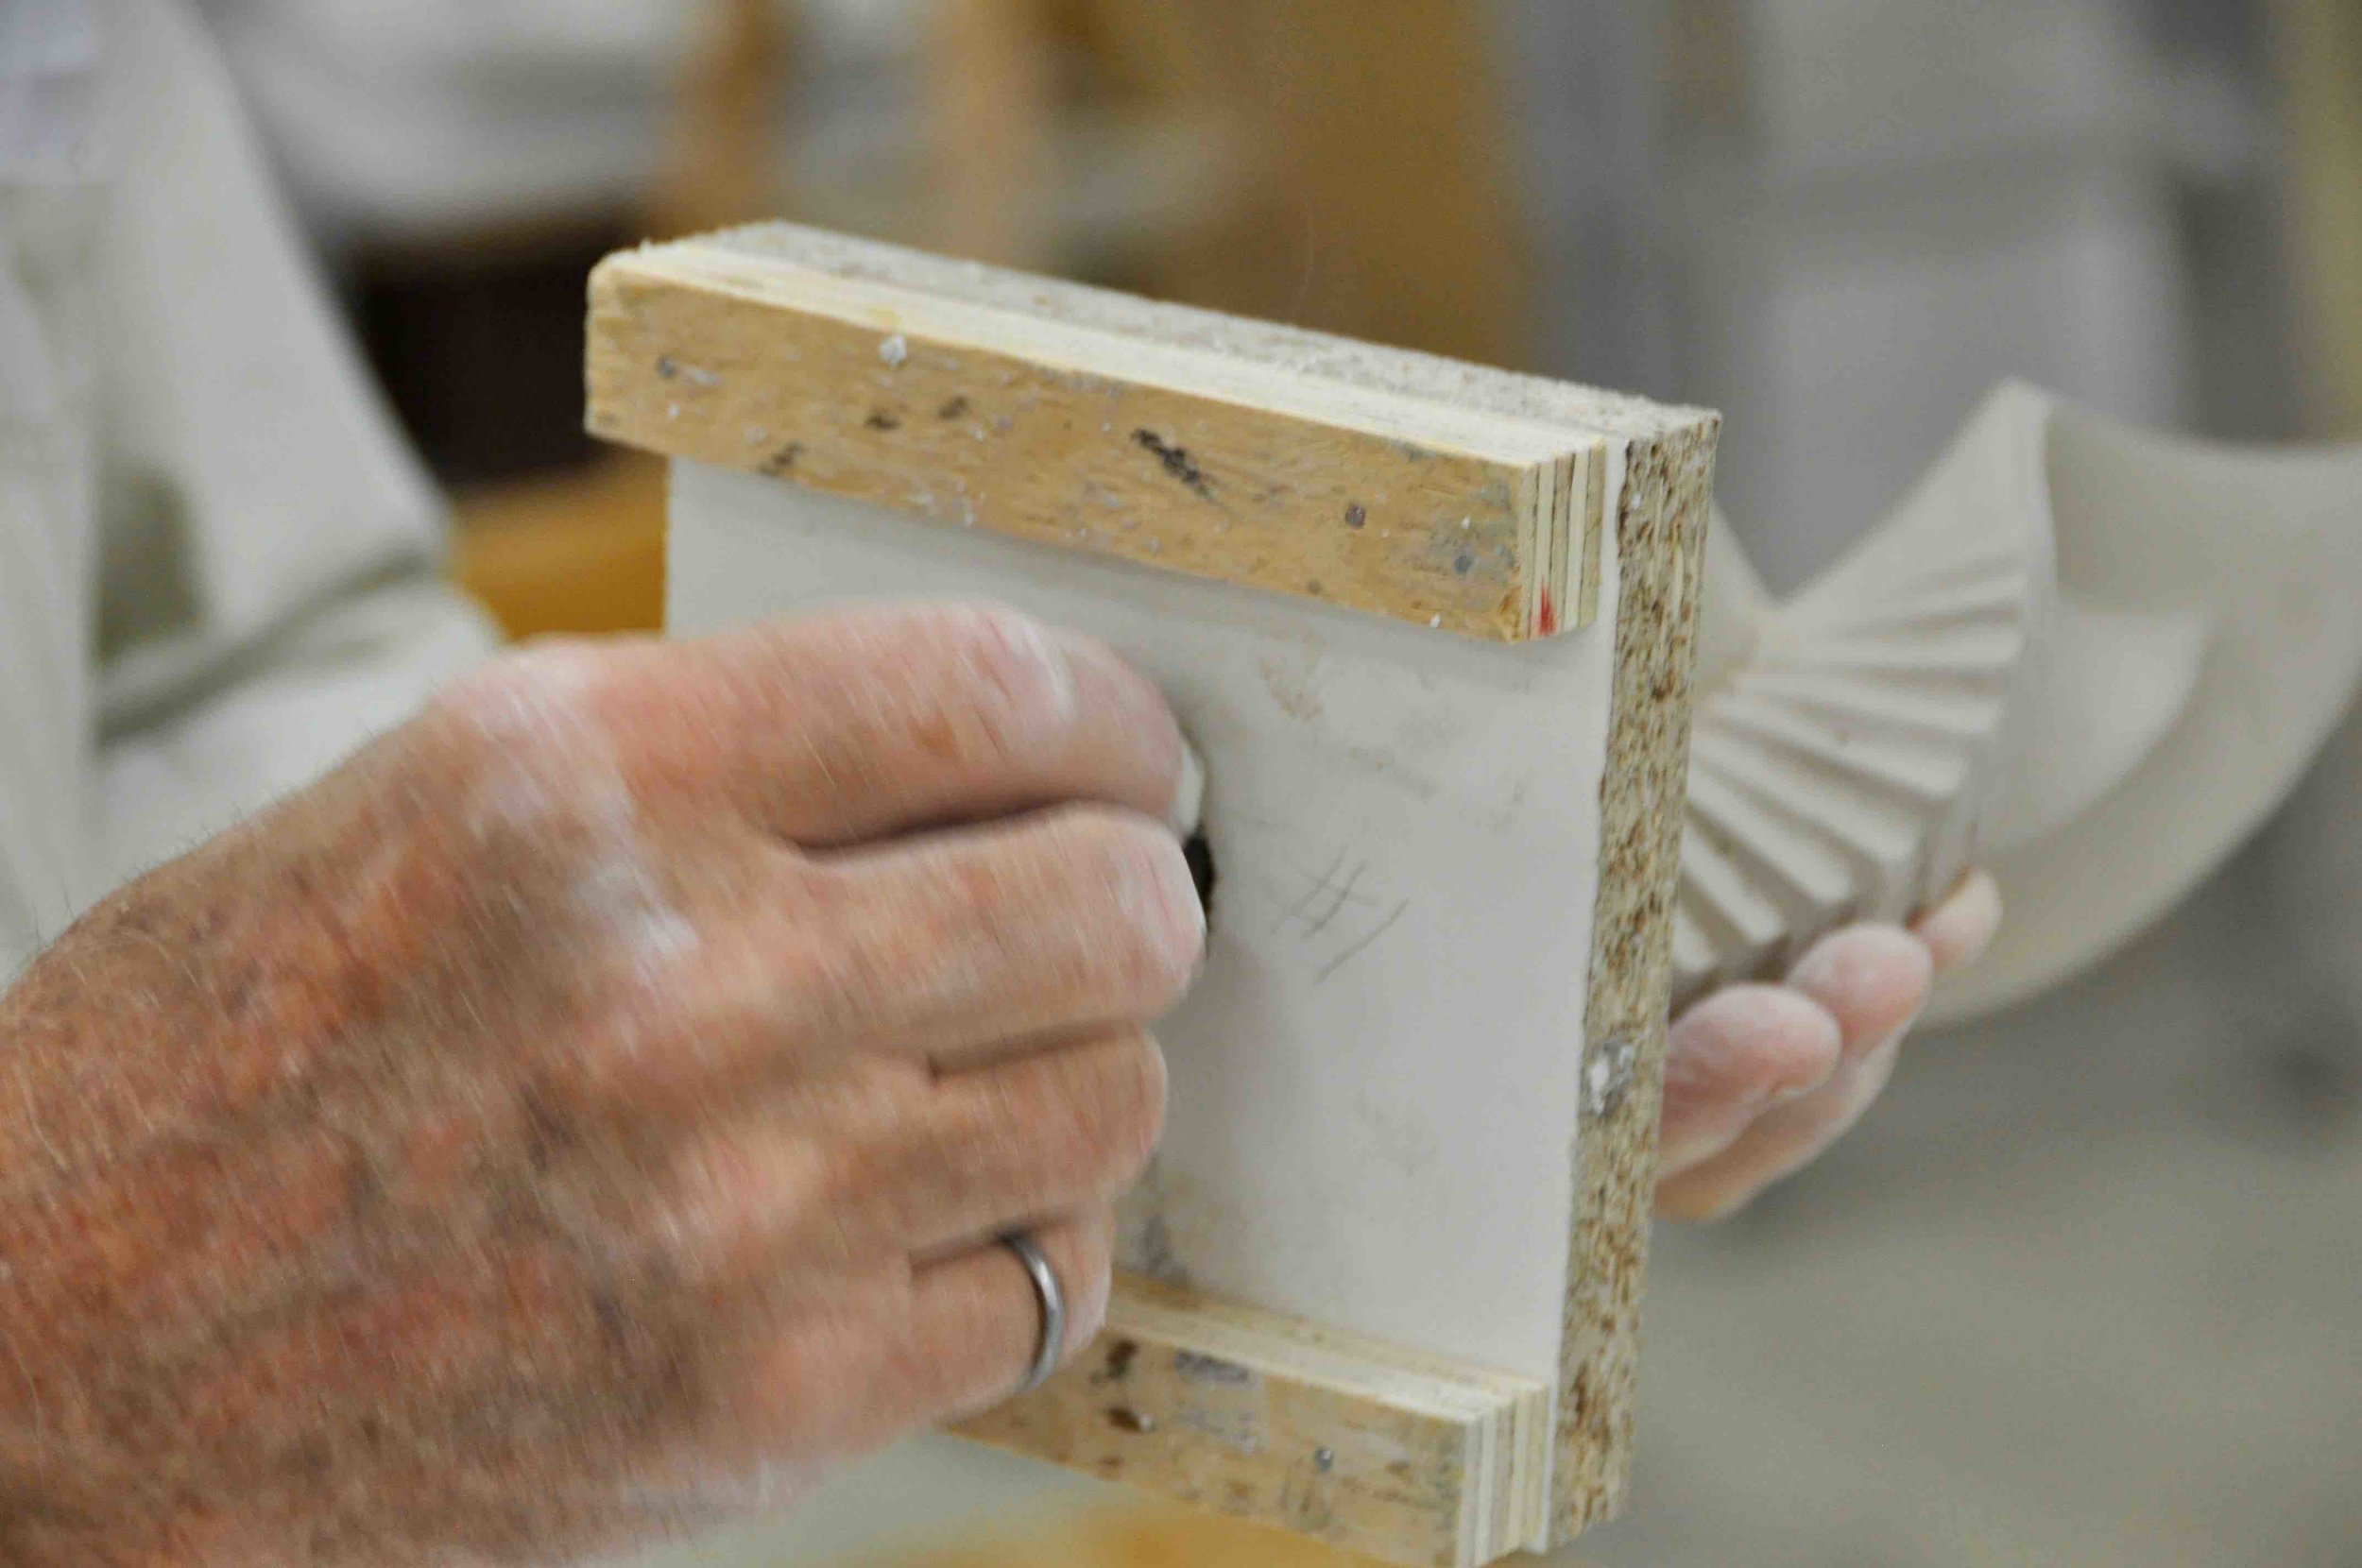
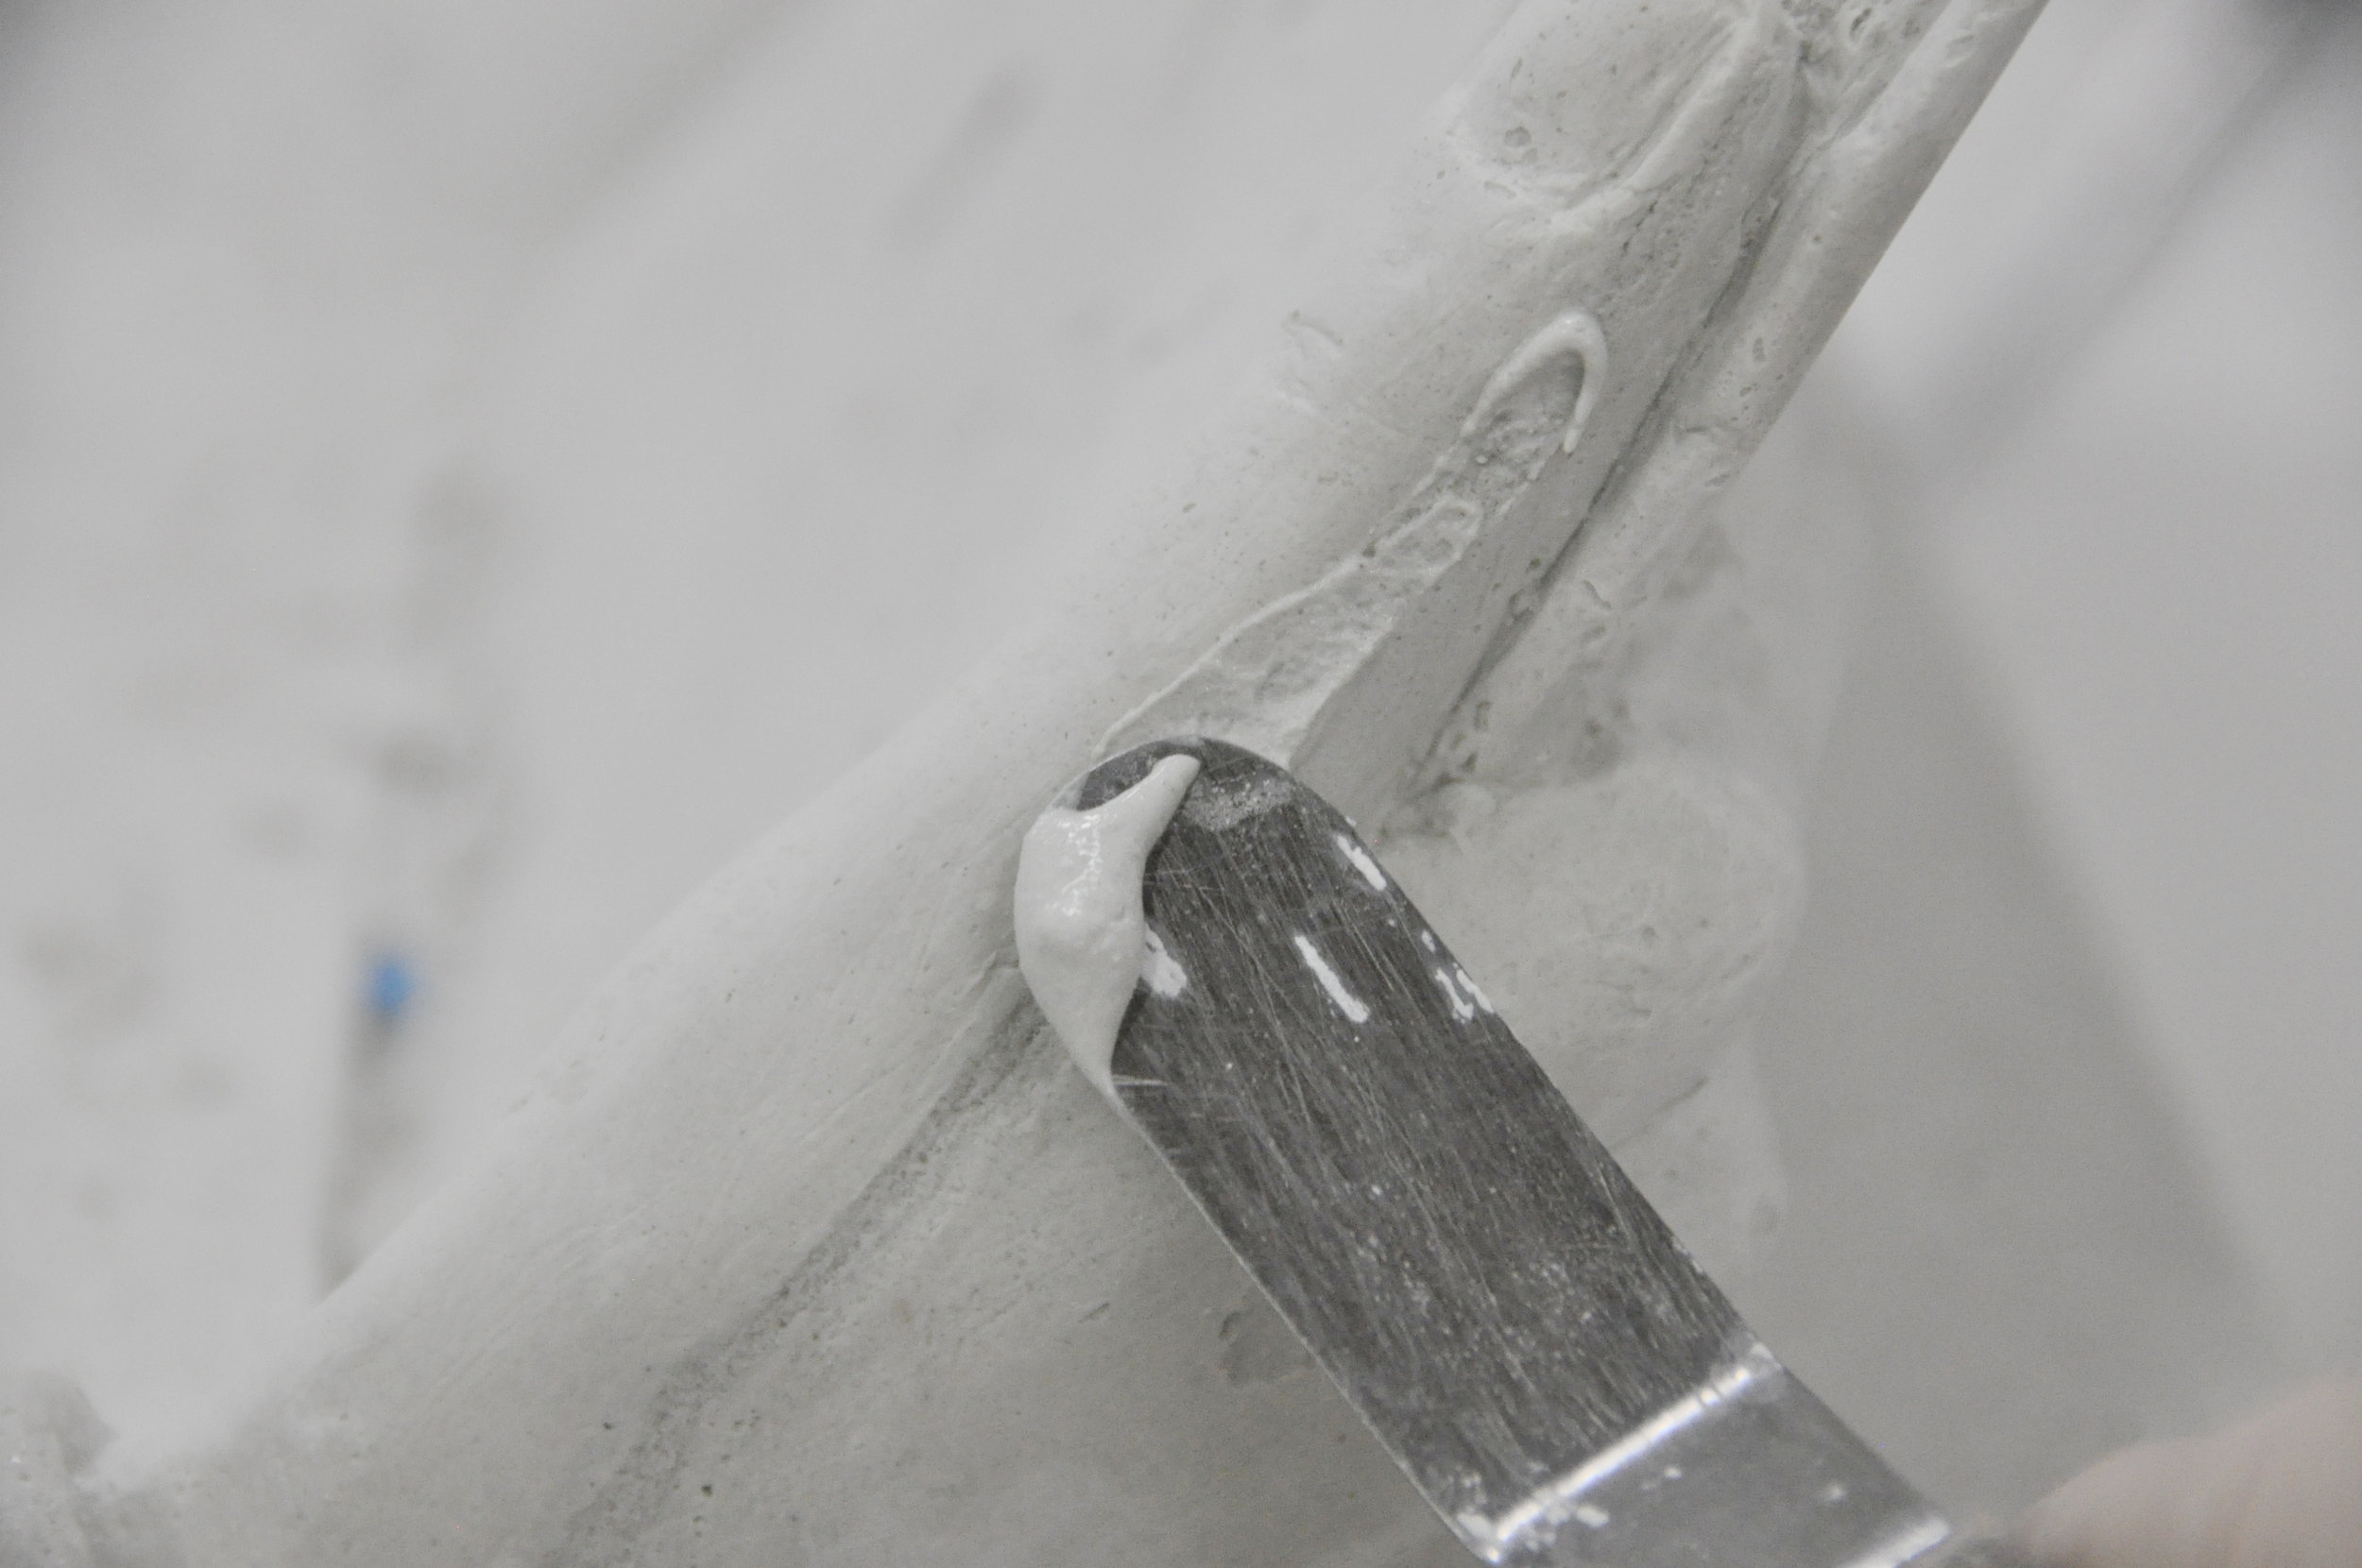
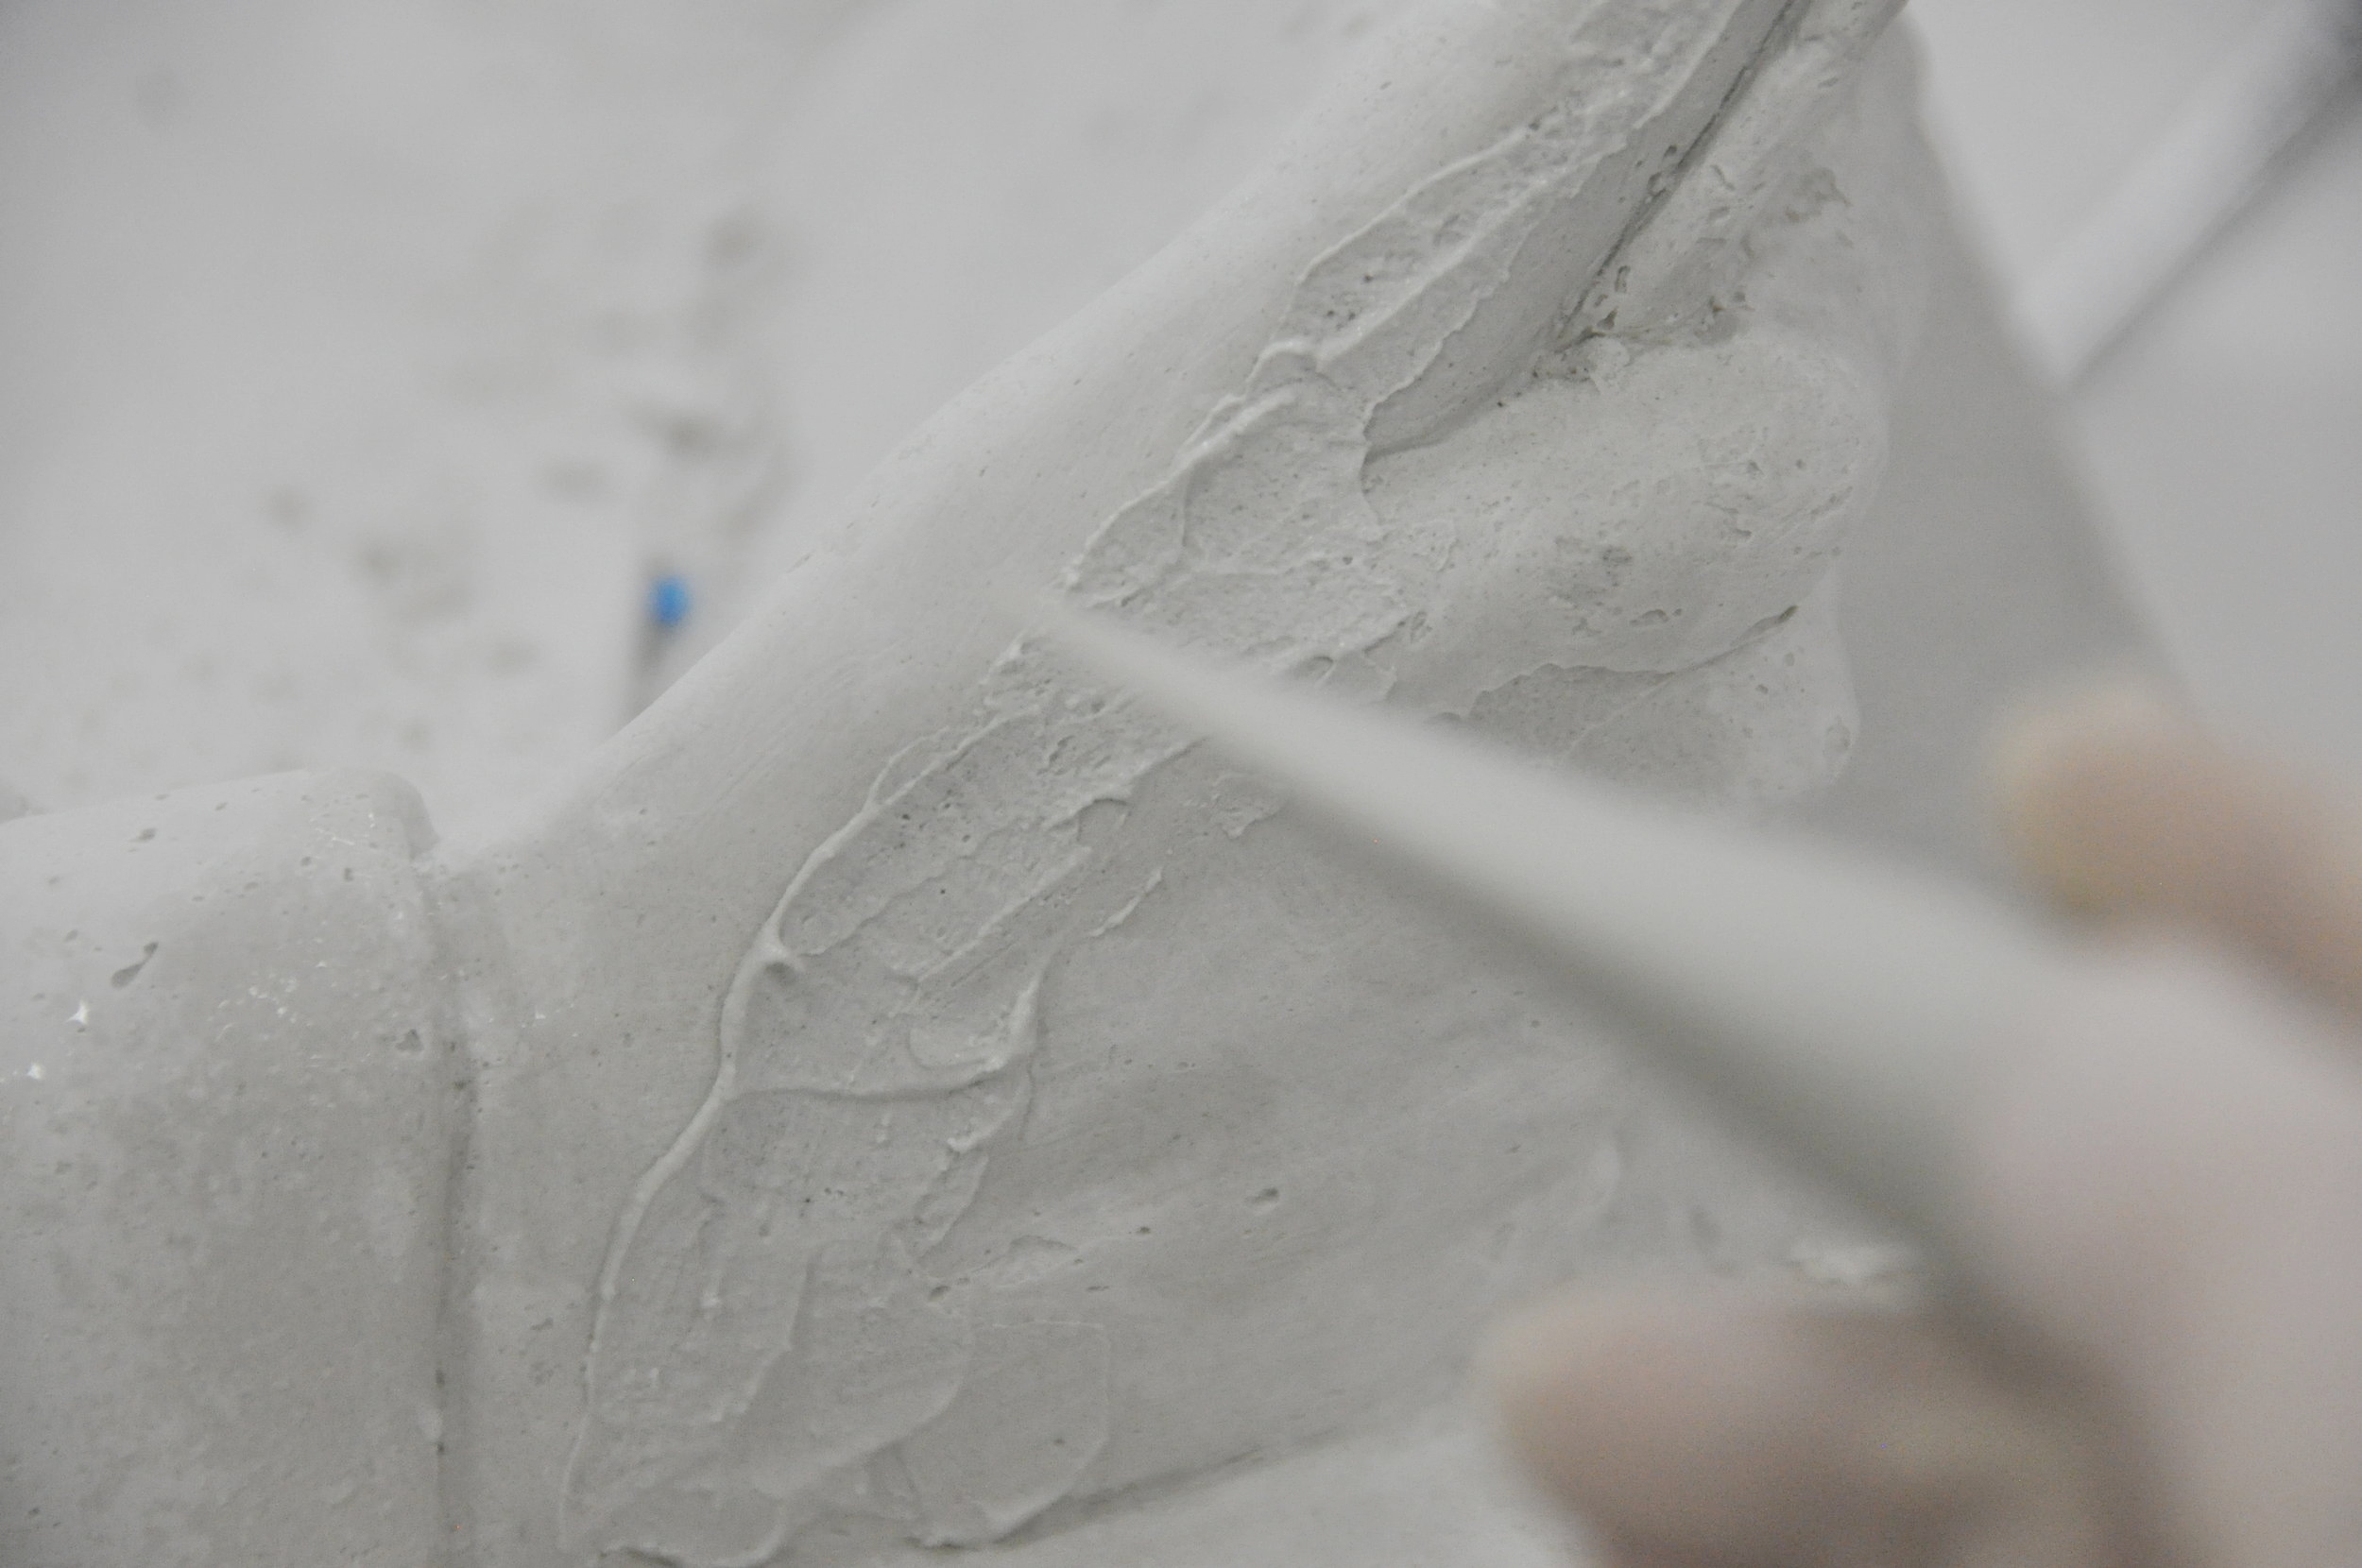
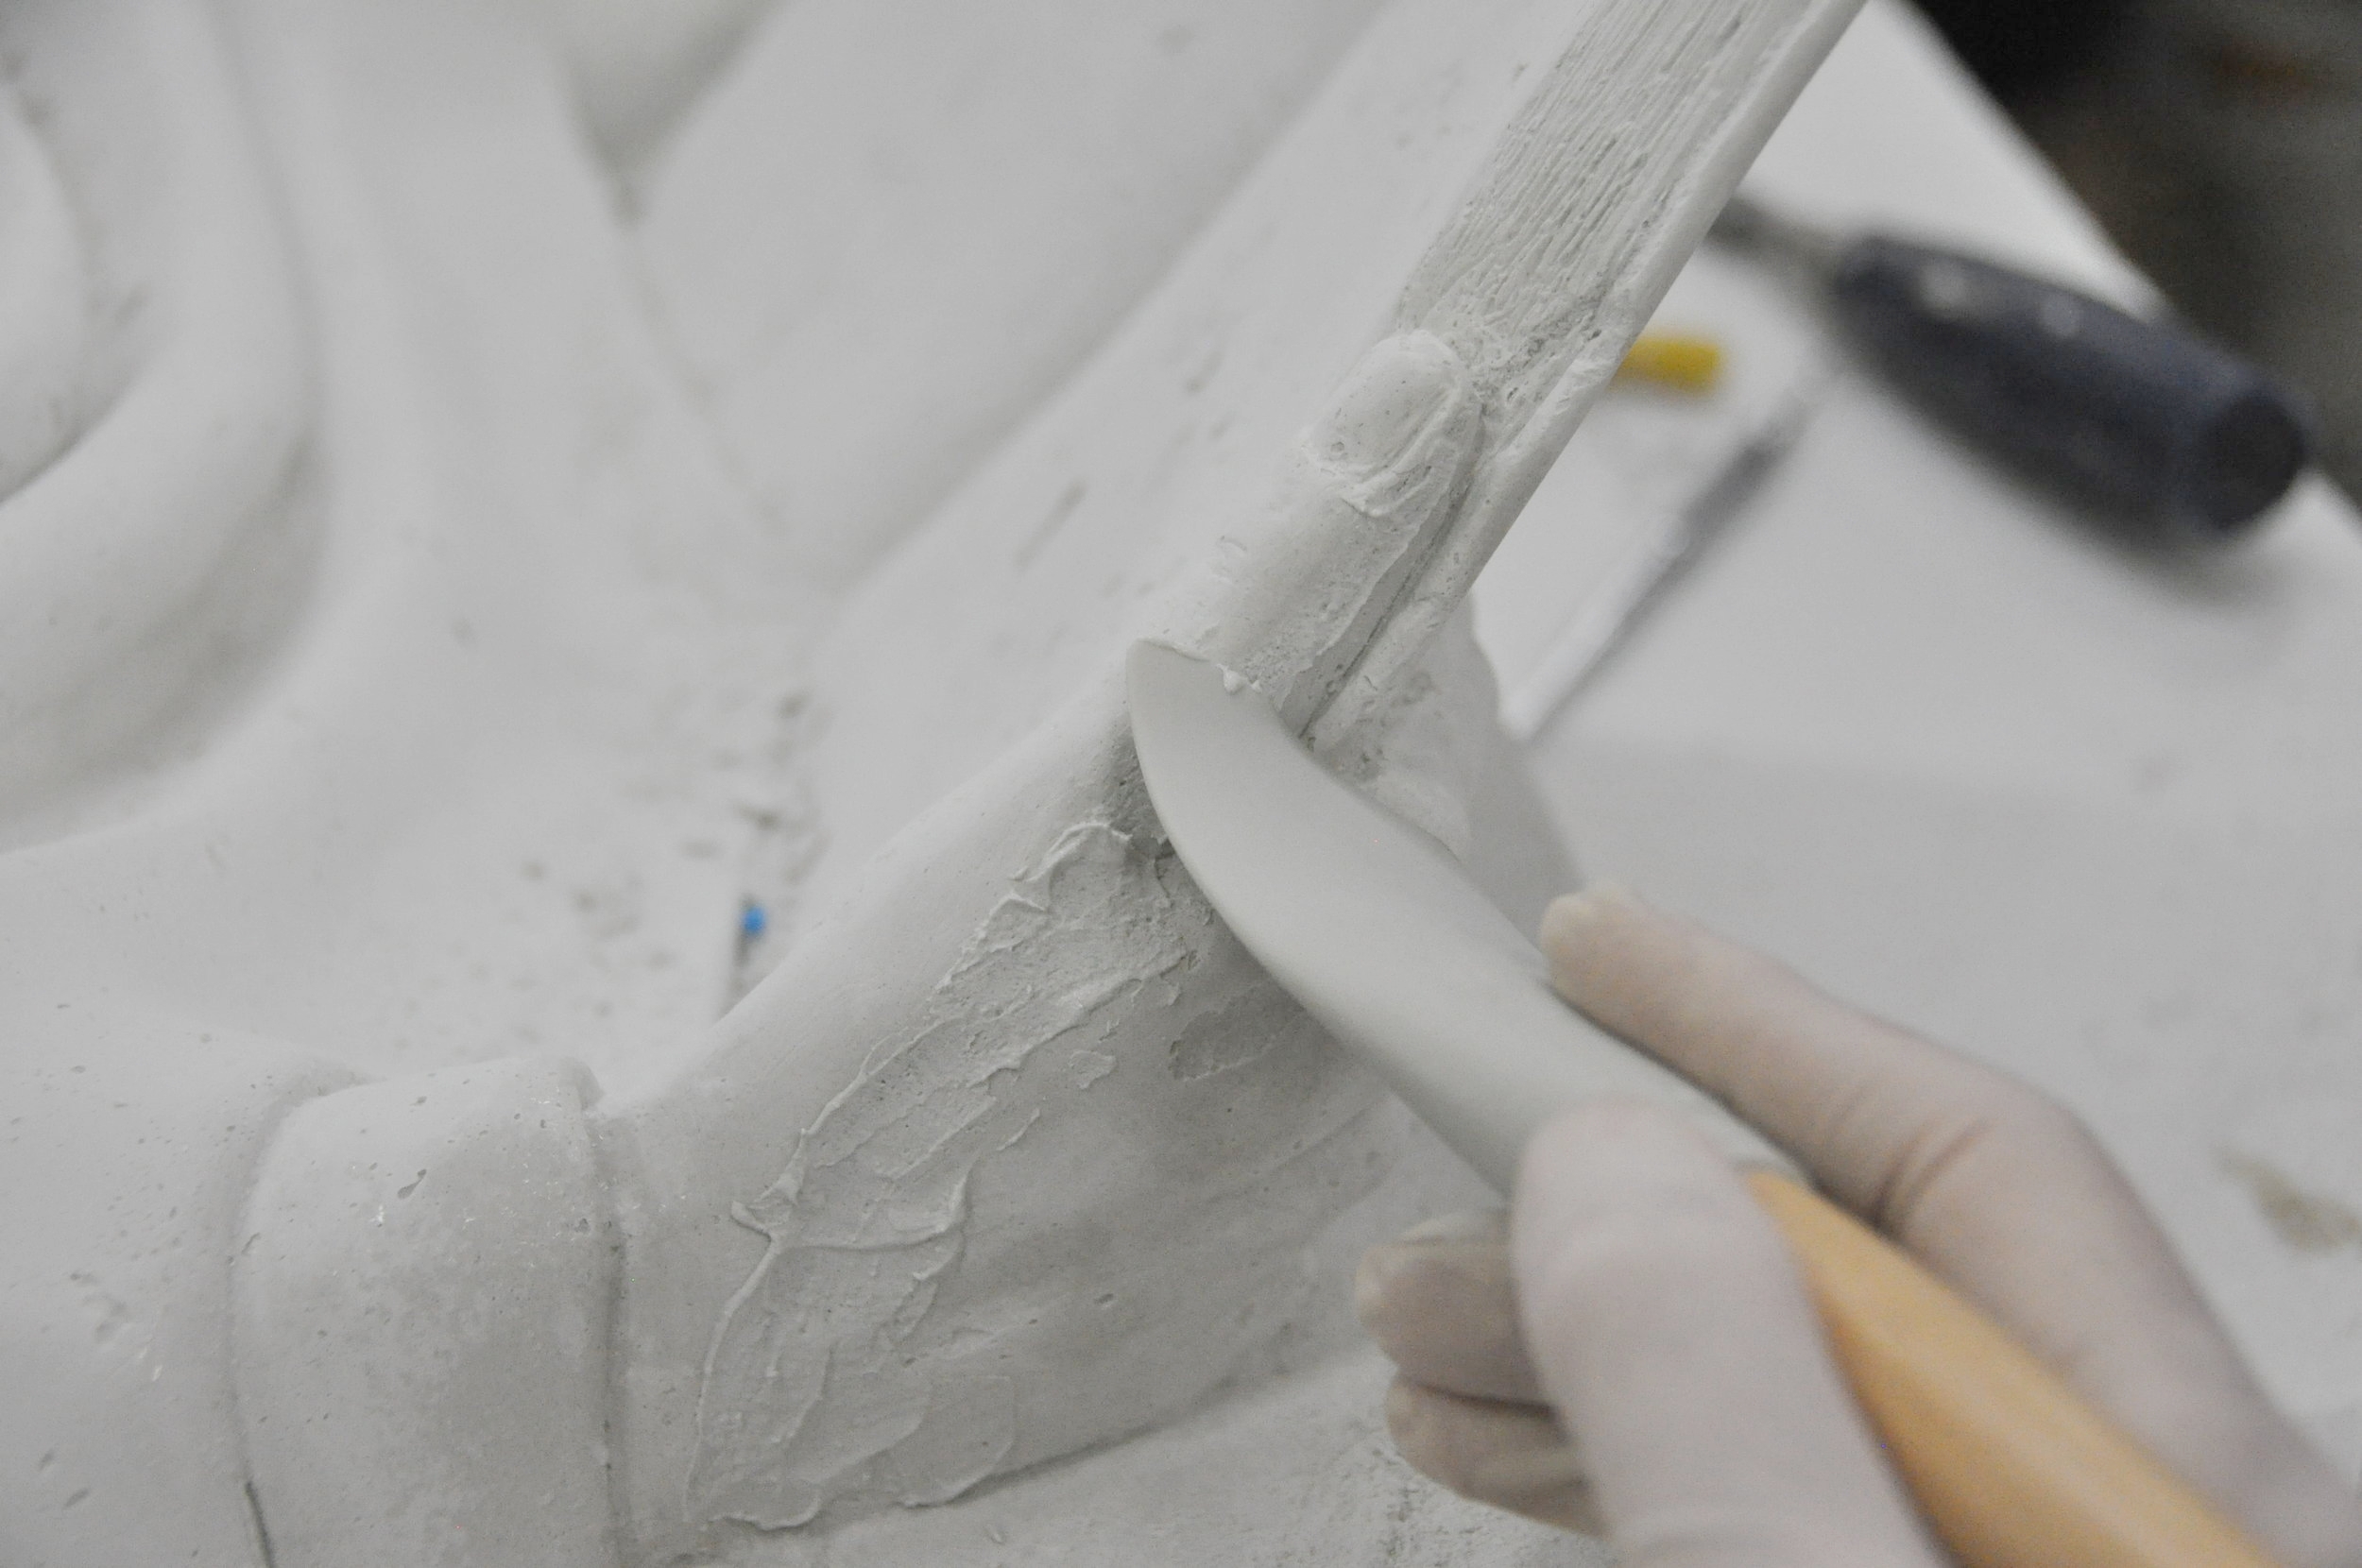
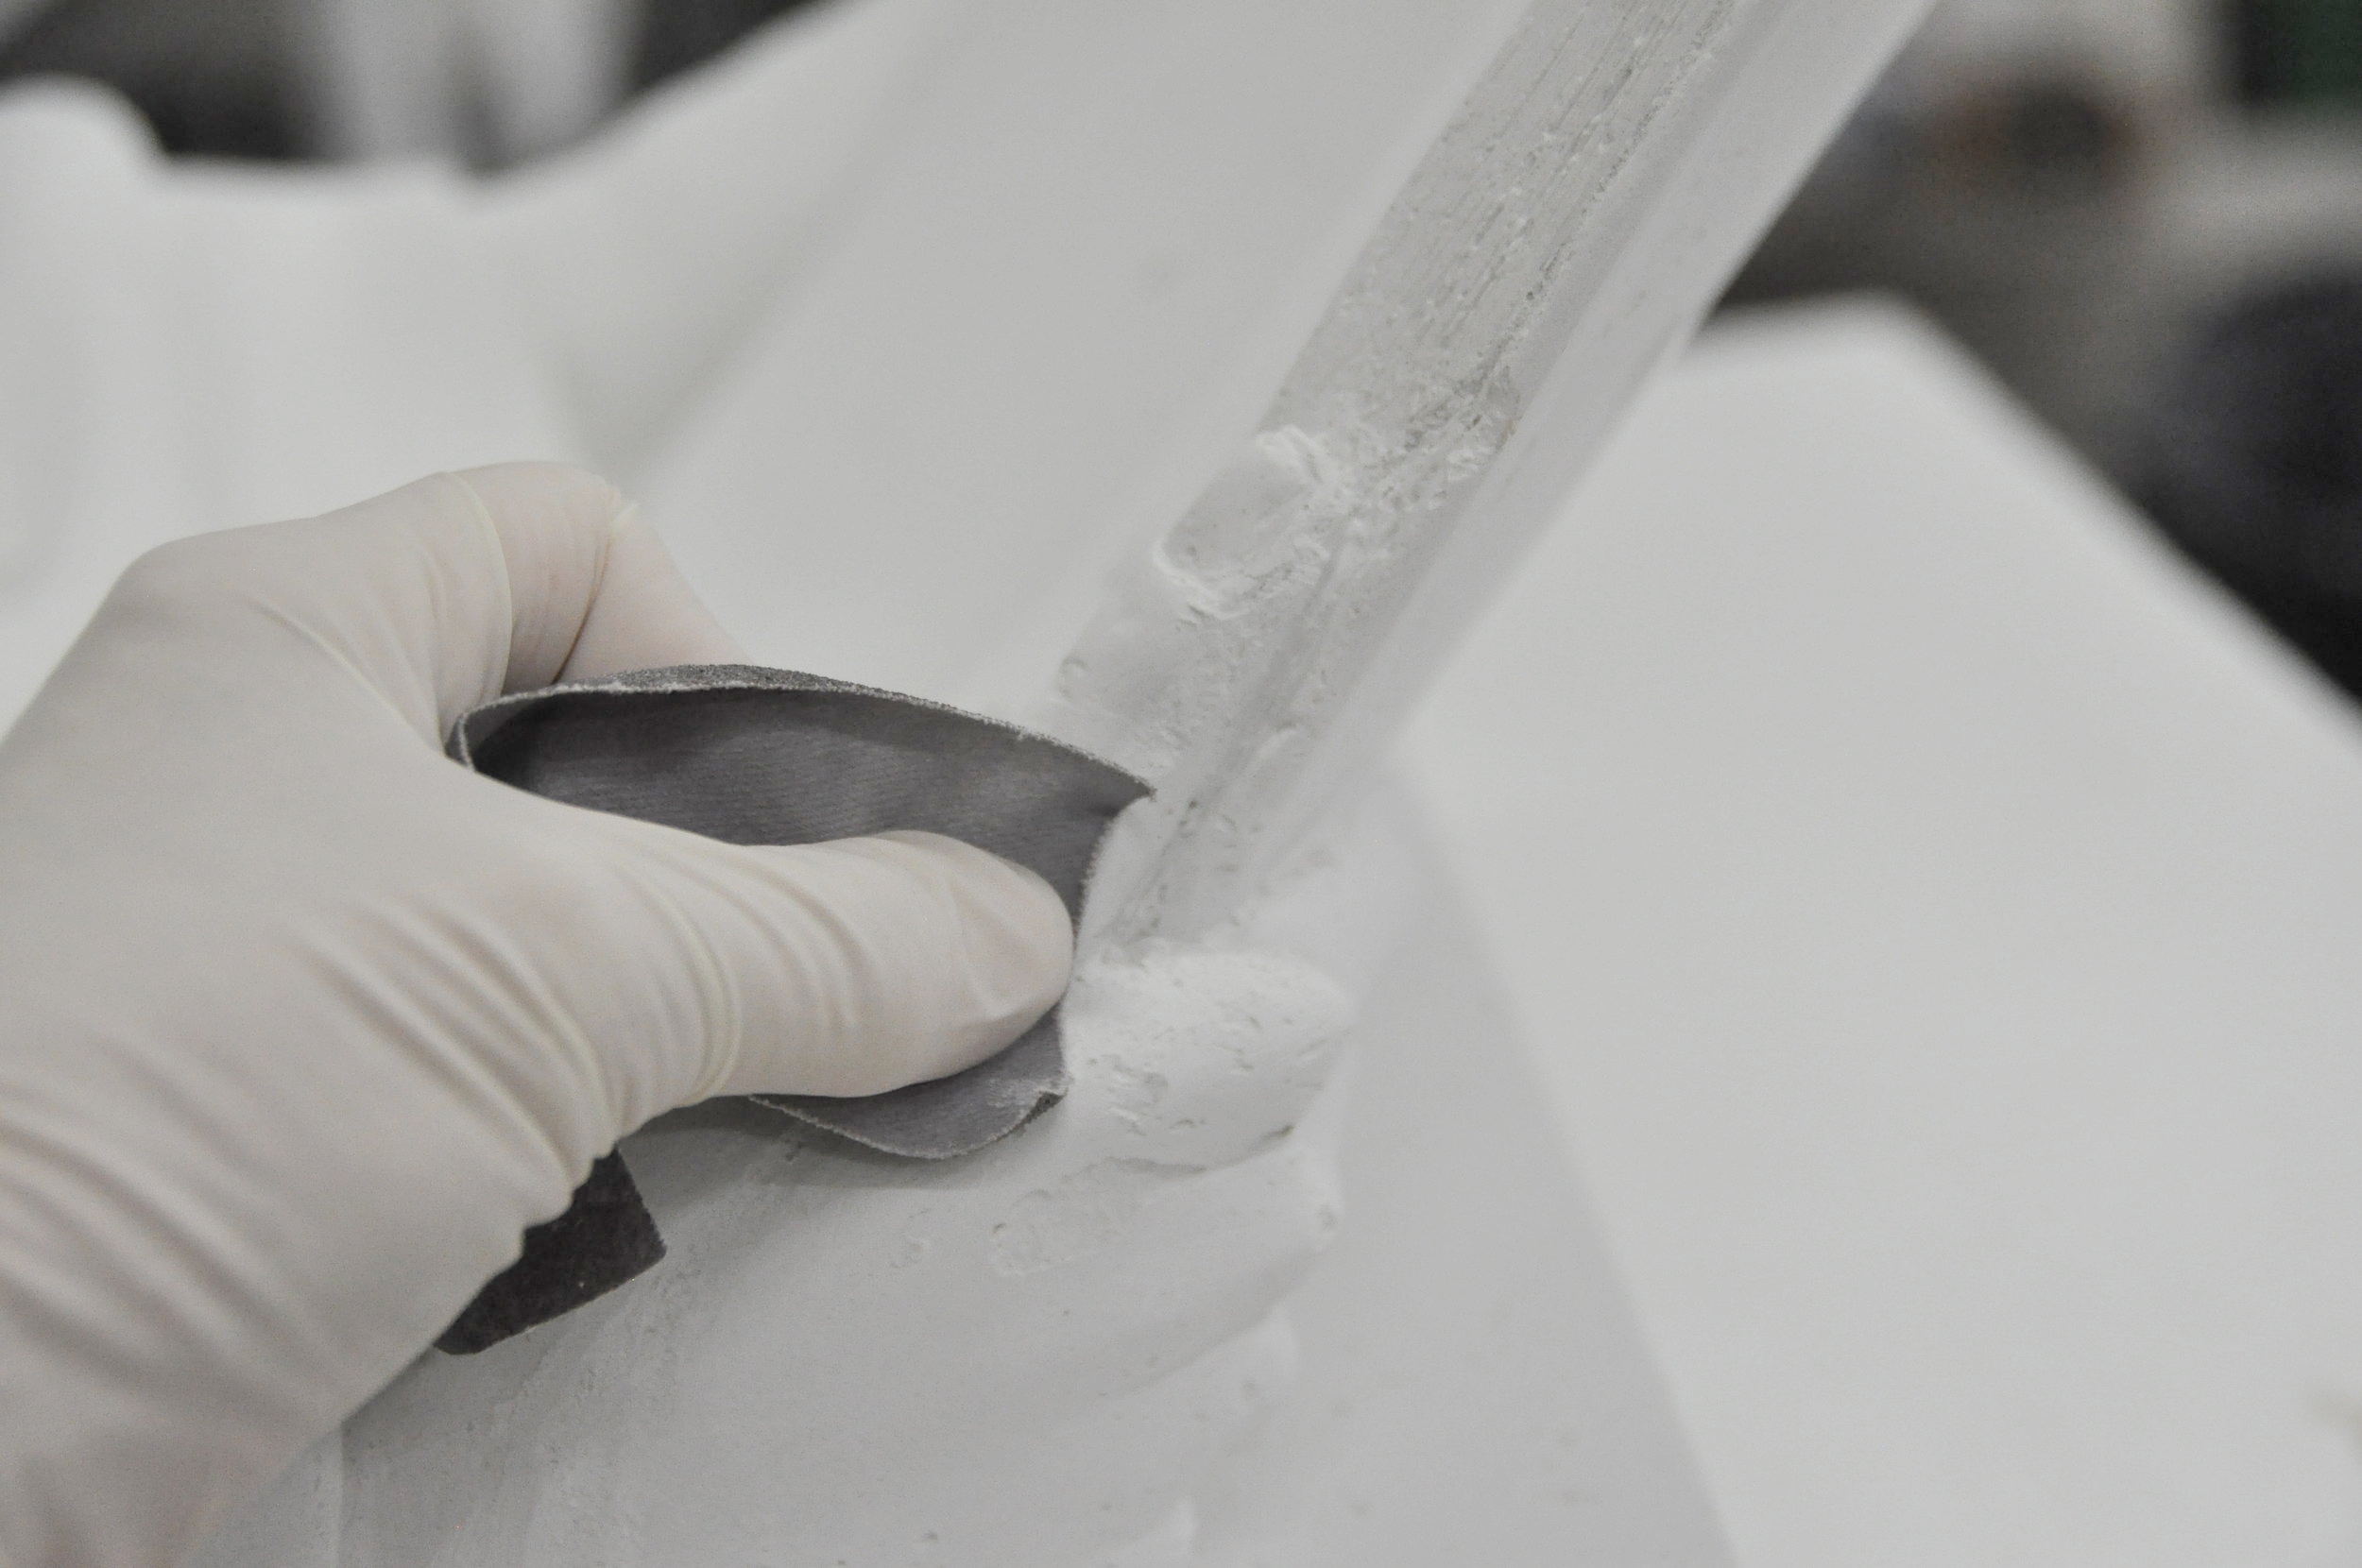
6. Fixing Imperfections
- Regardless of the type of mold or casting technique used, some minor imperfections may occur. Repairs should be done before any patinating or sealing work.
- Seams can be shaved away with a blade or gently sanded away.
- Any air holes or other surface defects can be filled by mixing a small amount of Sculpting or Ultra Mix by hand to a creamy consistency. Lightly spray the area being repaired and spread the Mix with a fine dry sponge or rubber/silicone trowel. Allow this to cure for 24 hours before sanding.

7. Patination
- External patination can be added (see "patination" instruction page)